

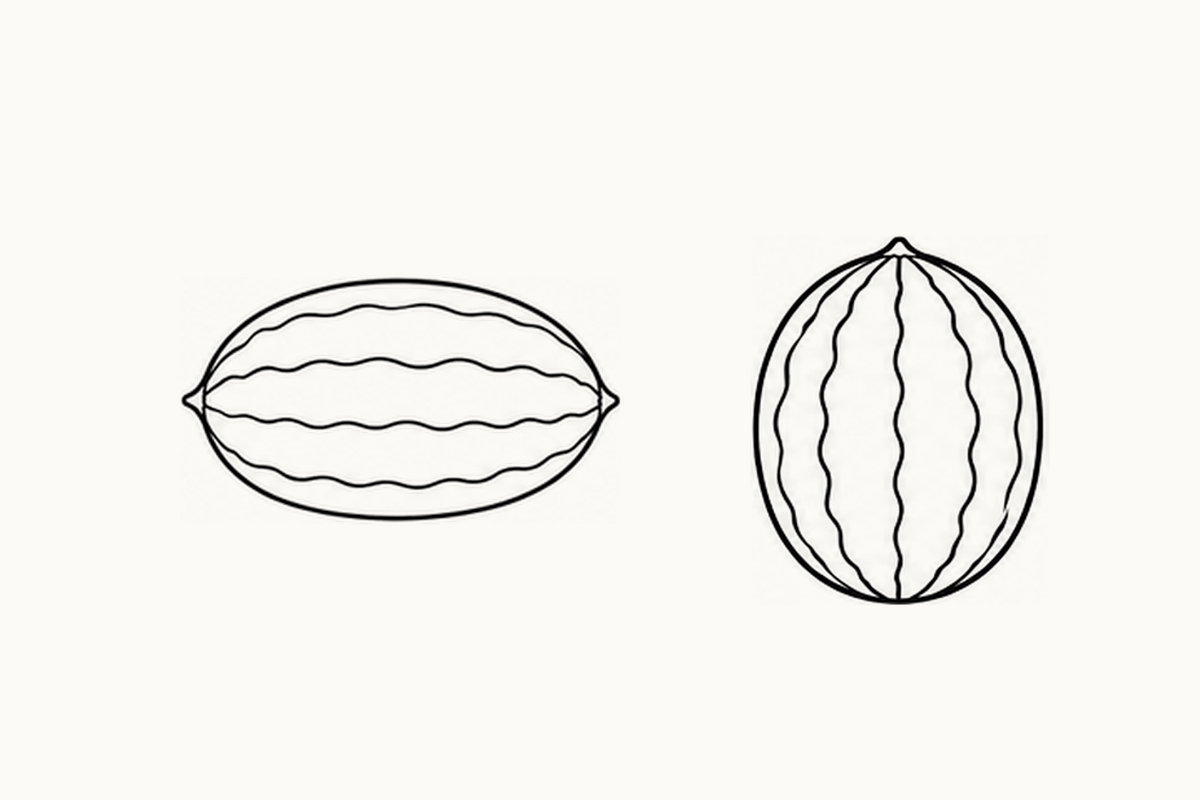
These beginner watermelon coloring pages give you five A4 sheets of whole fruit with two blank drawing bands on each sheet. Put out page 1, a pencil and a few crayons. Look at the horizontal melon at the top left, then find the upright one farther along the same row. Ask, “Which way would you like your melon to point?” Your child can color one broad rind band, follow an outline with a finger or draw a larger whole fruit below. One chosen view is enough for this turn.
Download the five-page Beginner Watermelon PDF (1.87 MB)
Whole fruit turning in different directions
Each page has eight reference positions, arranged in two rows. The five layouts rotate eight selected source positions, so forty printed positions are not forty unique drawings. Some horizontal views are very similar, and the two oblique end views also have related outlines. There are rounded and longer bodies, upright and tilted views, a round end view and closer views toward the ends. All the fruit remains intact. These sheets do not show open flesh, seeds on a cut surface, slices, faces or added tools.
Follow the long direction before a rind band
On the first horizontal reference, point to its left and right ends. Follow the broad outer curve between them. Then find one wavy rind boundary that also travels along the fruit. It is part of the rounded surface, rather than a straight stripe crossing a flat rectangle. You might say, “Can our line bend around this side?” Your child's first band can be much simpler than the printed waves. Leave plenty of white space so that the body and band remain separate shapes.
See all five complete sheets
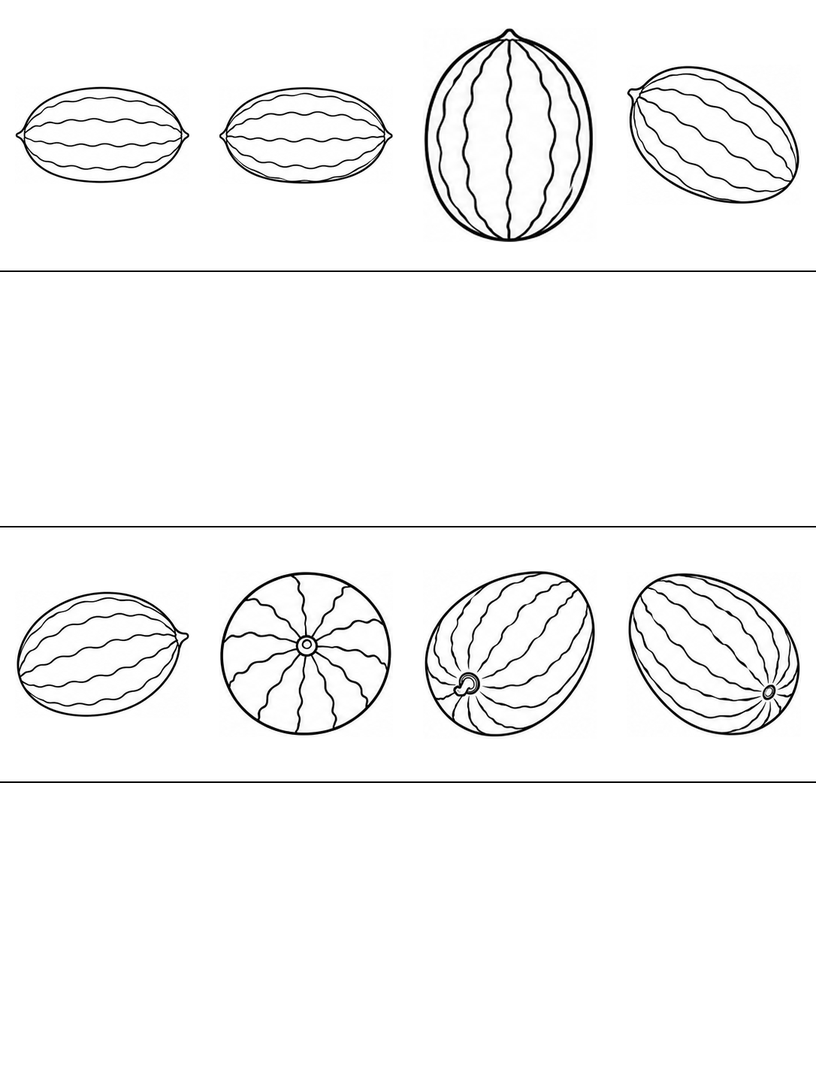
Page 1 begins with two similar horizontal bodies, followed by an upright melon and a tilted one. Below, an end-facing view has lines spreading around a small central mark. Compare that round end view with the wide horizontal outline. Your child can choose which outside shape feels easier to follow, without copying every wavy line inside it.
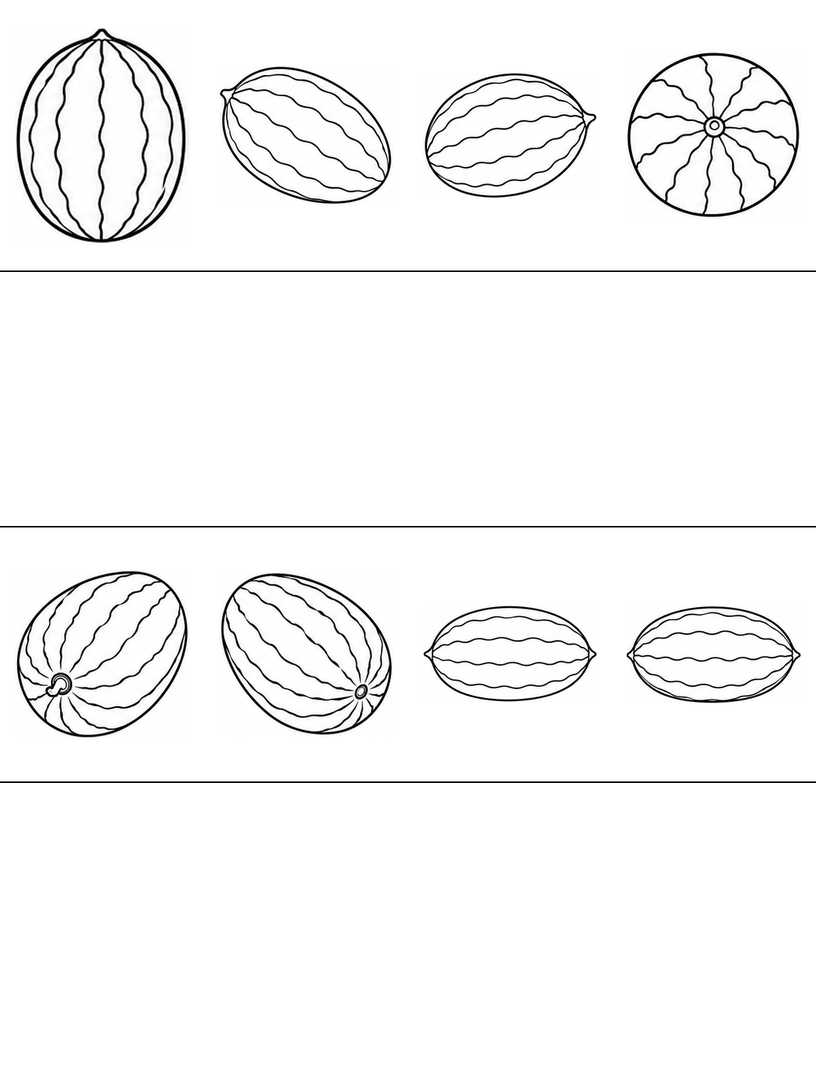
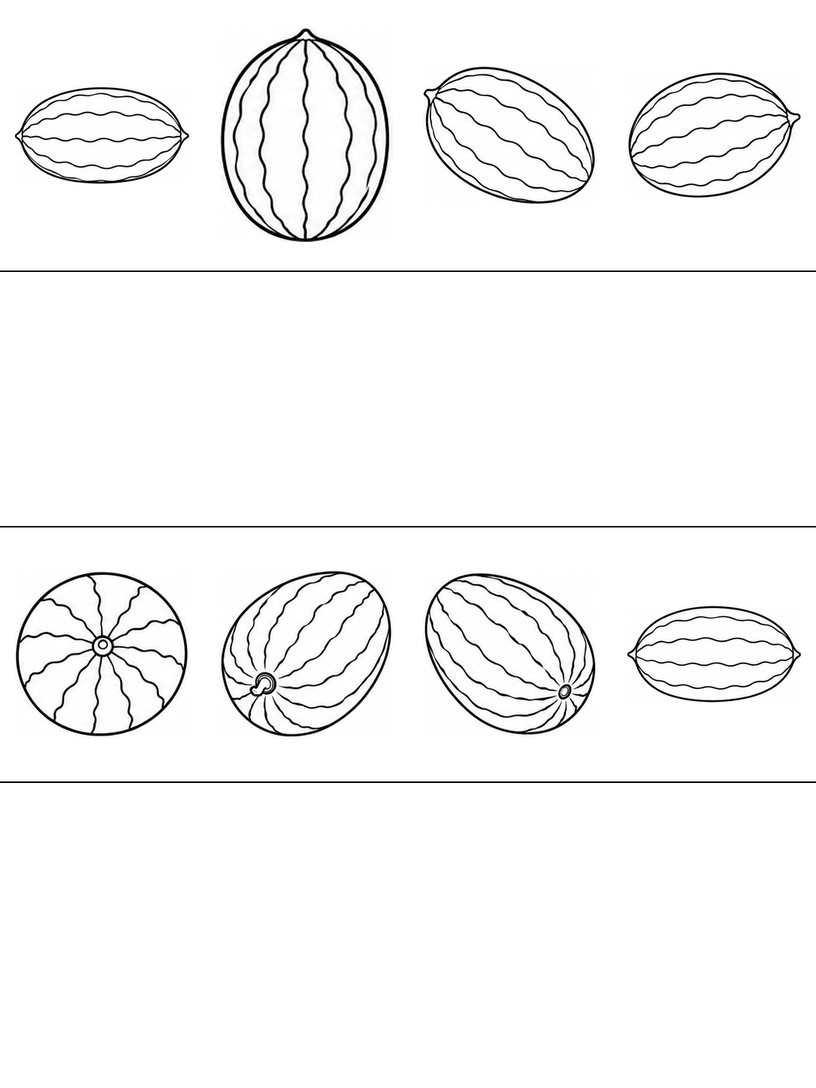
On page 2, the upright melon moves to the top left, and the round end-facing view sits at the other end of the row. The oblique views start the lower row. Choose an upright outline if you want a long space for two bands. Turning the paper can help your hand follow that curve; the printed fruit does not need to stay in its usual direction.
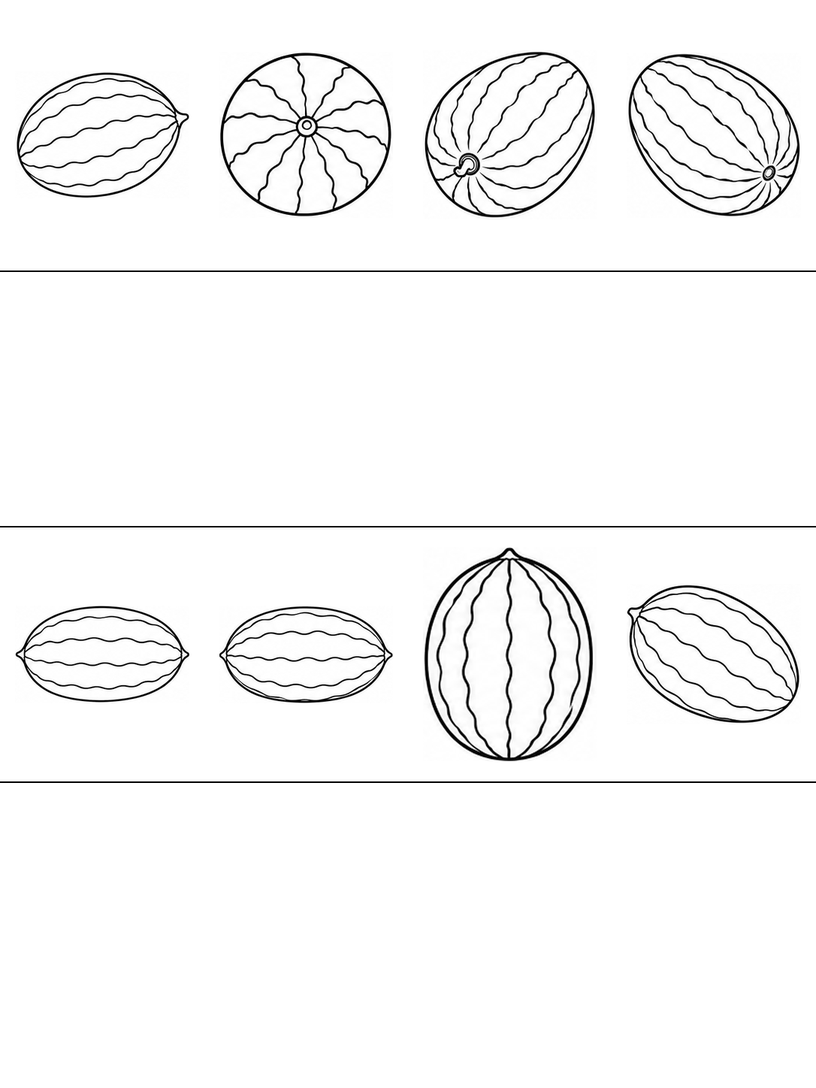
Page 3 places the round end-facing view beside a tilted fruit at the top. Its bands spread around the visible end instead of lying across the page. Point to one band and follow its route away from the small center. For your own drawing, you can use just two gently curving boundaries and leave the smaller end mark out.
Page 4 begins with the two oblique end views. One shows a small curved stem, while the other has a little round end mark. Both connect to a complete fruit body. These are outside views, not openings into the melon. Your child can point to an end, then color one neighboring band without trying to add a cut surface.
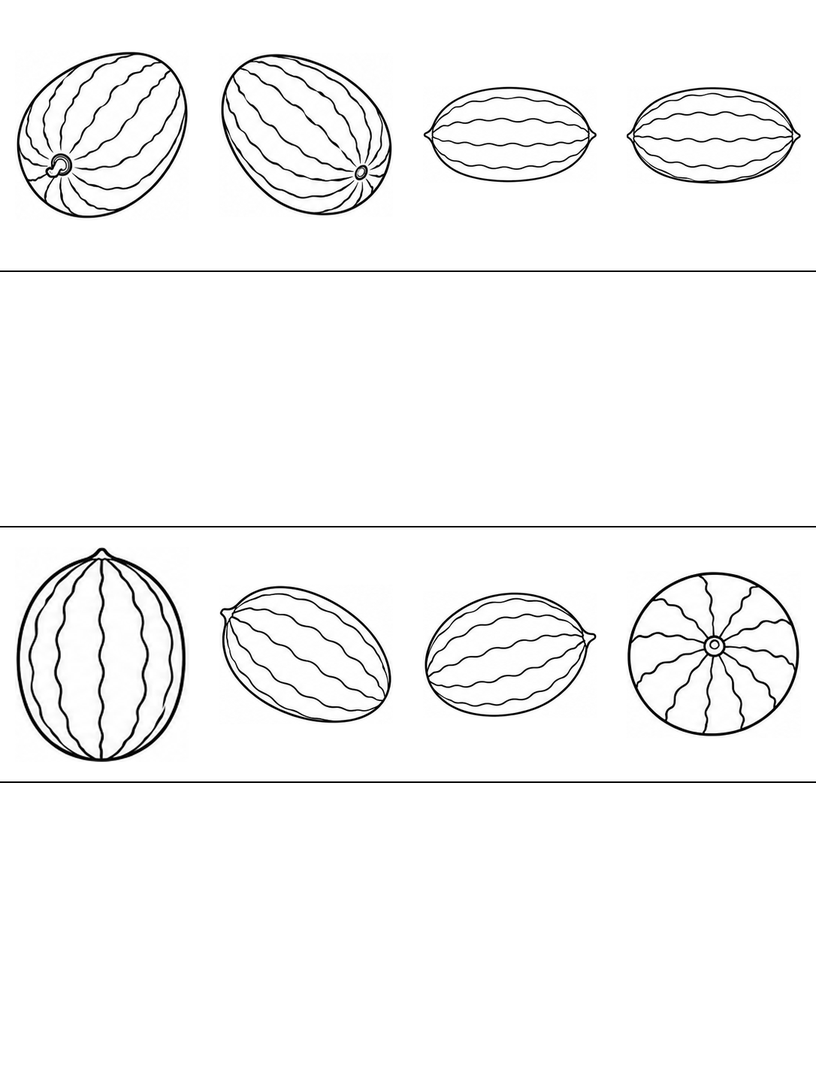
On page 5, the familiar horizontal and upright melons return together in the upper row. Choose a shape you have already tried and change only its direction in your own drawing. Repeated references make that small comparison possible without requiring another design. You can also stop with one colored band and save the rest of the sheet for later.
Draw a rounded melon with two broad bands
Use the first horizontal reference on page 1 as a guide. Work in a blank band or on spare paper, leaving more space than the little printed example uses. Begin with the whole fruit; no real watermelon or cutting tool is needed.
- Close one broad body. Draw a light oval with gently rounded ends. Let the top and bottom curves meet without adding a sharp triangular tip. Choose a horizontal, upright or tilted direction before putting any pattern inside the outline.
- Bend the band boundaries along it. Draw a gentle curve from near one end toward the other, following the body’s long direction. Add another nearby curve to make a broad band. Let the two lines bend together rather than crossing or forming lots of narrow compartments.
- Keep the end and middle clear. Stop the band boundaries at the outside contour. You may add a small end mark where the reference shows one, or leave it out. Color one band, two bands or just the outside space, keeping the main fruit outline easy to find.
If the bands make the melon look flat, curve them a little more gently around the body on your next attempt. If several lines crowd together at an end, use fewer bands and leave wider spaces. If a boundary wanders outside the fruit, you can stop it at the outer curve or keep that first drawing and try again beside it. Ask, “Which two lines shall make our wide band?” There is no required stripe count or color pattern to match.
An optional made-up turning-melon story
Imagine a pretend melon on a paper map turning from sideways to upright. Ask your child to choose two whole-fruit views on the sheet, then draw their own melon pointing in one of those directions in a blank band. They can add a small arrow beside their drawing to show its imagined turn. The map, arrow and movement are invented additions; the PDF itself contains the intact fruit references and blank bands, not a story scene.
Choose another whole outline
For a fruit with a short stem, the Beginner apple sheets offer a different outside shape. The Beginner bird sheets let you follow a body, beak and tail instead of rind bands. Staying with one watermelon view is another choice; printing a new subject is optional.
Printing and file notes
The download contains only the five Beginner watermelon sheets, not every level in the source workbook. Choose A4 paper and 100% / Actual size in your PDF reader. Inspect the preview for missing borders, then try one page before printing the rest. Use Fit if your printer needs more margin. The printing guide explains these choices. The files have been checked digitally; no physical print test has been performed, and the result on your printer has not been verified.
Worksheet questions
Are there forty different whole watermelons?
No. Eight selected source positions recur across five arrangements, giving eight printed positions per page. Some horizontal and oblique views are similar. Choose a page by its starting position rather than expecting forty unique outlines.
Does the round end view show a cut surface?
No. The Beginner fruit remains whole. The small end mark and the bands radiating around it belong to an outside view. Open flesh and seed shapes on cut faces appear in other source levels, not in this five-page download.
Must every rind band be green or evenly spaced?
No. Use the broad spaces to explore your own colors and line directions. Two clear bands can be enough for a new drawing. The task is to let their curves follow a rounded fruit, without matching every wave or spacing in the reference.
Use and sharing
You may print these pages for personal, family or classroom activities. Keep the website credit on the sheets. Share this article link with other adults instead of redistributing or selling the PDF. Read the terms of use for the permission and its limits.
Creation and editorial note
The activity guide and page layout were prepared and edited for Coloring Pages Story, with AI assistance. The line art is AI-assisted. The page previews and five-page PDF have been checked digitally. No classroom trial or physical print test has been performed.
Comments
Comments are closed