

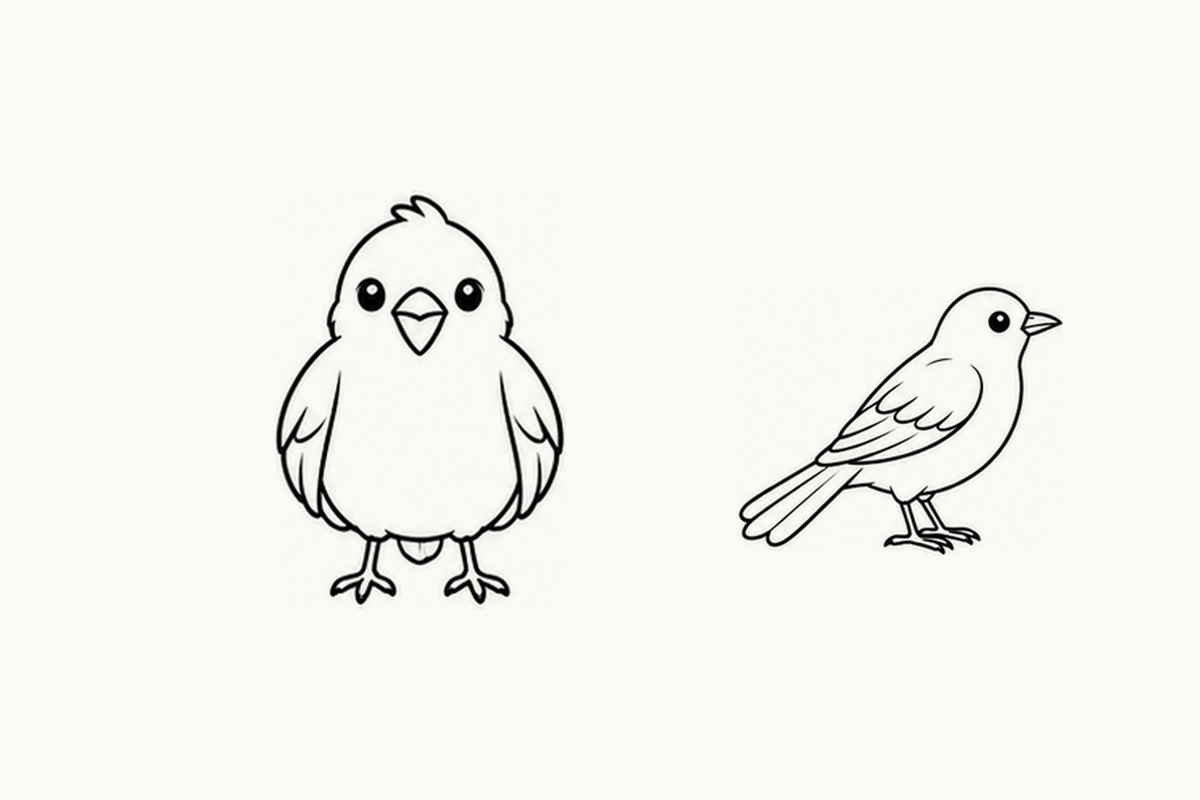
Start with a beak pointing to the right or a round bird facing you. These beginner bird coloring pages offer five A4 sheets of small cartoon birds, with empty bands for drawing below the references. Set out a pencil and a few crayons, then invite your child to choose one bird. Coloring one wing, drawing only a head or stopping after a short look are all possible ways to begin.
Download the five-page Beginner Bird A4 PDF (2.22 MB)
What comes in the bird set?
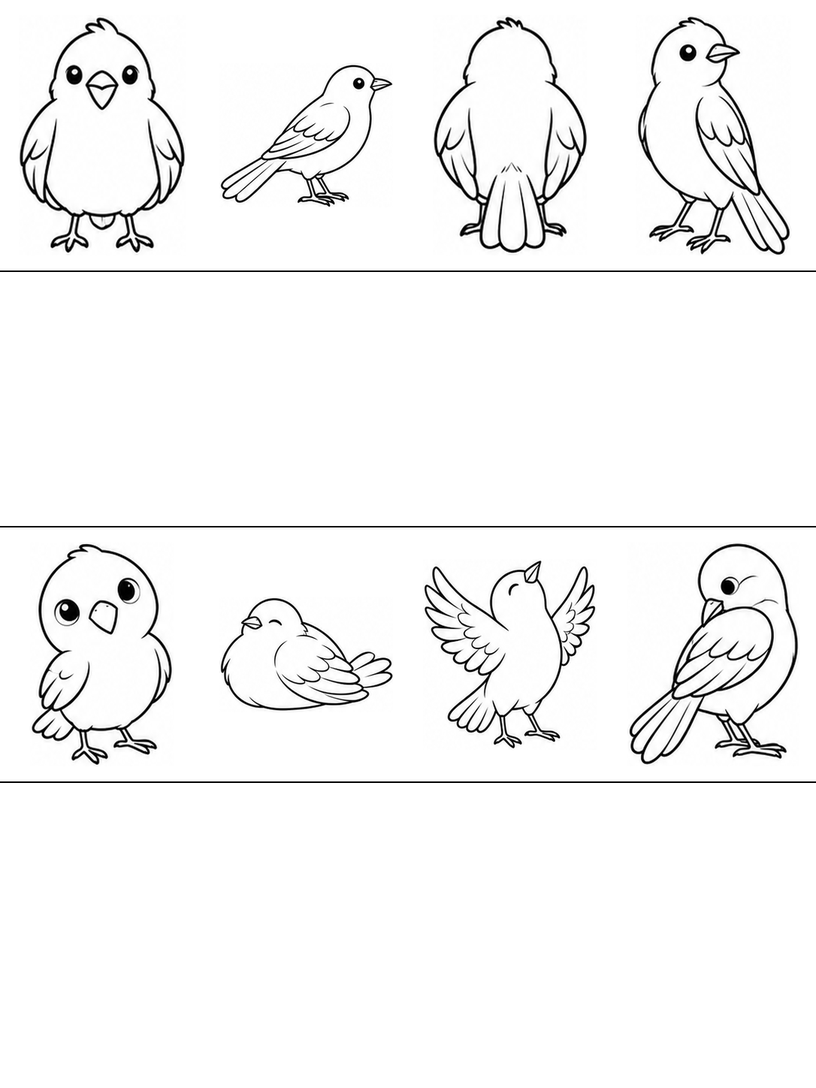
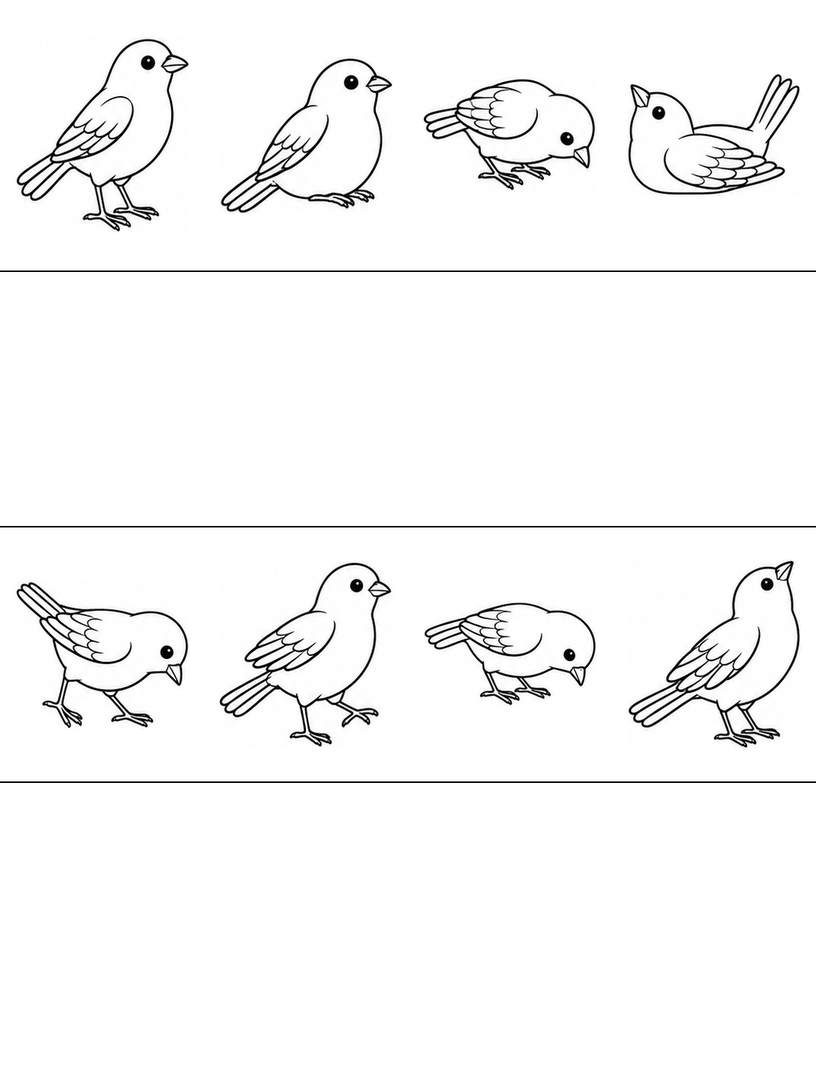
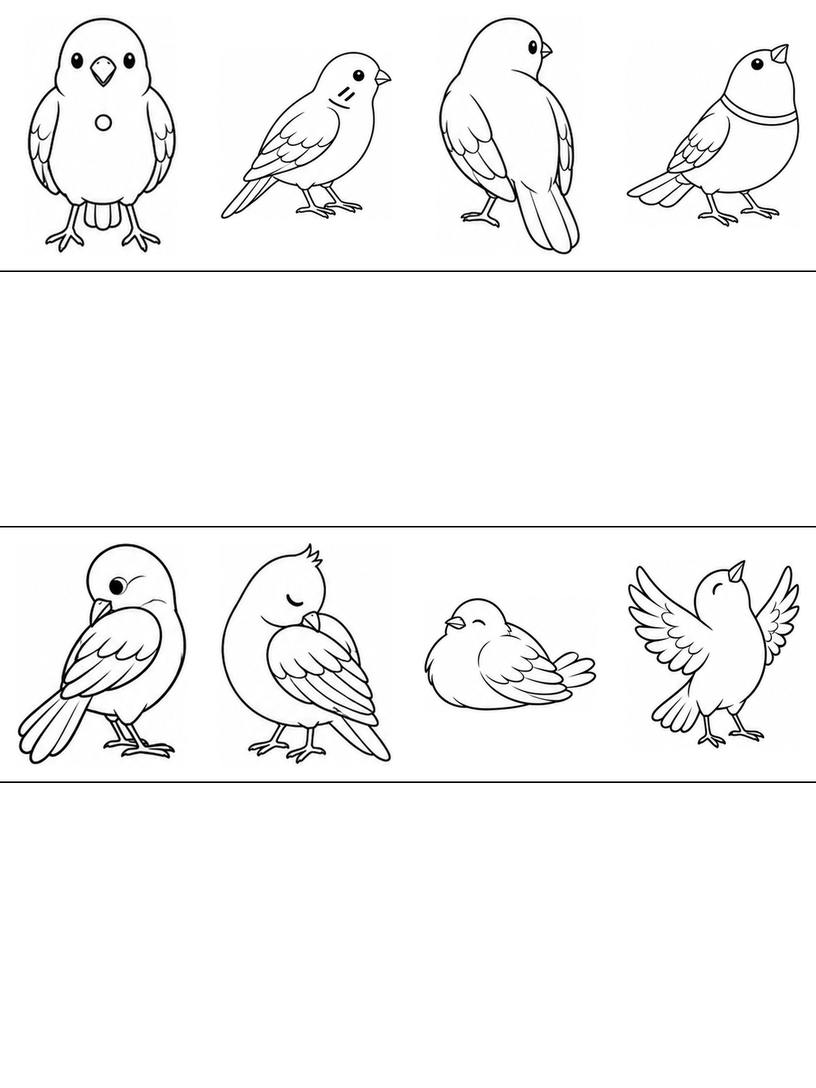
Each sheet contains eight black-and-white bird references, four in the first band and four in the third, plus two blank practice bands. Familiar shapes recur across the five sheets; forty printed references do not mean forty different designs. Some birds are plump and cartoon-like, and page 5 has especially expressive faces. These are drawing references, not labeled species pictures or a guide to identifying birds outdoors.
Choose a starting shape
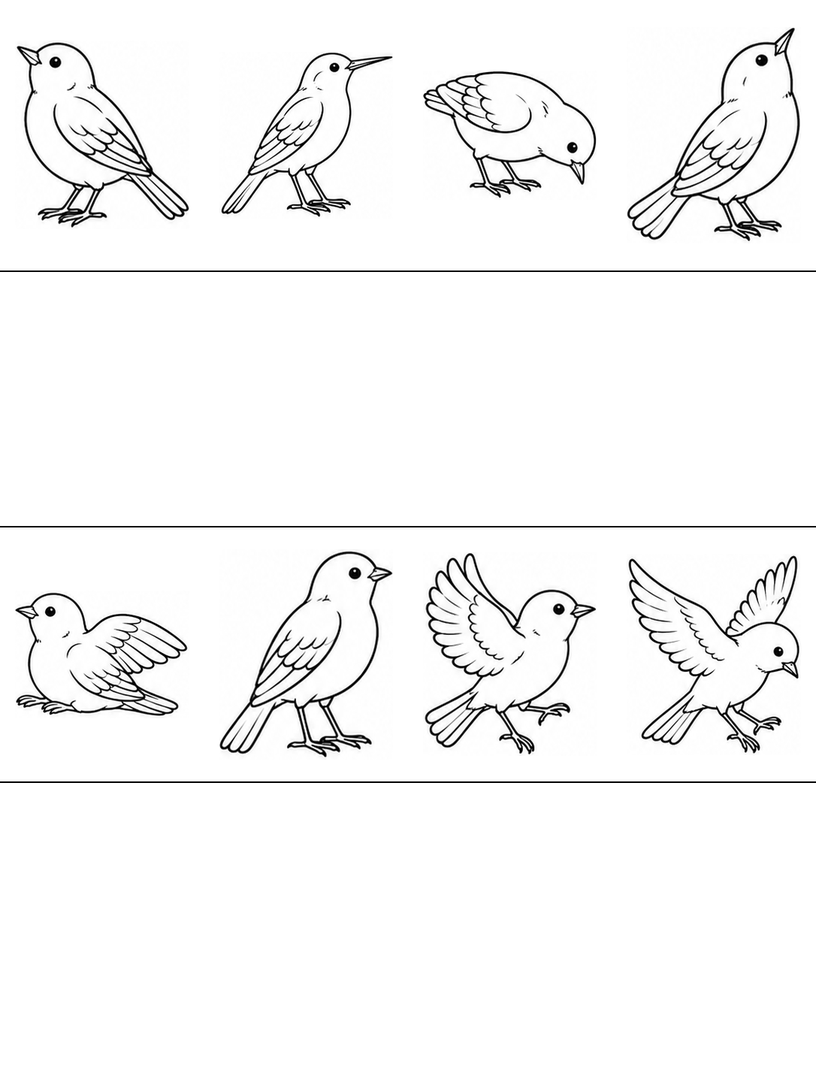
Look at the side-facing bird in the top row of page 1. Follow the line from the back of its head down toward its tail. Ask, “Which way is the beak pointing?” Your child can point before drawing. Keep spare paper nearby if the printed examples feel small, and let the first attempt be larger than the reference. Begin with the outside shape before deciding whether to add feathers.
Look through all five sheets
Page 1 includes front, side and back views, a low resting shape and a bird with both wings raised. Compare the front view with the back view: the back-facing bird has no visible face. Color one of those views, or draw the outline and leave out the features you cannot see.
Page 2 places upright birds beside lower bodies and birds bending their heads down or pointing their beaks up. Find two beaks that point in different directions. Before drawing a whole bird, try two little triangles in the blank band and give each one room for a head behind it.
Page 3 adds simple chest and neck markings among front, side and turned views. One bird turns its head toward its wing; another rests low with its feet out of view. Choose whether to include a marking in your drawing. A plain chest is also an option, and there is no need to add stripes to every bird.
Page 4 mixes upward and downward beaks with folded and open wings. The long, thin beak near the top looks different from the shorter triangular examples. Follow the actual bird you choose rather than giving every drawing the same beak. The open wings can be left for another turn if their feather edges feel too busy.
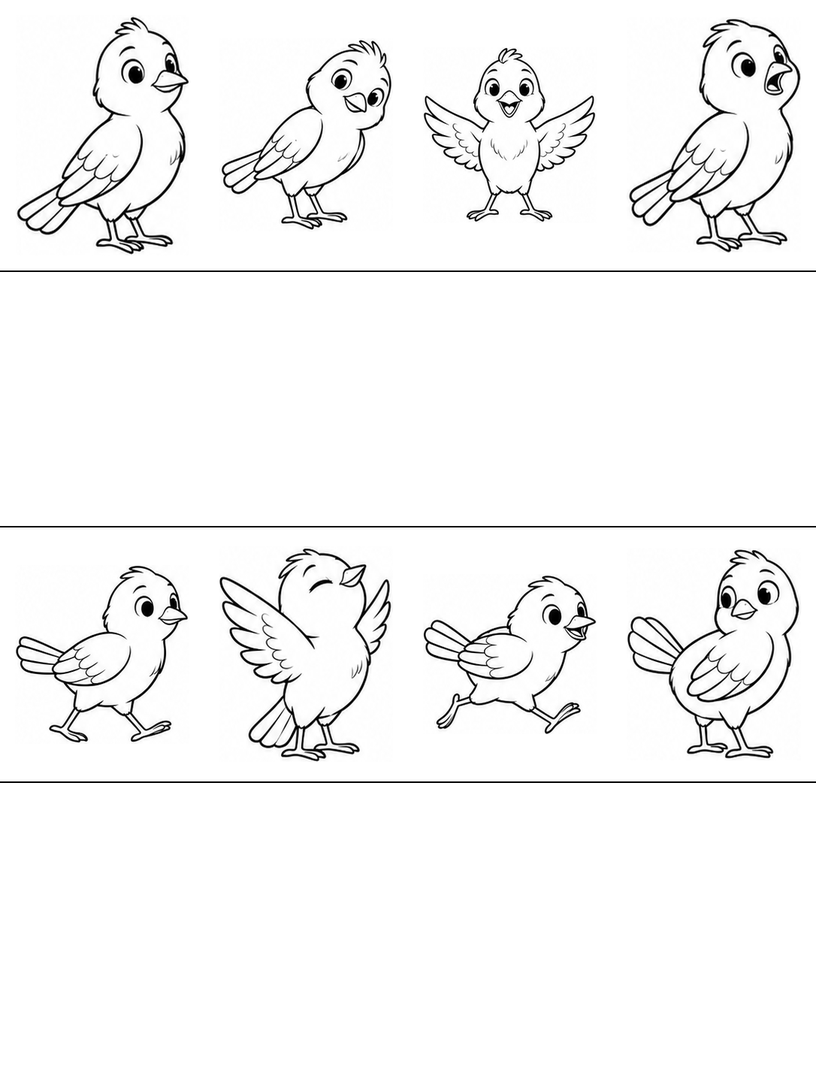
Page 5 uses rounder cartoon faces, open beaks and several spread-wing or stepping poses. Ask your child to choose an expression before choosing a color. Closed-eye curves and large dark eyes give different looks; either can be simplified to one small eye mark on a side-facing drawing.
Draw a small side-facing bird
Use the simple standing side view on page 1 as your reference. Make light pencil lines in one blank band. Leave space behind the body for a tail and beneath it for the feet.
- Connect the head and body. Start with a rounded head and a larger rounded body below it. Let the back and belly lines meet the head so the two shapes form one outside outline. If the head seems to float, add short connecting curves at its lower edge. Keep the inside joining lines light.
- Attach the beak, wing and tail. Put a small triangular beak at the front of the head, with its base touching the face. Draw a curved, droplet-like folded wing inside the body. Start the tail at the lower back and extend two or three narrow feather shapes behind it, keeping their bases connected.
- Add a visible eye and simple feet. Place one eye on the visible side of the head. Bring two short legs down from the body and add a few short toe lines at the bottom. Compare their positions with the printed bird. Leave the small feather details until the main shapes feel clear.
If the wing has become larger than the body, try a smaller curved wing on a fresh outline instead of filling the body with extra lines. If the tail looks separate, trace its base back toward the body with a finger before adding the connection. Your child can also stop after the head and beak; a whole bird is not required on the first attempt.
A made-up bird story
For a pretend story, a small bird looks down for a pebble, looks up at a cloud, then opens its wings to leave. Ask your child to find printed poses that could show those three moments. They can draw one bird and add a pebble or cloud in the practice band if they wish. Those additions belong to your child's story; the worksheets do not contain a printed landscape or story.
Printing and a shorter activity
Choose one page from the five-page A4 PDF in your reader's page range. Start at 100% / Actual size, inspect the print preview for clipped edges and try one sheet; use Fit if your printer needs more margin. Keep the reference and blank bands together. For more help choosing paper and settings, read the printing guide.
For a shorter turn, color only the body and folded wing of one side-facing bird. Ask which area your child wants to leave white. If they want another attempt, keep the same body but point the beak in a new direction. Compare the two drawings without requiring matching size, neat edges or identical feather patterns.
Bird worksheet questions
Are all forty printed bird references different?
No. Five sheets contain eight references each, but familiar body shapes and poses recur. The pages also include variations in markings and cartoon expressions. Look at the complete previews if you want a particular view before choosing a sheet.
Do these pages teach bird species or realistic anatomy?
No. The birds are simplified, AI-assisted cartoon line art without species labels. Use the guide to explore visible shapes and connections, such as a beak attached to a head or a tail joined to a body, rather than to identify a real bird.
Can my child draw a larger bird instead?
Yes. Keep a printed reference beside spare paper and draw the head and body at a comfortable size. You can leave out the feather lines or draw only a head and beak. The small reference size does not set the size of your child's drawing.
Use and sharing
You may print these pages for personal, family or classroom activities. Keep the website credit on the sheets. Share this article link instead of redistributing or selling the PDF. Read the terms of use for the permission and its limits.
Creation and editorial note
The activity guide and page layout were prepared and edited for Coloring Pages Story, with AI assistance. The line art is AI-assisted. The page previews and five-page PDF have been checked digitally. No classroom trial or physical print test has been performed.
Comments
Comments are closed