

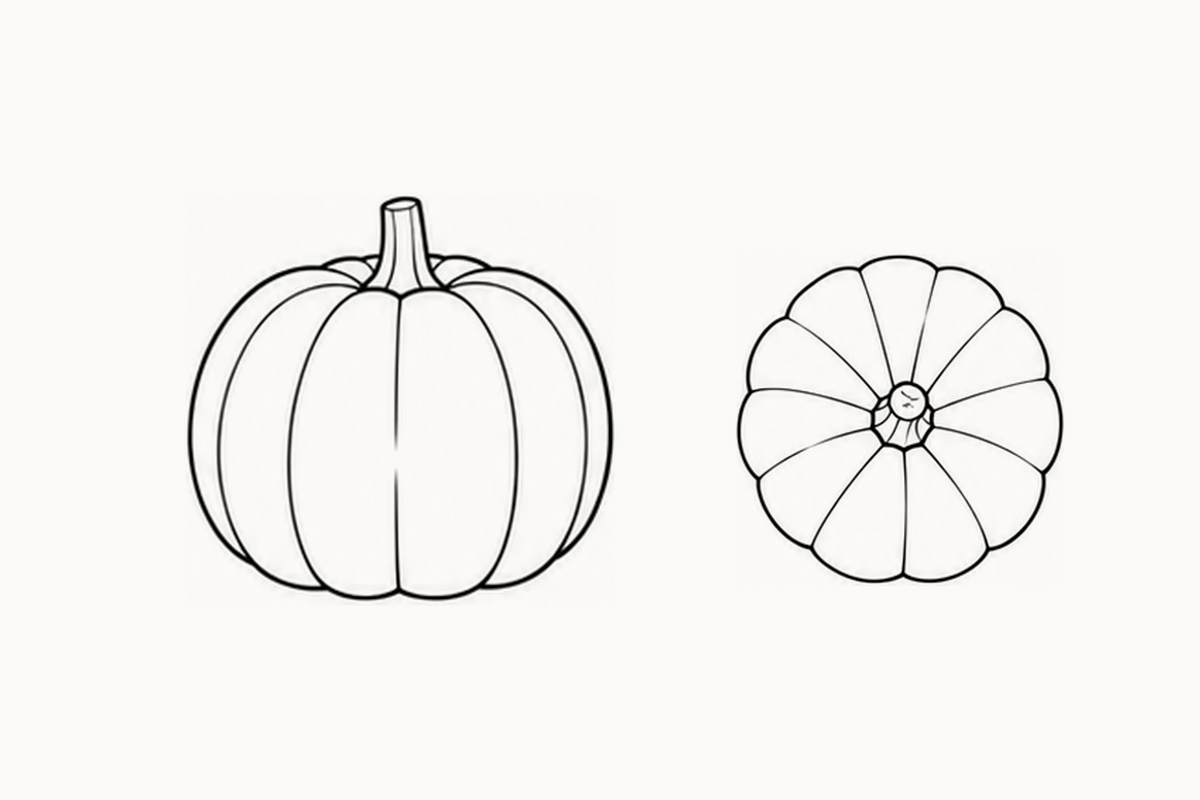
These beginner pumpkin coloring pages offer five A4 sheets of whole pumpkins, each with two empty drawing bands. Put page 1 beside a pencil and a few colors. Ask your child to find the short stem on the first pumpkin, then follow one long curve down the body. They can color one broad section or try a large pumpkin of their own below. The reference is an ordinary ribbed fruit; the activity does not require carving, handling a knife or preparing real food.
Download the five-page Beginner Pumpkin PDF (1.95 MB)
What is included in this level
Five Beginner sheets reuse eight selected whole-pumpkin source views in different orders. Each page has eight references and two blank practice bands; forty printed reference positions are not forty unique designs. The source backup positions are near repeats, not a second set of sixteen independent poses. These natural fruit outlines have no carved faces or costume props.
Follow the body before the ribs
A whole pumpkin has one connected outside contour. The ribs lie inside that contour and turn around the same rounded body. On the front view, the middle sections look broader than the sections near the sides. The top-view reference changes that pattern: grooves spread outward from the small stem area. Point to those differences without asking your child to name every view. A broad rounded outline and an attached stem can already make a useful pumpkin drawing before any extra lines are added.
Pick one clear front view
Start with the upper-left pumpkin on page 1. Its body is wide, the bottom is gently flattened, and its stem sits above a small depression. Compare it with the top view at the lower left. Both belong to the same fruit subject, but the stem and ribs occupy different positions on the paper. Choose the front view for the short drawing activity. Leaving the other references untouched is fine; a sheet is a set of choices rather than a checklist to finish.
See all five complete sheets
Page 1 begins with a squat front view, taller side view, flatter opposite side and rear view. Below them are a top view, low side view, three-quarter view and tilted resting view. Find the radial grooves around the top-view stem, then return to the broad front body if that pattern feels busy.
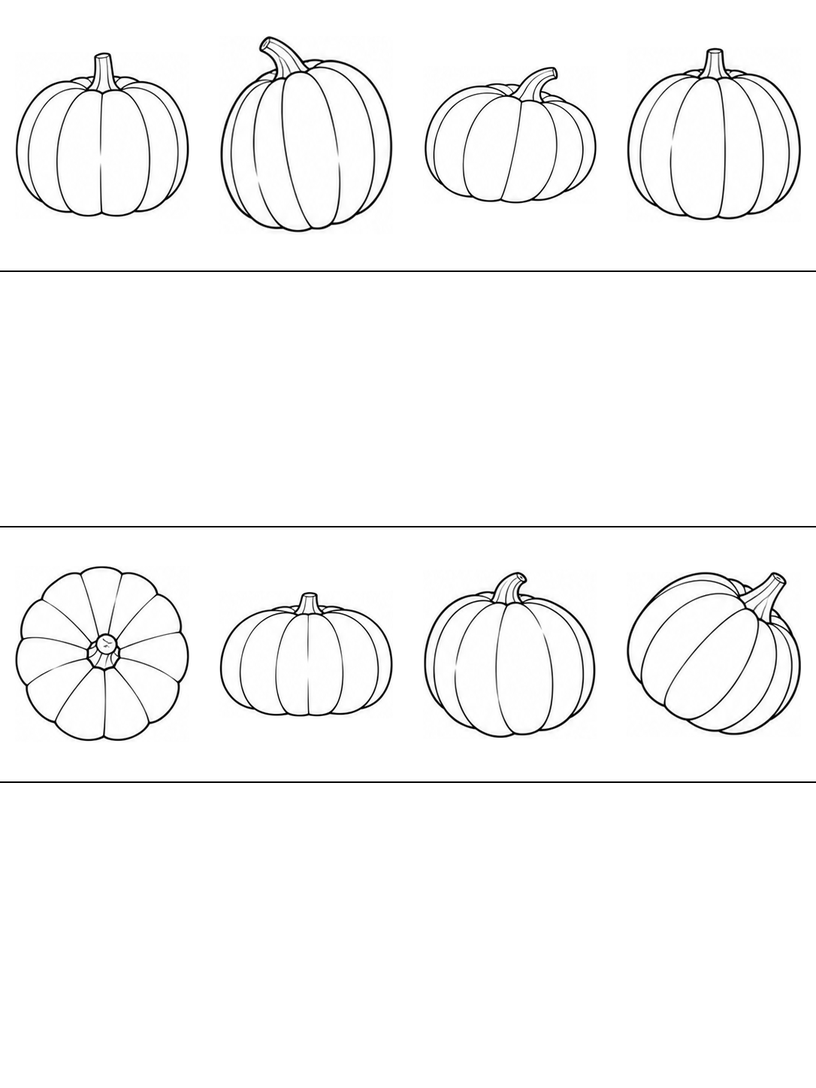
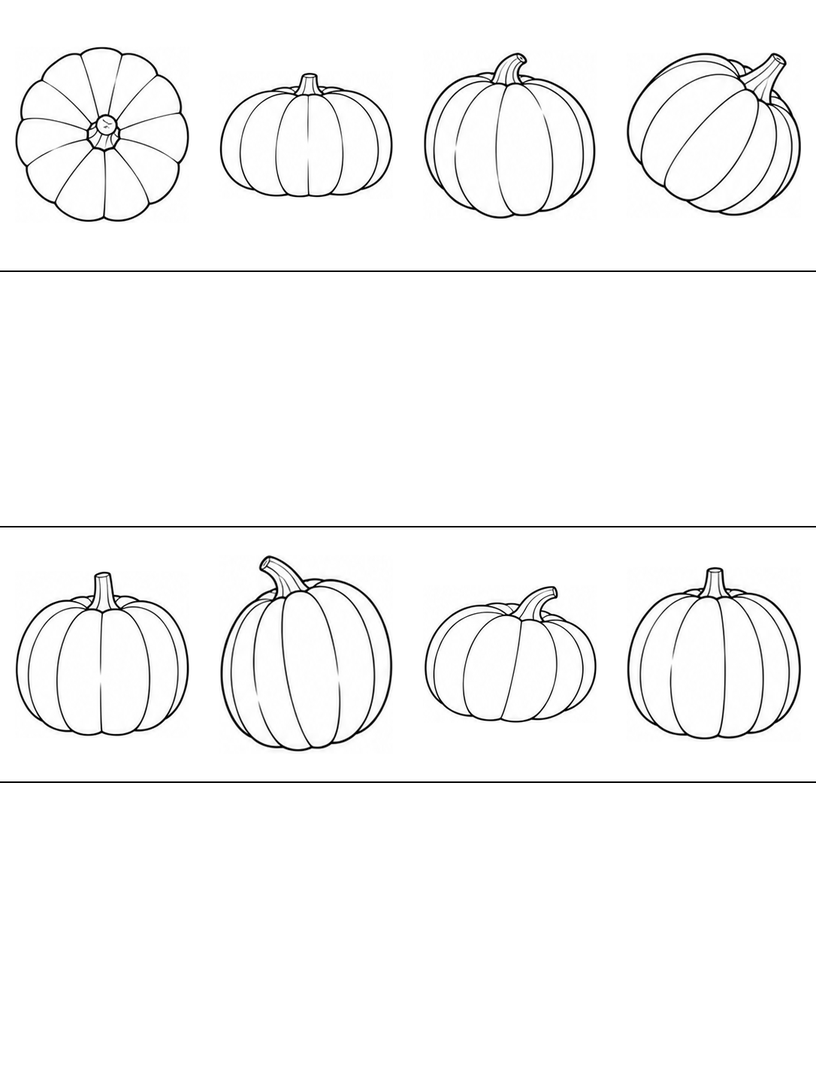
On page 2, the rear, top, low and three-quarter views move to the upper row. The tilted fruit starts the lower row, followed by the front and side views. Ask which stem leans most clearly. A leaning stem does not mean the pumpkin needs a separate supporting stick; it remains attached to the top of that body.
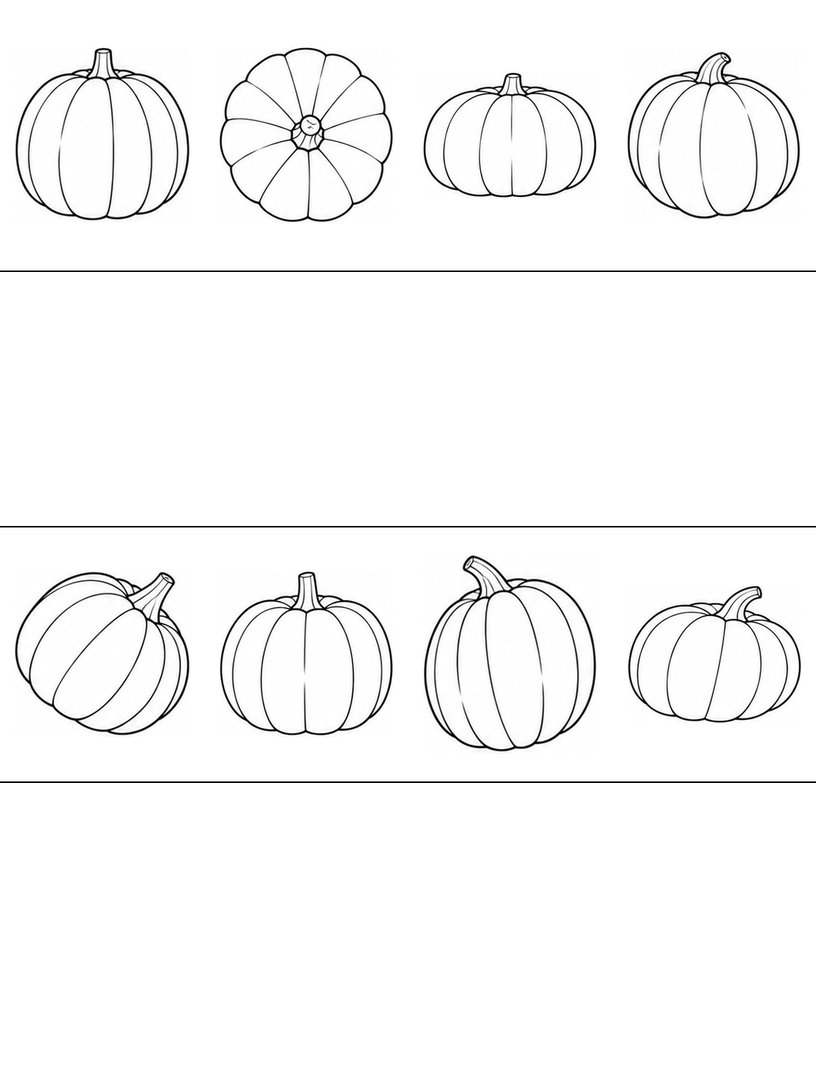
Page 3 opens with the three-quarter and tilted pumpkins, followed by the front and taller side views. Their outside shapes give several ways to begin the same subject. Trace a curve in the air before drawing it on paper, or simply color one rib section. The blank bands remain available for a larger, less crowded attempt.
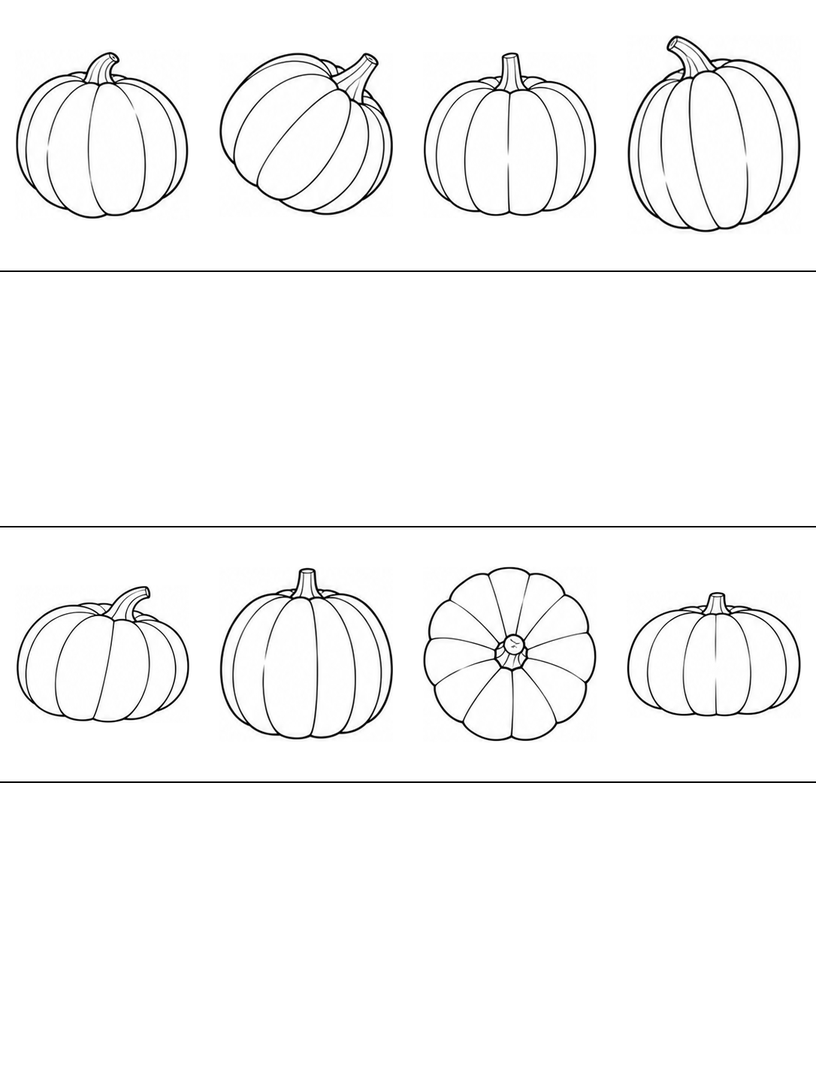
Page 4 starts with the two side views. They differ in height and stem direction, so avoid treating every pumpkin as the same circle. Compare their widest points, then find the front view at the lower right. Your child can choose the wider or taller version without copying a mathematically exact outline.
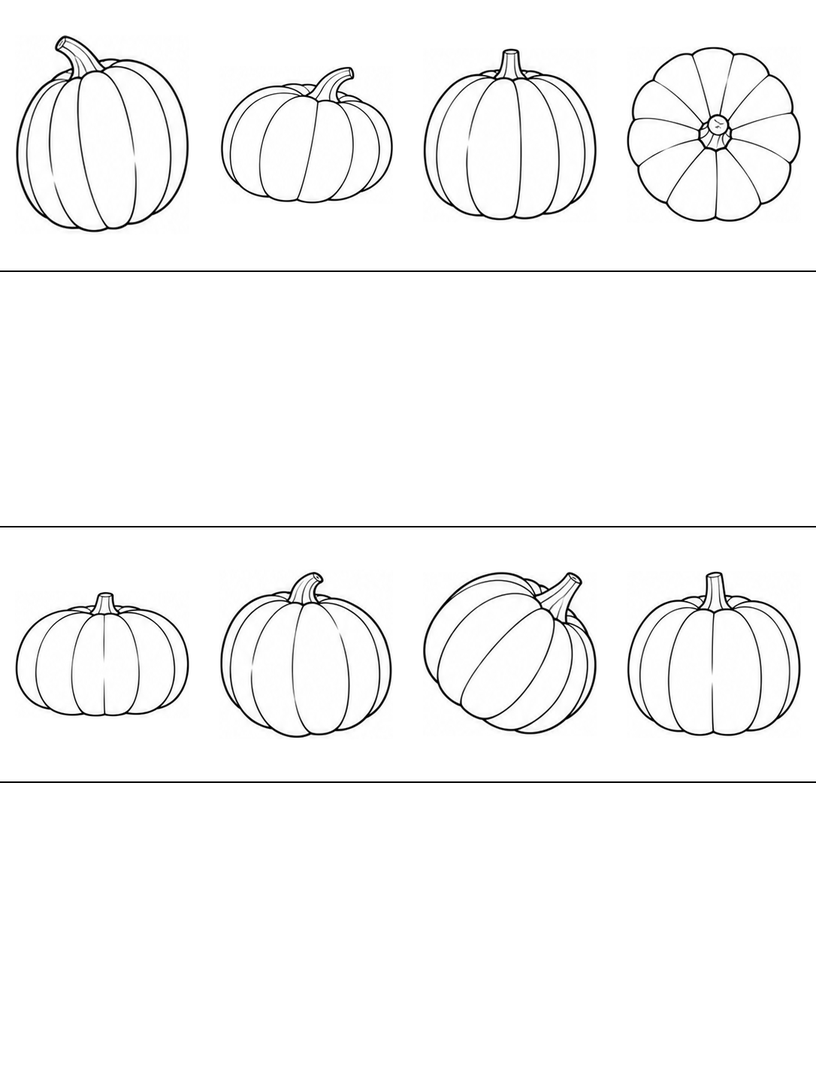
Page 5 puts the top and low side views first. The remaining familiar references follow in a new order. Revisit a favorite shape from page 1 and change only its color or the number of ribs in your own drawing. The printed sheet remains unchanged, while the empty band gives room to experiment with a simpler version.
Draw one broad pumpkin with three curved ribs
Use the first front-facing reference on page 1. Work in an empty band or on another piece of paper. Keep the shape large enough that the stem and rib spaces will not crowd one another.
- Build one rounded body. Draw a light wide outline with a slightly flatter bottom. Let its left and right sides curve back toward the top. Keep the center open for the ribs rather than filling it with small circles.
- Attach the short stem. Make a small dip or opening at the top center. Draw two short sides rising from that place and connect them with a small top edge. The stem should meet the fruit, not float above it.
- Curve a few ribs around the fruit. Begin with one long curved line near the middle. Add a curve to each side, letting the spaces narrow toward the outer contour. Stop when the body is readable; you do not need to reproduce every printed groove.
If the ribs look like straight fence posts, bend them with the outside shape on your next drawing. If a rib runs outside the pumpkin, erase only that extra end rather than adding a second outline around it. If the stem appears detached, bring its bottom edges back to the top of the fruit. Ask, "Which curve feels as if it wraps around the pumpkin?" Your child may answer by pointing, tracing in the air or choosing one section to color.
A made-up pumpkin color shelf
Imagine a pretend paper shelf holding one pumpkin for a visitor. Your child can draw their chosen whole fruit in a blank band and add a simple shelf line beneath it. They might choose orange, yellow, green or an invented pattern. The visitor and shelf are optional story additions; they are not scenes printed in the PDF. Keep the fruit outline recognizable while making those choices. A single colored section can be enough for one short turn, and there is no need to fill every reference on the sheet.
Choose another familiar outline if you like
The Beginner apple sheets offer a whole body and short stem if you want another rounded outline. The Beginner bird sheets give a different subject with a beak and tail. You can also stay with one pumpkin reference; changing subjects is optional.
Printing and file notes
This download contains only the five Beginner pumpkin sheets (1.95 MB; 1954539 bytes), not the complete multi-level source workbook. Choose A4 paper and 100% / Actual size in your PDF reader. Inspect the preview for missing borders and try one page before printing the rest. Use Fit if your printer needs more margin. The printing guide explains these choices. The files have been checked digitally; no physical print test or classroom trial has been performed.
Worksheet questions
Are there forty different pumpkin drawings?
No. Eight selected whole-fruit source views recur in five page orders. That gives forty printed reference positions across this download, not forty unique designs. Choose an order you like or return to the same view for another attempt.
Do these pumpkins have carved faces?
No. These Beginner references show ordinary whole ribbed pumpkins and attached stems. If you invent a face in your own blank band, that is your addition rather than a feature promised by the printed references.
Must every rib be copied?
No. Begin with the outside body and stem, then add a few curves that follow the volume. You can leave out smaller grooves in your own drawing. The complete printed references remain available whenever you want to compare them.
Use and sharing
You may print these pages for personal, family or classroom activities. Keep the website credit on the sheets. Share this article link with other adults instead of redistributing or selling the PDF. Read the terms of use for the permission and its limits.
Creation and editorial note
The activity guide and page layout were prepared and edited for Coloring Pages Story, with AI assistance. The line art is AI-assisted. The page previews and five-page PDF have been checked digitally. No classroom trial or physical print test has been performed.
Comments
Comments are closed