

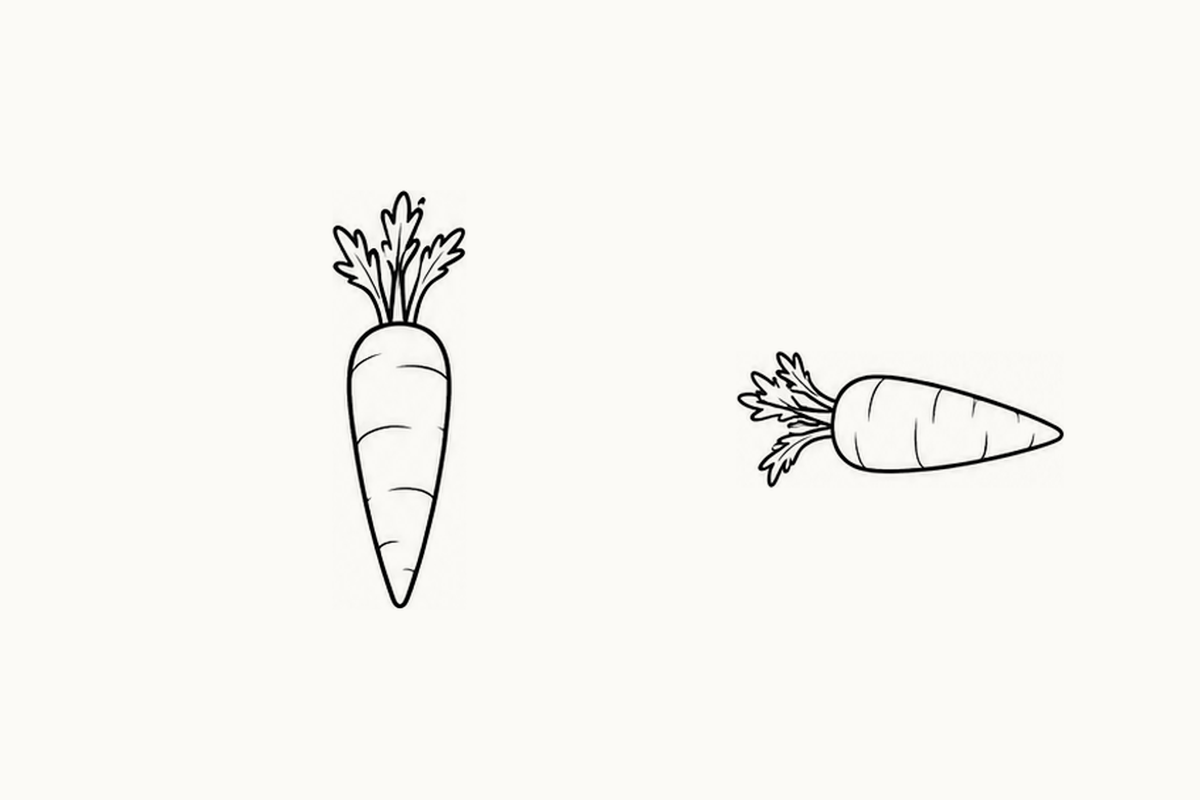
These beginner carrot coloring pages offer five A4 sheets of intact roots with attached leafy tops. Put page 1 beside a pencil and a few crayons, then find the tall carrot at the upper left. Ask, “Which end is broad, and which end comes to a point?” Your child can follow the outside with a finger, color one root or try a larger version in a blank band. The aim is one connected whole carrot. You do not need a real vegetable, a knife or any food preparation for this activity.
Download the five-page Beginner Carrot PDF (1.58 MB; 1,582,928 bytes)
A broad shoulder leads to a narrow tip
Each sheet has eight small reference positions and two empty drawing bands. The pages reuse an existing pool of whole-root views and near alternatives; forty printed positions are not forty unique illustrations. Upright, sideways, diagonal and shortened shoulder-end views recur. Leaves stay attached to the broad end while sparse curved marks cross the root. There are no flat cut faces in this Beginner selection. Choose one clear silhouette instead of trying to reproduce every leaf lobe or surface line. A change of direction can be a useful exercise even when the underlying carrot shape is familiar.
Find the leaves before choosing the tip
On page 1, look at the upright upper-left carrot and the sideways one beside it. In both, stems grow from the broad shoulder and the opposite end narrows. Invite your child to point from the leaves toward the tip without turning the paper. Then turn the sheet if that makes the outline easier to follow. You might say, “The leaves moved to the side, but they still belong at the wide end.” Coloring the root and leaves in two different colors can help separate those areas before any new drawing begins.
See all five complete sheets
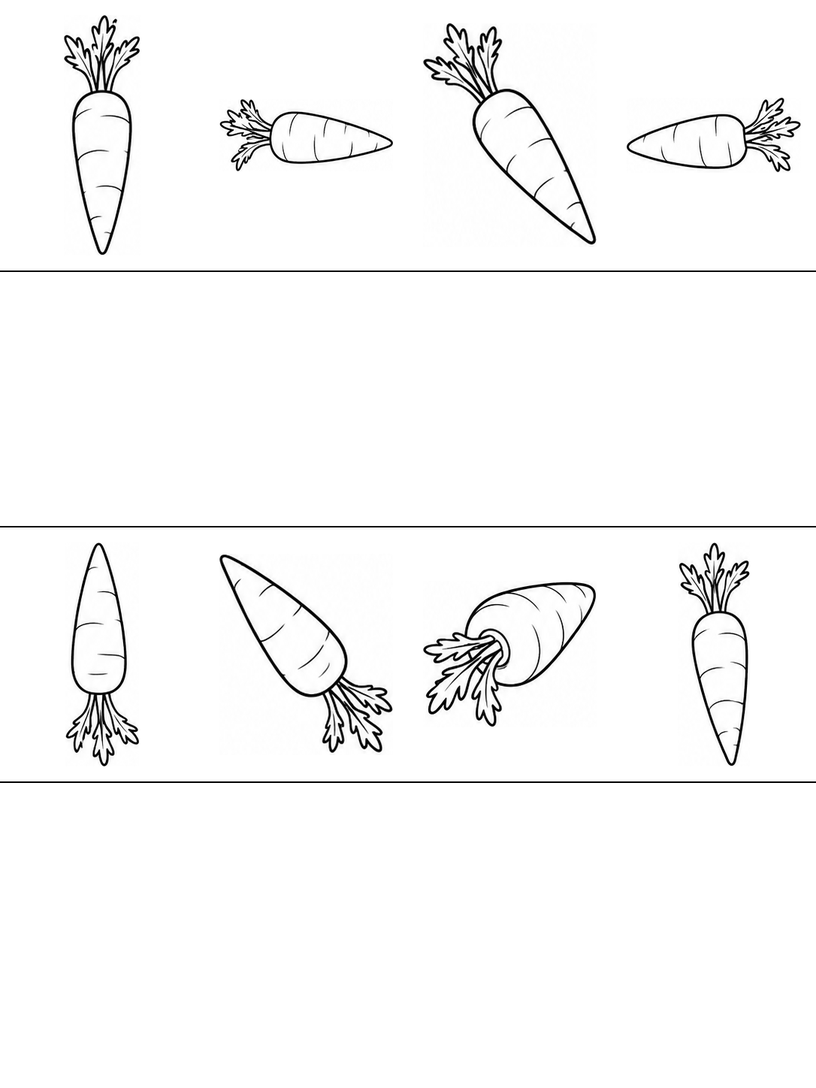
Page 1 combines an upright downward-pointing root, a right-pointing carrot, a diagonal and a left-pointing carrot across the upper row. Below, the tips turn upward and diagonally, alongside a shortened shoulder-end view and another upright root. Pick the large upright outline for the drawing activity.
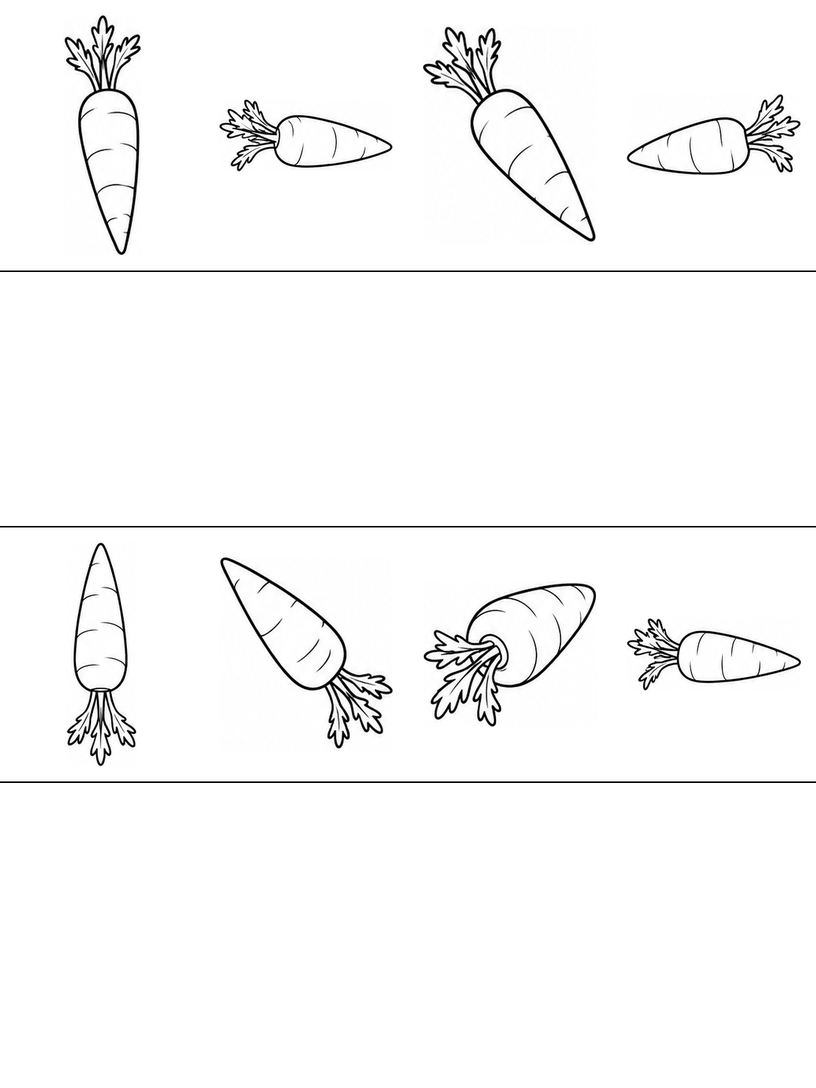
Page 2 revisits the same main directions with small changes in tilt and curved surface marks. The final reference is a sideways right-pointing carrot. Compare the broad shoulder on two views rather than treating a slight rotation as a different kind of vegetable.
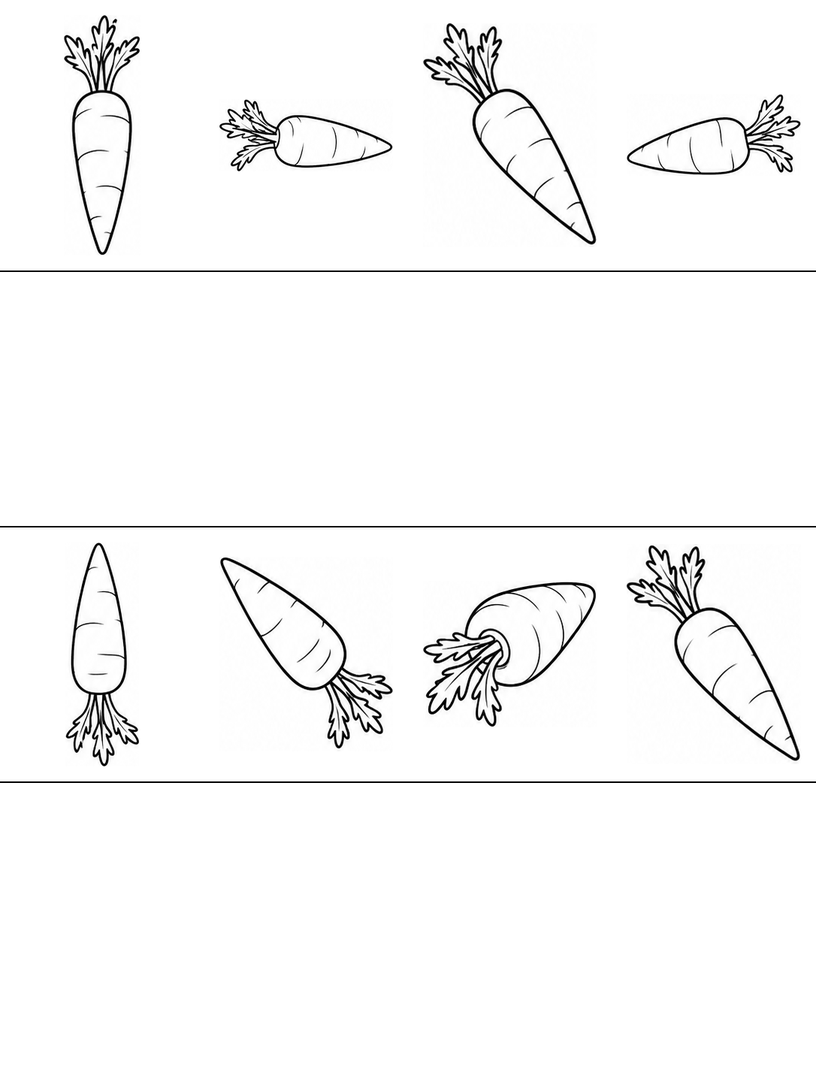
Page 3 mixes the familiar upright, horizontal and diagonal roots with near alternatives. The first upper-row root again gives a straightforward shoulder-to-tip outline. In the lower row, keep the shortened shoulder-end view distinct from the longer side views; you do not have to copy that foreshortening.
Page 4 changes which direction examples use the small tilt alternatives. The lower row includes upward, diagonal and shoulder-end views, finishing with a left-pointing carrot. Trace the two outer edges on one chosen example and notice that they meet only at the narrow tip.
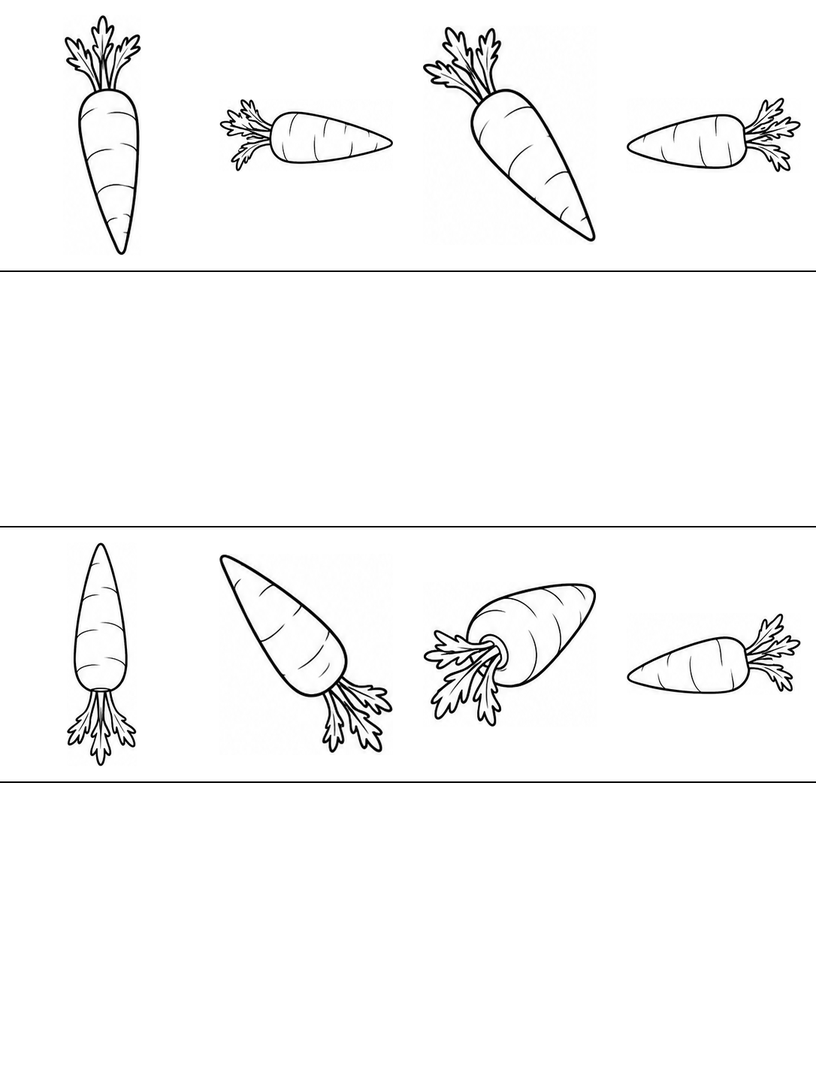
Page 5 returns to familiar whole-root directions, ending with an upward-pointing alternative. Use it for another short turn if your child wants repetition. One colored carrot or one outline in a blank band is enough; completing all eight references on every sheet is optional.
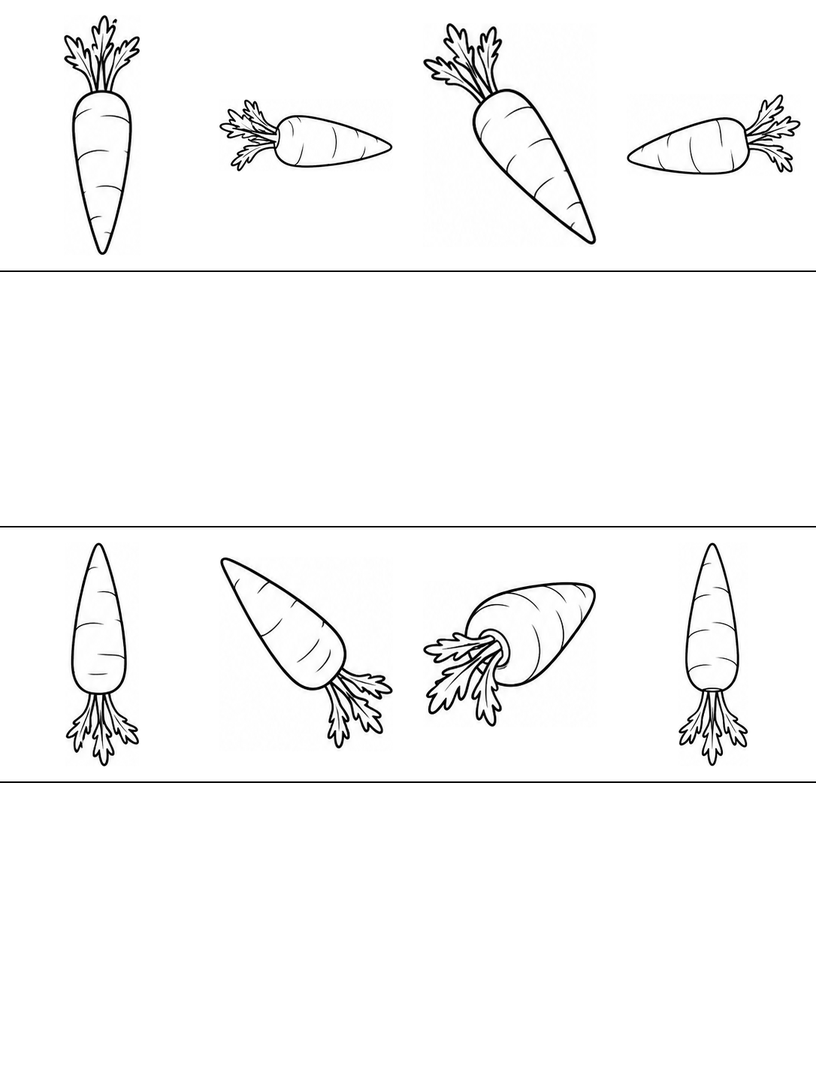
Draw one carrot from shoulder to tip
Use the upper-left reference on page 1 as a guide, then draw in a blank band or on spare paper. Make the carrot wide enough to leave room for color inside. The following steps simplify the printed example; they are a drawing activity beside the references, not a printed numbered sequence on the worksheet.
- Place the broad shoulder. Draw a short rounded curve for the wide top of the root. Decide where the tip will be below it, leaving some space above for the leaves. Two small pencil dots can mark the shoulder sides while you decide how long you want the carrot.
- Bring two edges toward one tip. From each shoulder side, curve downward and inward until the edges meet. Keep the change gradual instead of making an abrupt triangle. If one side wobbles, continue lightly and choose the line you like when you look back at the whole outline.
- Attach leaves and a few curved marks. Bring several short stems out of the shoulder and add simple leaf shapes. Their ends should meet the root rather than float above it. Add two or three short curves across the root if you want surface detail, then choose colors without filling every small leaf space.
If the drawing looks like a pointed leaf rather than a carrot, round the shoulder and show the attached stems more clearly on your next attempt. If the root becomes a blunt tube, let its two edges approach the same narrow tip. Surface marks can remain short and sparse; a row of heavy stripes is not necessary. Ask, “Can we follow one outside line all the way from the shoulder to the tip?” For a simpler turn, an adult can draw the outside and let the child attach leaves or color the open body.
An optional paper garden label
Imagine that your newly drawn carrot needs a label in a pretend paper garden. Your child could add a little label beside their own drawing and give it a made-up garden name. Point from the label to the attached leaves, then down toward the root tip. The label and garden story are invented additions for the empty band; they are not already pictured on the worksheet. Keep the activity on paper and let the child choose whether to tell a story, add colors or simply draw another whole root.
Choose another simple whole-subject outline
The Beginner apple sheets offer a rounded whole-fruit body and stem for another short turn. The Beginner bird sheets offer a body, beak and tail instead. You can also stay with this page and color only one reference. Choosing a different subject is optional; the level name describes the pictured tasks, not a tested age requirement.
Printing and file notes
The download contains only the five Beginner carrot sheets, not every level in the source workbook. Choose A4 paper and 100% / Actual size in your PDF reader. Inspect the preview for missing borders, then try one page before printing the rest. Use Fit if your printer needs more margin. The printing guide explains these choices. The files have been checked digitally; no physical print test has been performed, and the result on your printer has not been verified.
Worksheet questions
Are these cut-carrot worksheets?
No. This Beginner set uses intact leafy roots in several directions. Some views look shorter because they are seen from near the shoulder, but the selection does not introduce the flat slice faces used at other levels. Choose an upright or sideways root if the shortened view is confusing.
Do all forty positions show different drawings?
No. The five page combinations reuse whole-root directions and near alternatives from an existing pool. Repeated examples can provide another chance to connect leaves, shoulder and tip. Choose whichever page arrangement is comfortable rather than expecting forty unrelated carrot designs.
Must the leaves or roots be a particular color?
No color has to be copied for this paper activity. The references are outlines, so your child can leave white areas or choose different colors for the leafy top and root. Finding the broad end and narrow end is the main shape task; exact coloring or leaf counting is optional.
Use and sharing
You may print these pages for personal, family or classroom activities. Keep the website credit on the sheets. Share this article link with other adults instead of redistributing or selling the PDF. Read the terms of use for the permission and its limits.
Creation and editorial note
The activity guide and page layout were prepared and edited for Coloring Pages Story, with AI assistance. The line art is AI-assisted. The page previews and five-page PDF have been checked digitally. No classroom trial or physical print test has been performed.
Comments
Comments are closed