

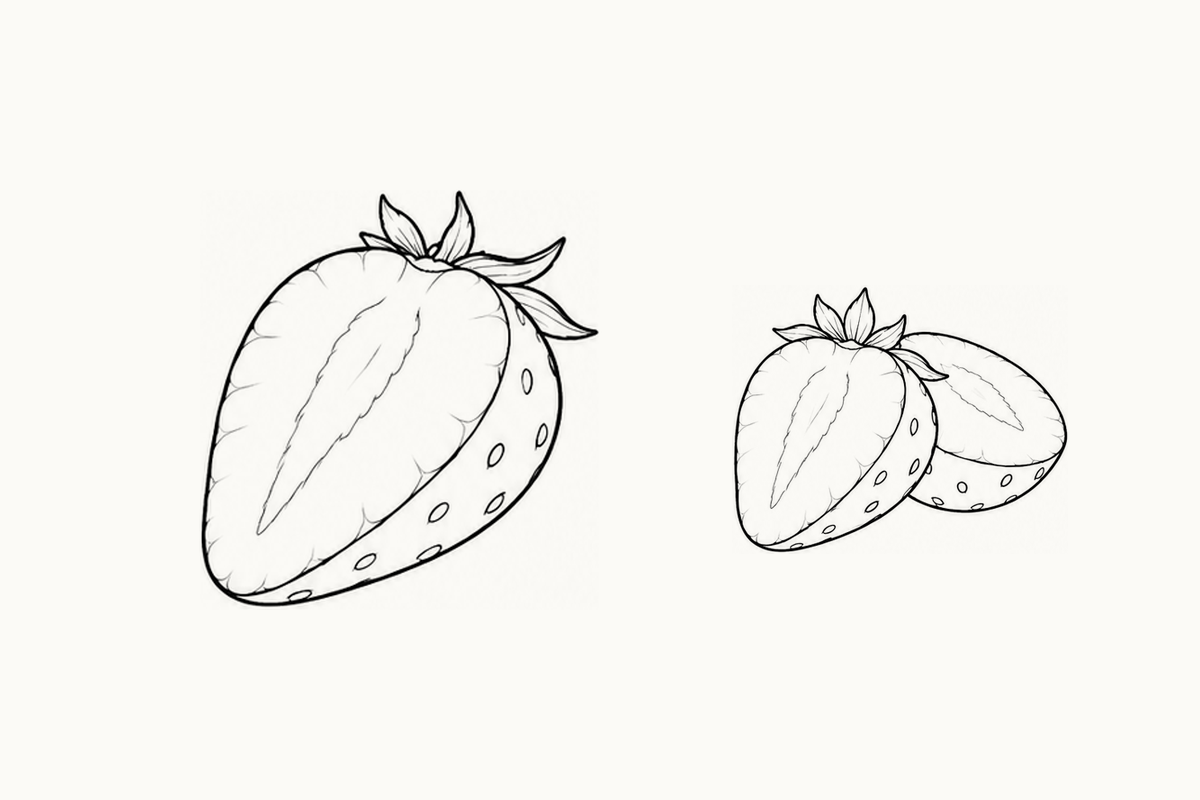
These intermediate strawberry coloring pages provide five A4 sheets with four larger reference arrangements and two blank bands per page. Set out page 2, a pencil and a few colors. In the lower-left arrangement, find the half that sits in front of another piece. Ask, “Where does the farther edge disappear?” Your child can point to that meeting, color the nearer face or draw two simpler pieces below. The aim is to keep the visible edges connected while letting one shape hide part of another. The printed views are enough; no real fruit or cutting tool is needed.
Download the five-page Intermediate Strawberry PDF (1.90 MB)
A turn changes the face and the outside together
The five layouts reuse eight selected source arrangements. Four positions on each sheet give twenty printed positions, not twenty unique designs. Angled lengthwise halves and quarters show an open face next to a curved strip of skin. Broad crosswise portions show a different outline, and two grouped arrangements add overlap. Sparse center contours remain visible within several open faces. Small hollow marks sit on the skin wall outside that face. The leafy top may partly hide a farther edge; neither the naturally narrow berry tip nor a cluster of leaves alone explains the whole turn.
Choose the front piece first
On page 2, look at the paired halves in the lower-left position. Follow the nearer piece from its leafy end down around its broad face. The farther face comes into view behind it and disappears again at the nearer boundary. You can say, “We can leave out the part we cannot see.” Your child does not need to draw every center contour. Choose one clear overlap before deciding whether to add leaves, surface marks or color. A small pair of open shapes can be enough for this activity.
See all five complete sheets
Page 1 compares two angled halves above two quarter views. Look at the outside strip beside each open face: its visible width changes as the piece turns. The lower-left quarter has no leafy top, while the lower-right quarter retains leaves. Keep those differences in mind if your child chooses a quarter rather than the overlapping pair for a new drawing.
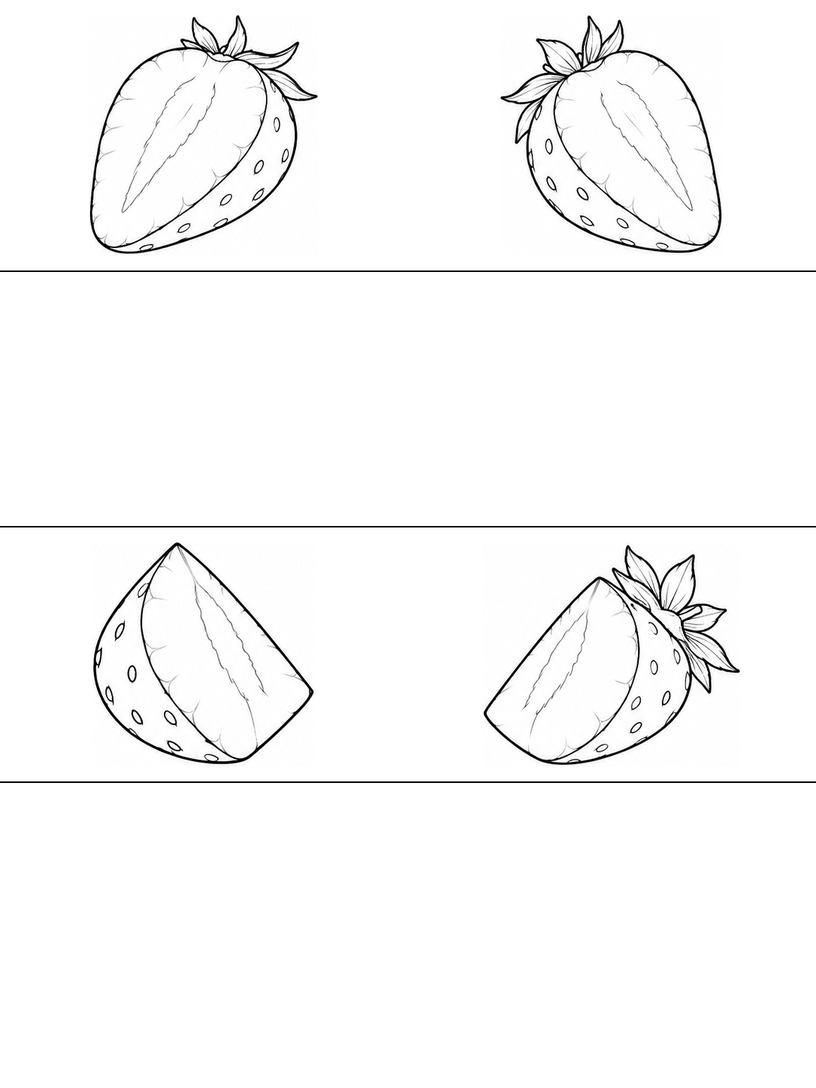
Page 2 adds broad crosswise portions in the upper row and grouped pieces below. The upper-left portion retains leaves, while the upper-right portion has none. In the paired reference below, one half hides part of the other. Beside it, a quarter rests in front of a whole berry. These groups demonstrate different front pieces; they are not steps showing one berry being cut.
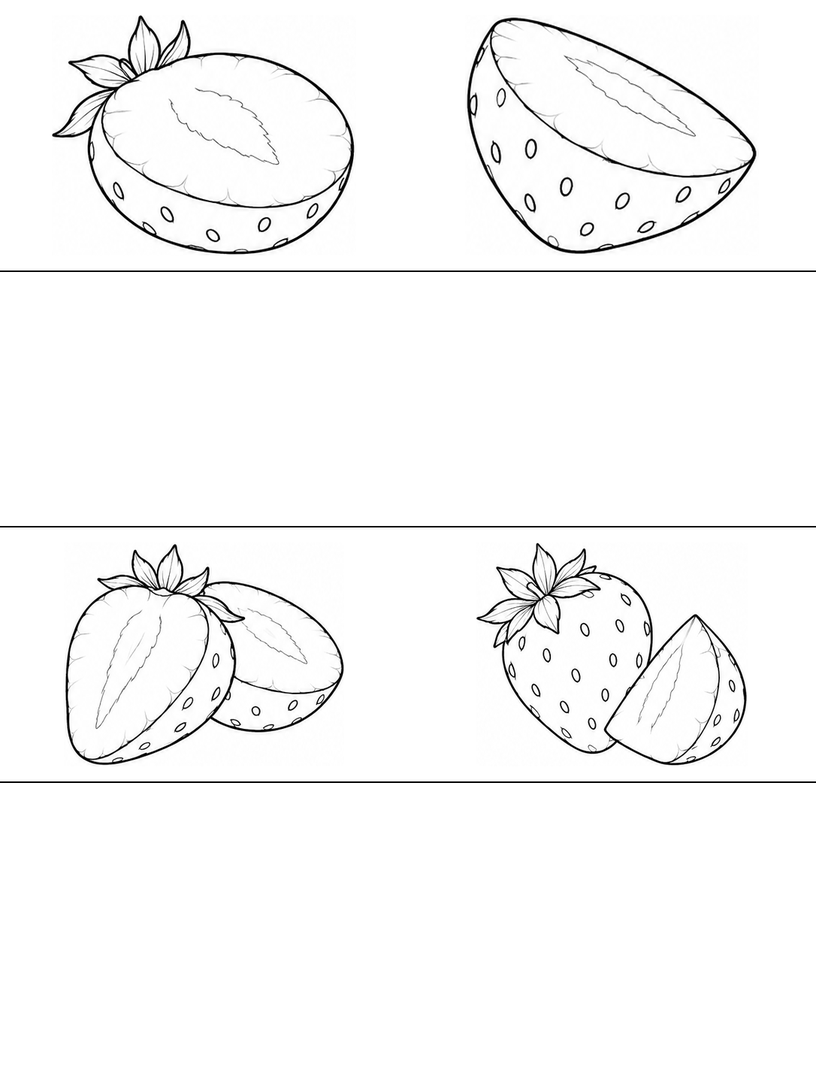
On page 3, a long angled half sits beside the leafy quarter above a leafless lower portion and the paired halves. Compare the broad oval face of the lower portion with the longer face of the half above. You can keep the same idea of a connected outer wall without making every cut piece the same length or adding leaves where none are shown.
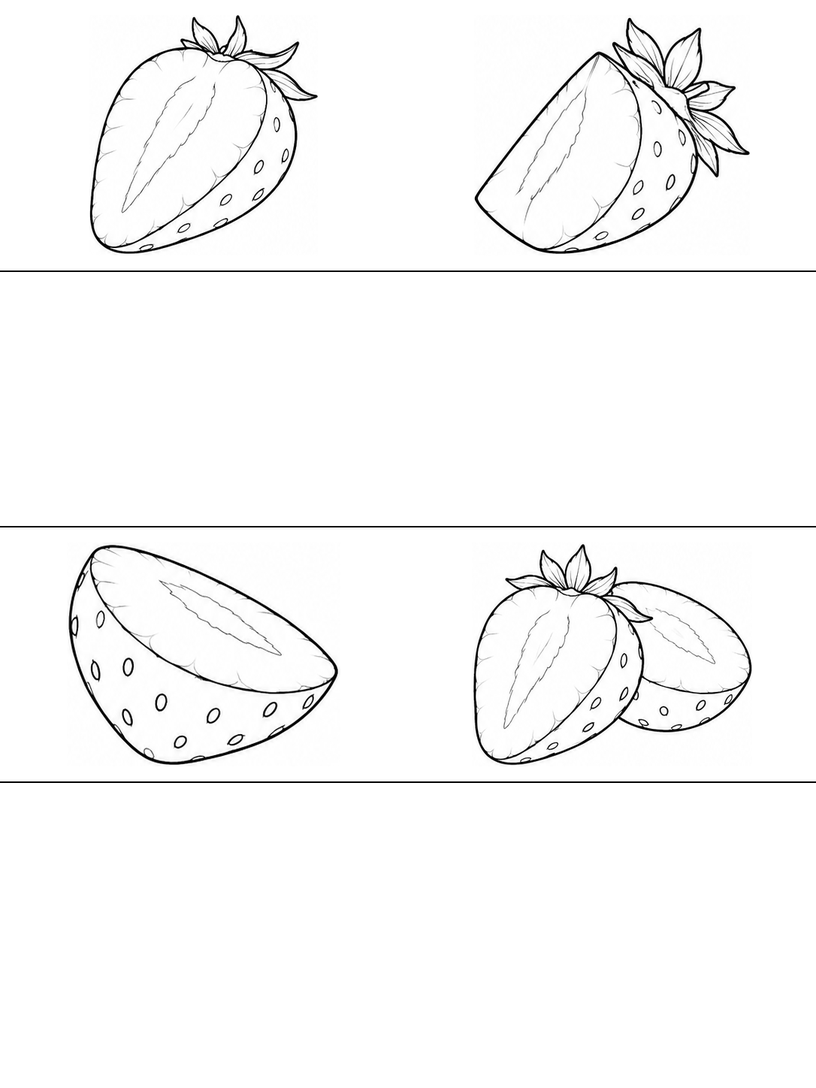
Page 4 puts the opposite half and the leafless quarter in the upper row. Below, the leafy crosswise portion returns beside the whole berry and foreground quarter. Trace one visible curve of the whole fruit until the quarter hides it. If your child draws that group, stopping the rear outline at the nearer piece can make the overlap clear without extra shading.
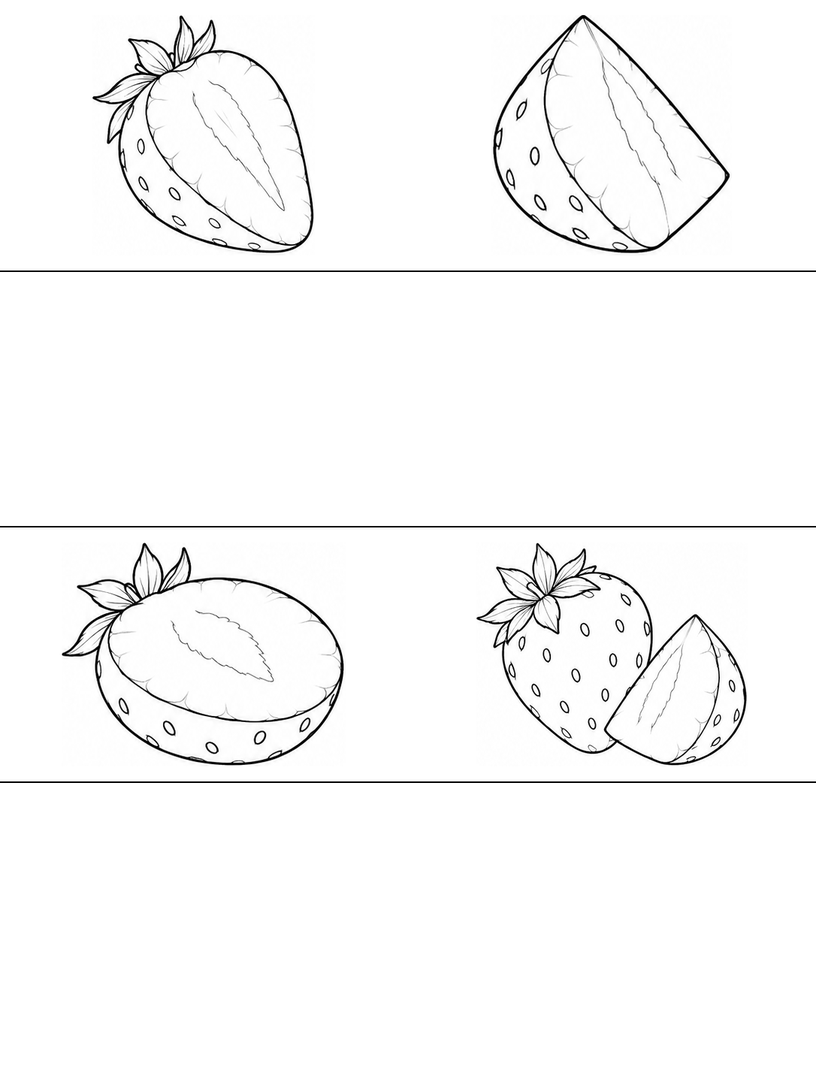
Page 5 pairs the two quarter views above the leafy crosswise portion and whole-fruit group. Look at the narrow area where a quarter's open planes meet its curved skin. Your child can follow that edge with a finger, or return to the overlap group below and draw only its outer shapes. Repeated references let you choose one relationship to explore again rather than taking on four new tasks.
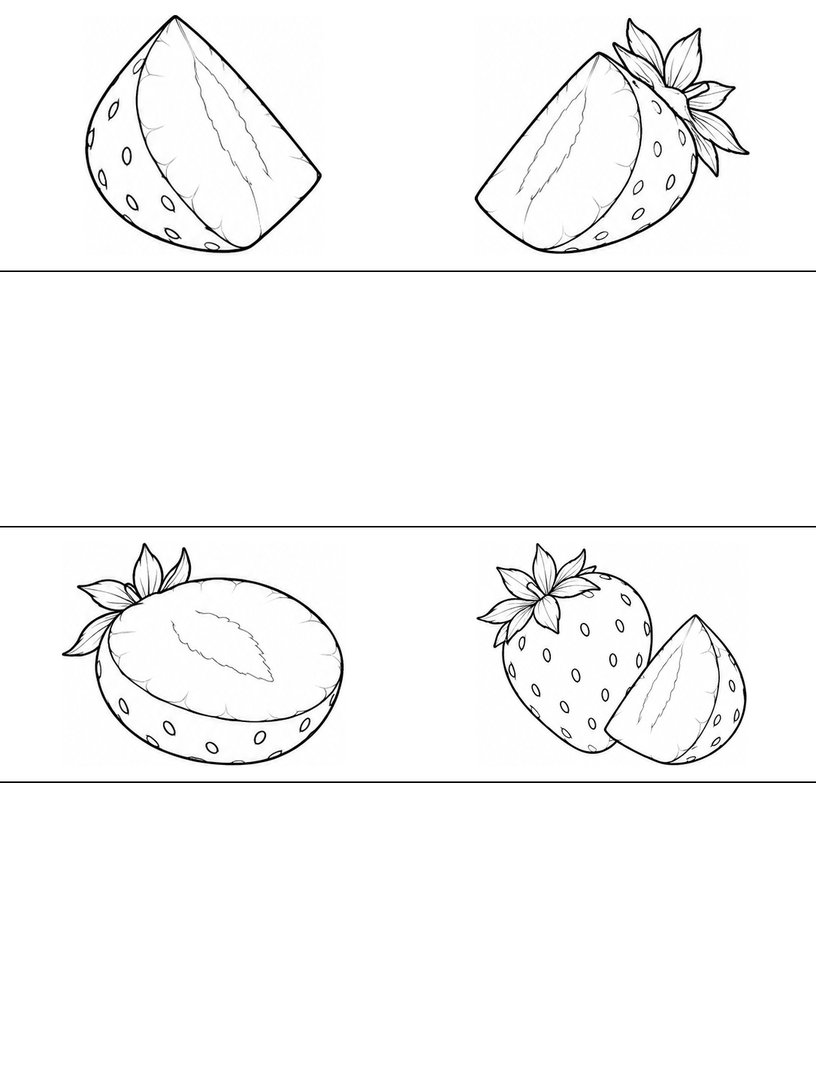
Draw a near half hiding part of a farther piece
Use the paired-halves reference on page 2 as a guide, then simplify it in a blank band or on spare paper. Leave room beside the near half for a visible part of the farther face. You can omit small center lines while keeping the two pieces distinct.
- Set down the near face and its wall. Draw a light long face with a broad top and rounded narrow end. Join a curved outside strip along one side and beneath it. Keep the face and outside attached at their ends. This is the front piece, so let its outline remain clear before planning the other half.
- Place the farther face behind it. Sketch a broader tilted face beside and partly behind the first piece. Stop its edge when it reaches the near half, then show only the part that emerges beyond it. Do not draw a complete rear oval through the foreground face. Leave the hidden section out.
- Connect the visible outside and choose a leaf. Bring the farther piece's curved wall back to its own open face wherever that wall is visible. Add a small leafy attachment to the near piece if you want to follow the reference. Keep hollow surface marks on the outside skin, then choose one face or leaf to color.
If the two pieces look like crossed outlines, choose which one comes first and omit the rear curve inside it on your next attempt. If a skin wall looks like a loose crescent, join it back to its own cut face. If the near half hides everything else, move it slightly aside or leave more room for the rear piece. Ask, “Which part shall stay behind?” Your child can use a gentle overlap and fewer details; there is no required angle, shading pattern or exact size ratio to copy.
An optional made-up front-and-back picture
Imagine a pretend picture display where a small card sits in front of a larger one. Ask your child to find the near strawberry half and use that same front-and-back choice in their own pair of fruit shapes. They may add a little display line beneath their drawing. The cards and display are story additions, not objects or a scene included in the worksheet.
Keep one relationship clear
For a break from overlapping cut pieces, the Beginner apple sheets offer a whole-fruit outline with a short stem. The Beginner bird sheets provide another subject with open drawing bands. You can also stay with this set and color only the front half. The Intermediate label names the picture task; it is not an age requirement or evidence of a tested learning outcome.
Printing and file notes
The download contains only the five Intermediate strawberry sheets, not every level in the source workbook. Choose A4 paper and 100% / Actual size in your PDF reader. Inspect the preview for missing borders, then try one page before printing the rest. Use Fit if your printer needs more margin. The printing guide explains these choices. The files have been checked digitally; no physical print test has been performed, and the result on your printer has not been verified.
Worksheet questions
Should I draw the farther edge through the front half?
No. Where a nearer piece hides the edge, leave that section out. Show the rear face or wall only where it is visible beyond the foreground boundary. A missing hidden segment can explain the overlap more clearly than several crossing outlines.
Are the small marks inside the cut faces seeds?
The cut faces contain sparse center and edge contours, while hollow oval surface marks belong to the outside skin. These are not diagrams of internal seeds. Leave out the light center details if you want the open face and connected wall to be easier to see.
Are there twenty unique intermediate arrangements?
No. Eight selected source arrangements recur in five combinations, with four printed positions per page. The download contains only these five Intermediate sheets. Choose the combination that helps you compare a shared cut edge or a front-and-back overlap.
Use and sharing
You may print these pages for personal, family or classroom activities. Keep the website credit on the sheets. Share this article link with other adults instead of redistributing or selling the PDF. Read the terms of use for the permission and its limits.
Creation and editorial note
The activity guide and page layout were prepared and edited for Coloring Pages Story, with AI assistance. The line art is AI-assisted. The page previews and five-page PDF have been checked digitally. No classroom trial or physical print test has been performed.
Comments
Comments are closed