

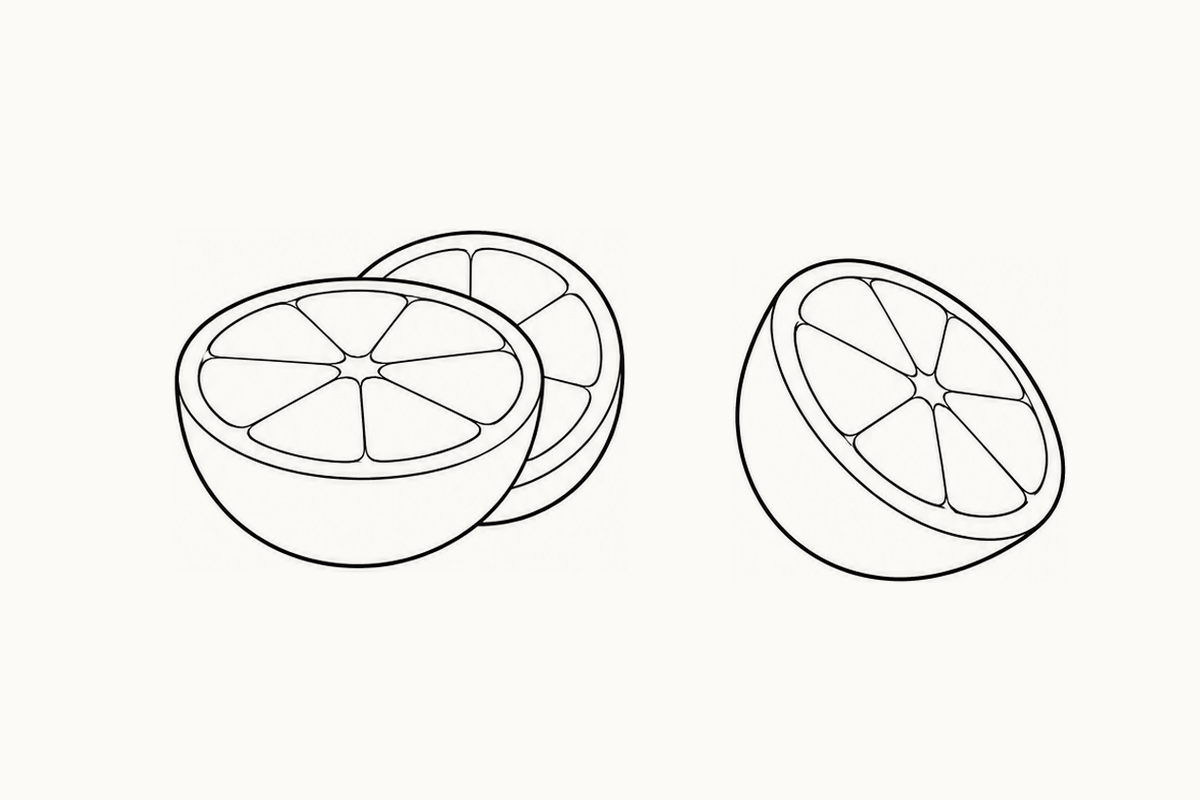
These intermediate orange coloring pages offer five A4 sheets of tilted halves, turned portions and overlapping cut faces, with blank bands for drawing. Choose one sheet, a pencil and a few crayons. In the upper-right arrangement on page 2, ask, “Which half is hiding part of the other one?” Your child can point to the nearer rind, color one visible segment or draw a larger overlapping pair below. Begin with the edges you can see, leaving the hidden parts out.
Download the five-page Intermediate Orange PDF (1.80 MB)
Four larger arrangements on each sheet
Each complete page has four larger reference arrangements in two rows and two empty practice bands. The five layouts reorder eight selected source views; twenty printed positions are not twenty unique designs. Tilted halves connect an open face to a broad curved outside wall. Turned quarters and a thick wedge show differently shaped cut faces, while one pair places a half in front of another. Broad segment boundaries stay within each fruit's rind. Their simplified count varies with the study, rather than giving a fixed pattern for every orange.
Find the front boundary before the small lines
Look at the overlapping halves on page 2. Follow the front half's cut-face outline, then its curved outside below. Now point to the part of the rear face that remains visible above and beside it. Let your child follow that rear outline until the nearer portion covers it. You can say, “We can stop here because this part is behind.” Choose just one visible rear segment to look at, instead of trying to complete its hidden shape through the front fruit.
Compare the complete sheets
Page 1 offers two tilted half views above two turned quarters. Choose a half and compare its open face with the rounded rind wall attached to it. The face and wall belong to the same portion, even when their curved outlines look different.
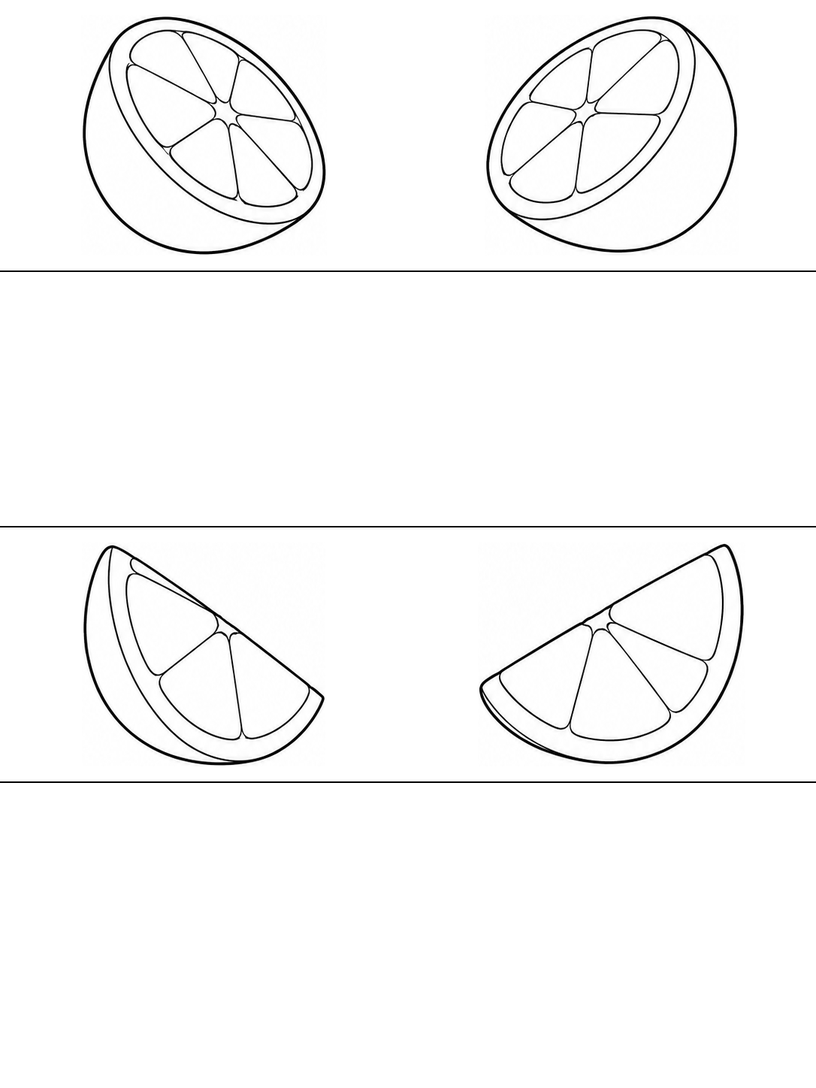
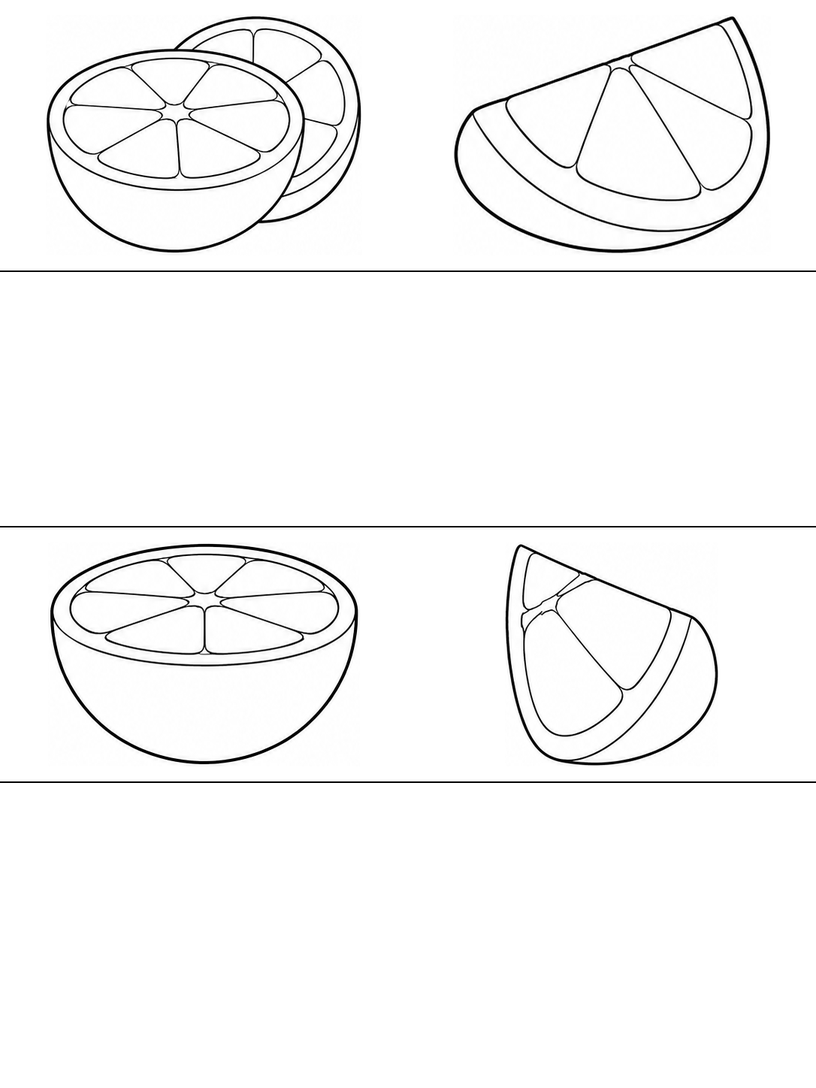
Page 2 places a turned quarter beside the overlapping halves. A thick wedge and an upward-facing half sit below. Use the overlap for the drawing activity, or choose one single cut face for coloring if the pair feels too busy.
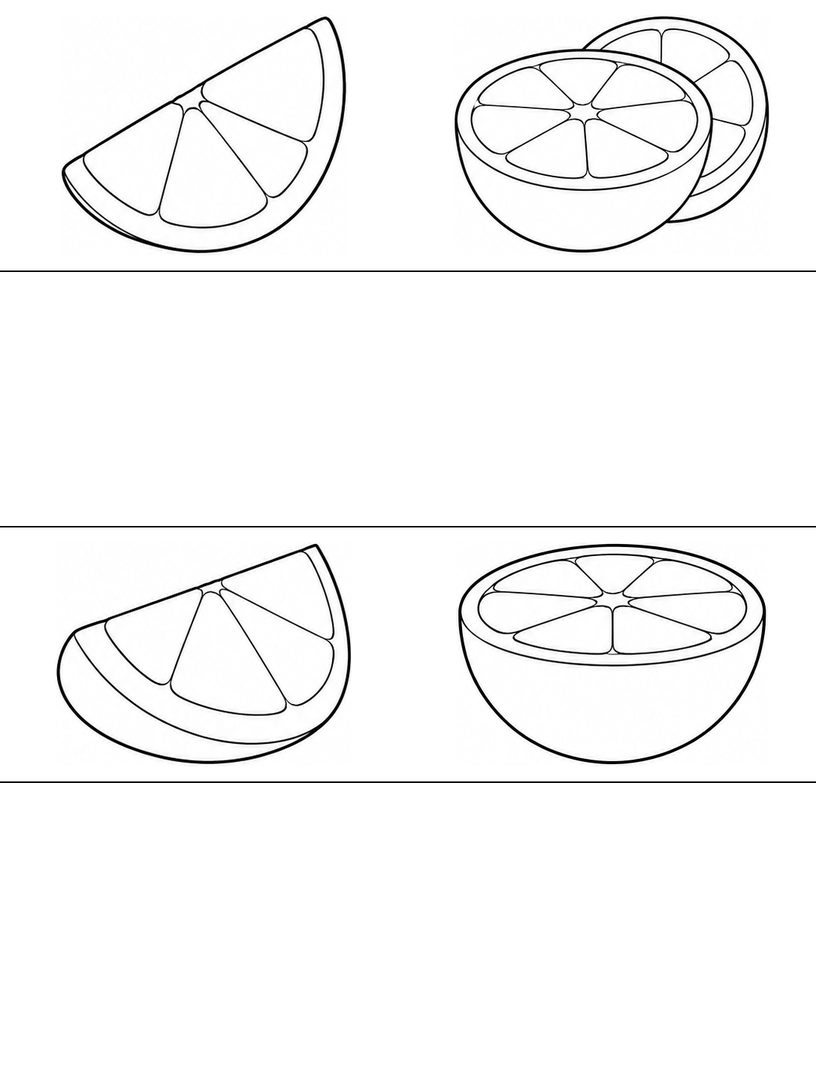
Page 3 begins with an upward-facing half and an upright quarter, with the familiar tilted halves below. Notice how much of the curved outside is visible beneath each face. Draw those broad shapes first if you try a single portion.
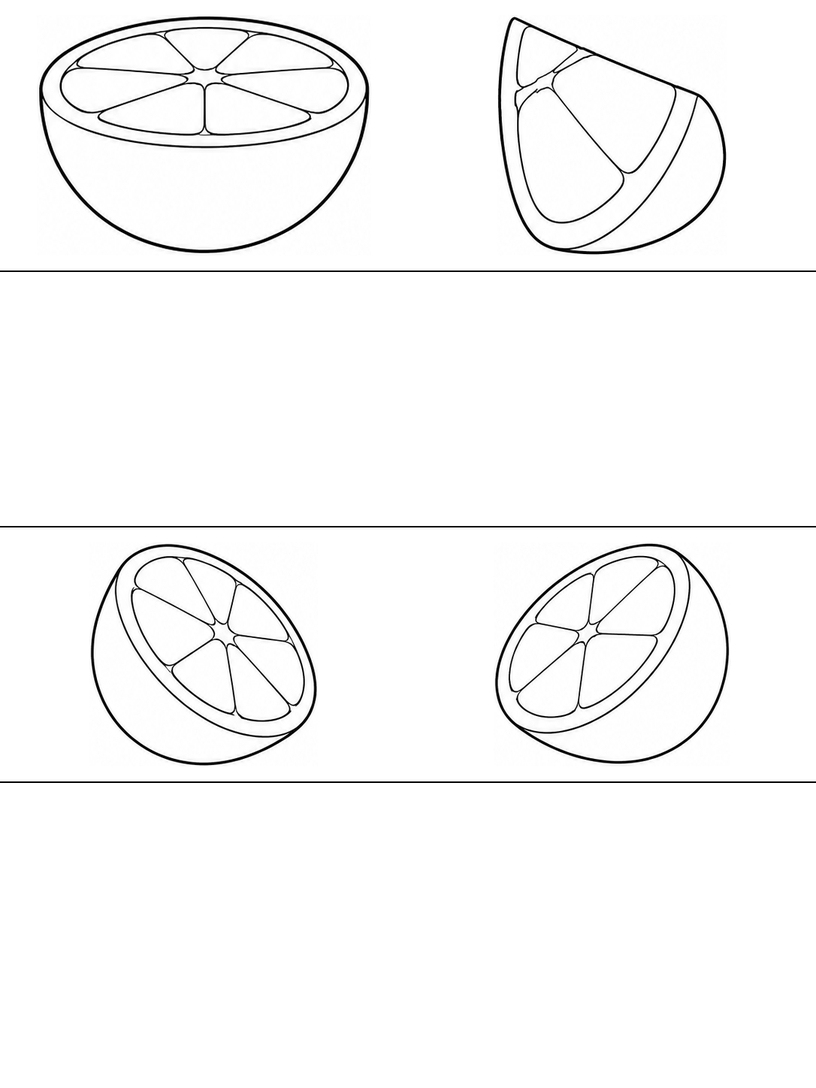
Page 4 returns to the overlapping pair at the lower right. Find its rear face and point to where the visible segment edges disappear behind the front half. Do not extend those lines through the nearer fruit just to complete a familiar pattern.
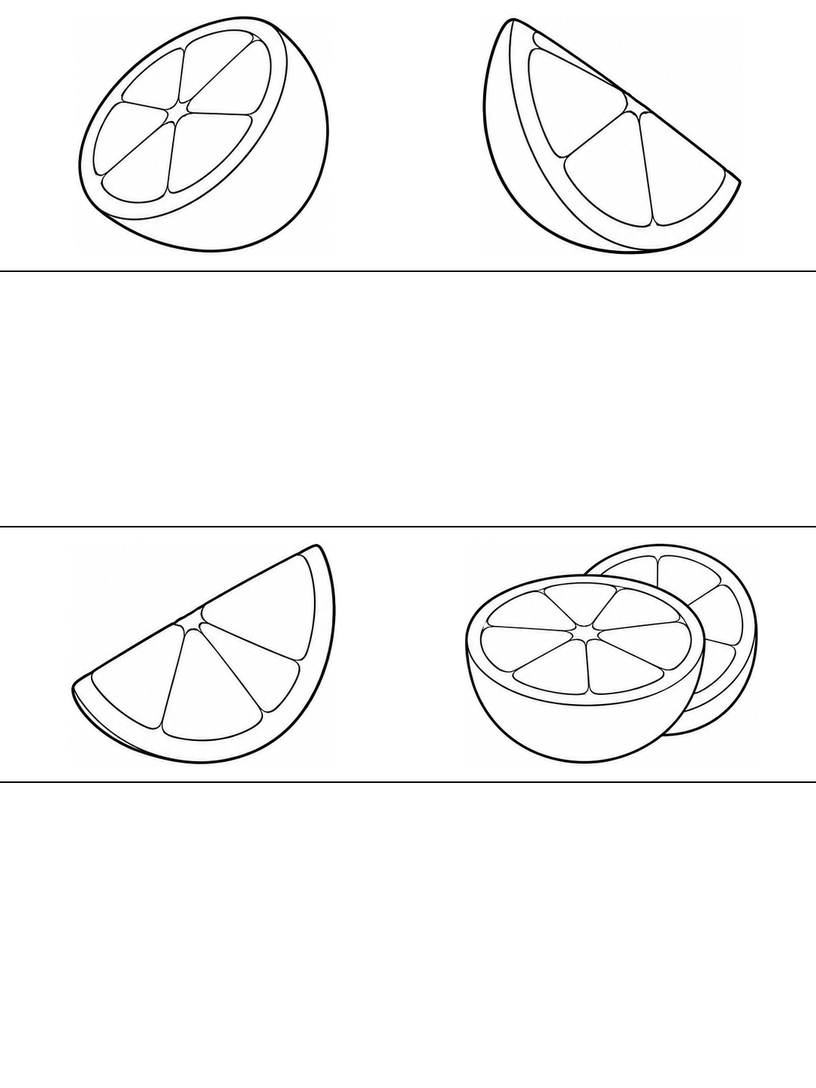
Page 5 moves the pair to the upper left beside a thick wedge. An upward-facing half and a quarter appear below. Choose a known arrangement for another attempt; the changed layout does not make the repeated source views new designs.
Draw two halves without showing hidden rear lines
Use the overlapping pair at the upper right of page 2. Offer a blank band or spare paper and draw larger than the reference if that helps separate the two faces. Leave the internal segments until the front and rear outlines are clear.
- Establish the front half. Sketch the nearer cut face as a broad oval, following its tilt. Add an inner boundary for the rind and a curved outside wall below it. Join the wall back to both sides of the cut edge instead of placing a separate bowl under the face.
- Add the visible rear face. Place a second cut-face outline behind and a little above the first half. Draw only the arc you can see in the reference. Stop its lower outline where the front half covers it, keeping the nearer boundary clear and continuous.
- Fit segments to their own face. Leave a small central area in each visible cut face and add a few broad segment divisions inside its rind boundary. On the rear half, stop each hidden line at the front portion. Keep the two faces' patterns separate rather than running one set of lines across both fruits.
If the rear half looks transparent, try a fresh pair and leave its covered lower arc and segment edges out. If the front half looks like a flat oval with a detached strip underneath, connect its curved wall to the cut-edge ends. If the small shapes crowd the rear face, omit some divisions and keep its visible outline. Your child can also finish with just the two broad forms and color one half.
An optional made-up peeking prompt
Imagine, as a made-up story, that the rear orange half is waiting for its turn to be fully seen. Ask your child to find one part still peeking out beside the front half, then draw only that visible portion behind a simple front outline in a blank band. They may use different colors for the two halves. The waiting story is your prompt, not characters, a hidden-picture game or extra scenes printed in the PDF.
Choose one portion for a quieter turn
If the overlapping pair is more than your child wants to draw, choose a single half from page 1 and color one broad segment. Its rind can stay white and the fine lines can wait. For a whole-fruit outline later, the Beginner apple sheets offer rounded bodies and short stems. The Beginner bird sheets offer whole cartoon birds for a change of subject. These are optional next activities, not more tasks required today.
Printing and file notes
The download contains only the five Intermediate orange sheets. Choose A4 paper and 100% / Actual size, inspect the preview for clipped borders and try one page before printing the rest. Use Fit if your printer needs extra margin. The printing guide explains these choices. The files have been checked digitally, but no physical print test has been performed.
Worksheet questions
Should I finish the hidden rear segment shapes?
Not in the visible finished outline. Follow the reference and stop their lines where the nearer half covers them. You may use a very light planning line while drawing, then leave it out or erase it before coloring.
Must the two cut faces have the same outline and segment count?
No. Their apparent shapes depend on the chosen views, and these simplified studies use different broad divisions. Keep each pattern inside its own rind instead of copying a full round pattern onto every tilted face.
Are the twenty positions unique designs?
No. Four larger arrangements appear on each page, using different orders of eight selected source views. The halves, quarters, wedge and overlapping pair recur across the five sheets. Choose an arrangement for the edge or face you want to explore.
Use and sharing
You may print these pages for personal, family or classroom activities. Keep the website credit on the sheets. Share this article link with other adults instead of redistributing or selling the PDF. Read the terms of use for the permission and its limits.
Creation and editorial note
The activity guide and page layout were prepared and edited for Coloring Pages Story, with AI assistance. The line art is AI-assisted. The page previews and five-page PDF have been checked digitally. No classroom trial or physical print test has been performed.
Comments
Comments are closed