

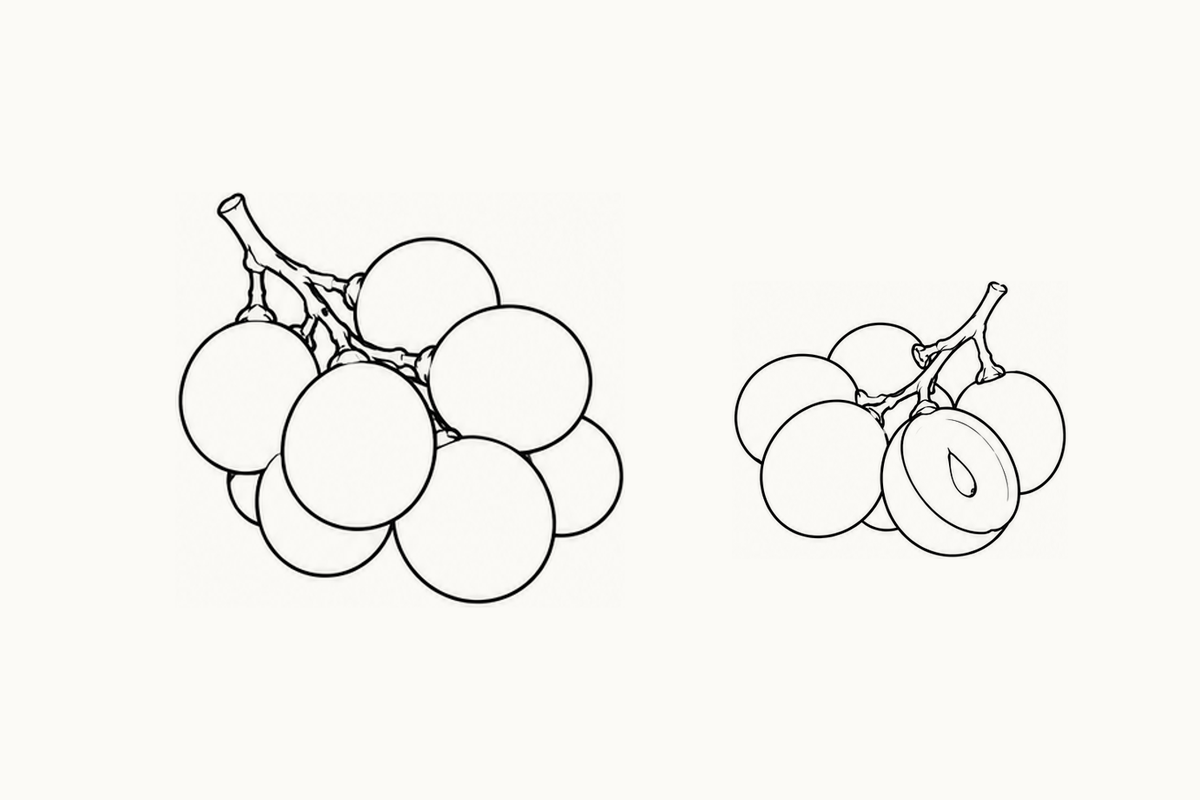
These intermediate grape coloring pages contain five A4 sheets with four larger reference arrangements on each page. Set out page 1 with a pencil and a few colors, then look for a stalk section between two berries. Ask, “Where does that branch disappear?” Your child can point to its ends, color one front berry or draw a simpler angled group in a blank band. This activity uses the printed views; no real fruit or food preparation is needed. One hidden branch is enough to study before deciding whether to continue.
Download the five-page Intermediate Grape PDF (1.82 MB)
Let the fruit hide part of the framework
The five sheets reuse eight reference arrangements in different combinations. Four positions per page give twenty printed positions, not twenty unique designs. Some views turn a bunch so its stalk passes behind the foreground berries. Others show an angled cut face, with a curved skin wall beneath or behind it. Every sheet keeps two blank drawing bands. The challenge is to make the visible parts fit together without drawing through the front fruit. It is not necessary to expose every attachment or add darker shading to explain the bunch.
Follow one visible route
Start with the top-left bunch on page 1. Trace the main stalk with a finger until a berry hides it, then look for a related visible branch beside that berry. Pointing is enough; your child does not need to trace ink onto the worksheet. You might say, “We can leave a gap where the grape is in front.” If they choose to color, leave the branch white and color just one nearby berry so its boundary remains easy to follow.
See all five complete sheets
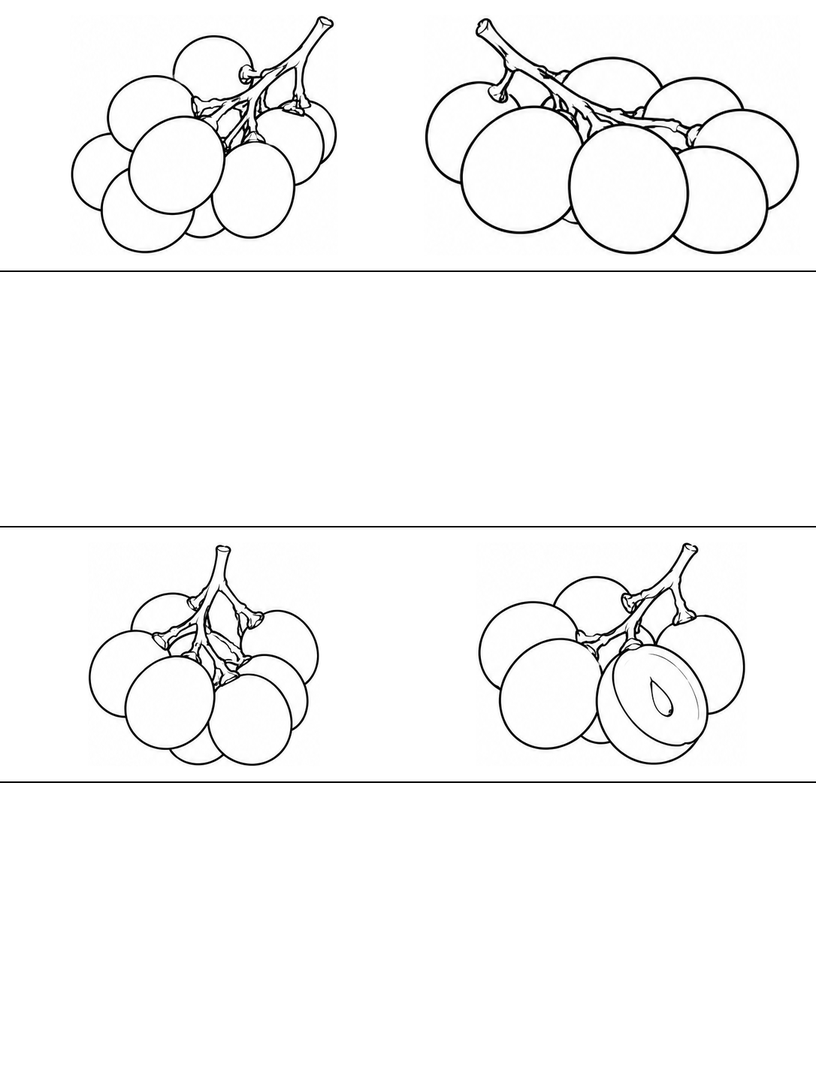
Page 1 groups four whole-bunch studies. The upper references have stalks leaning in different directions; the lower-left arrangement spreads across the row with large berries in front. Compare a long visible stalk section with a short one between two round shapes. The short section is not necessarily broken: another berry may simply cover more of its route.
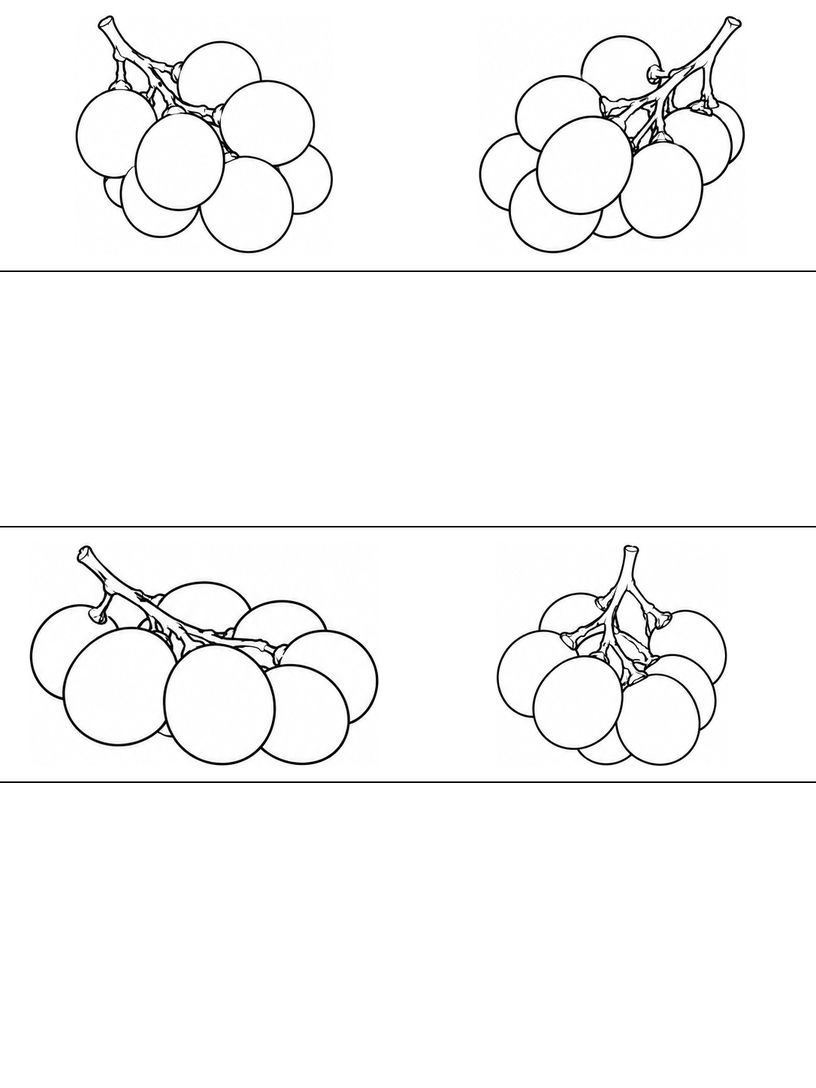
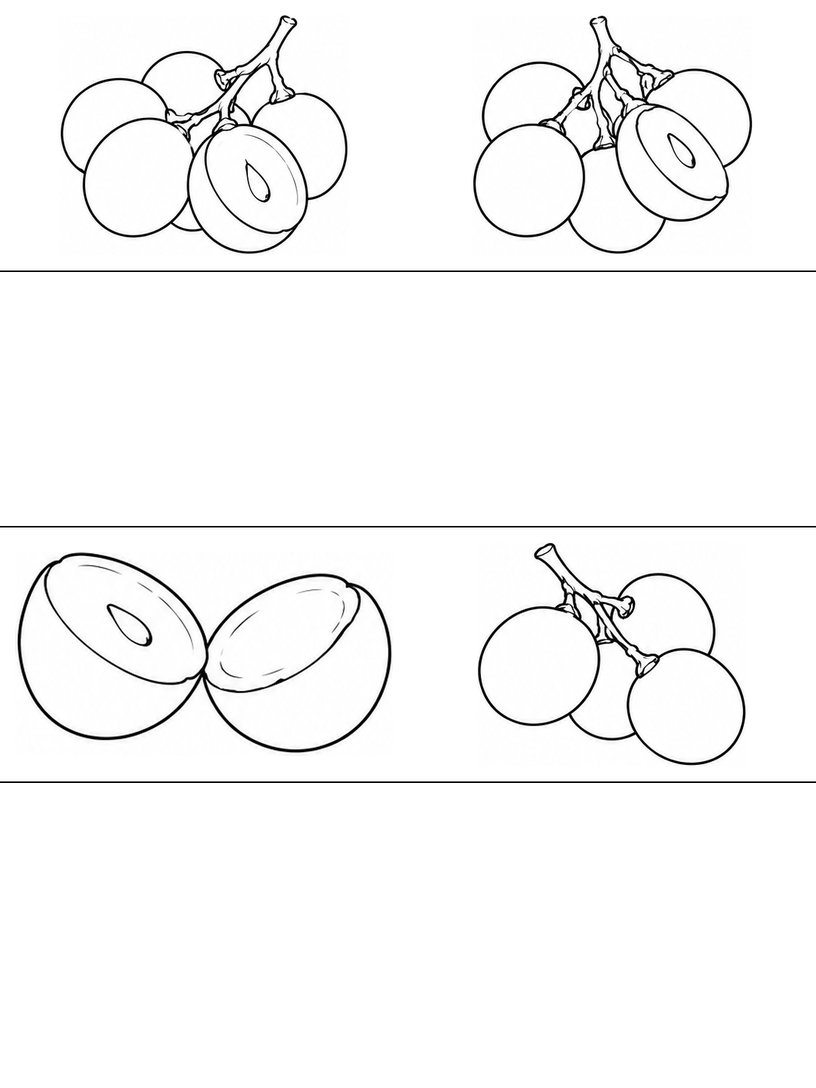
On page 2, cut-face studies join one whole-bunch view. In the upper-right reference, a half presents an oval face while the rest of its rounded surface curves behind it. Find the edge separating those areas before choosing colors. A small central mark can be left out of your drawing so that the face and outside stay clear.
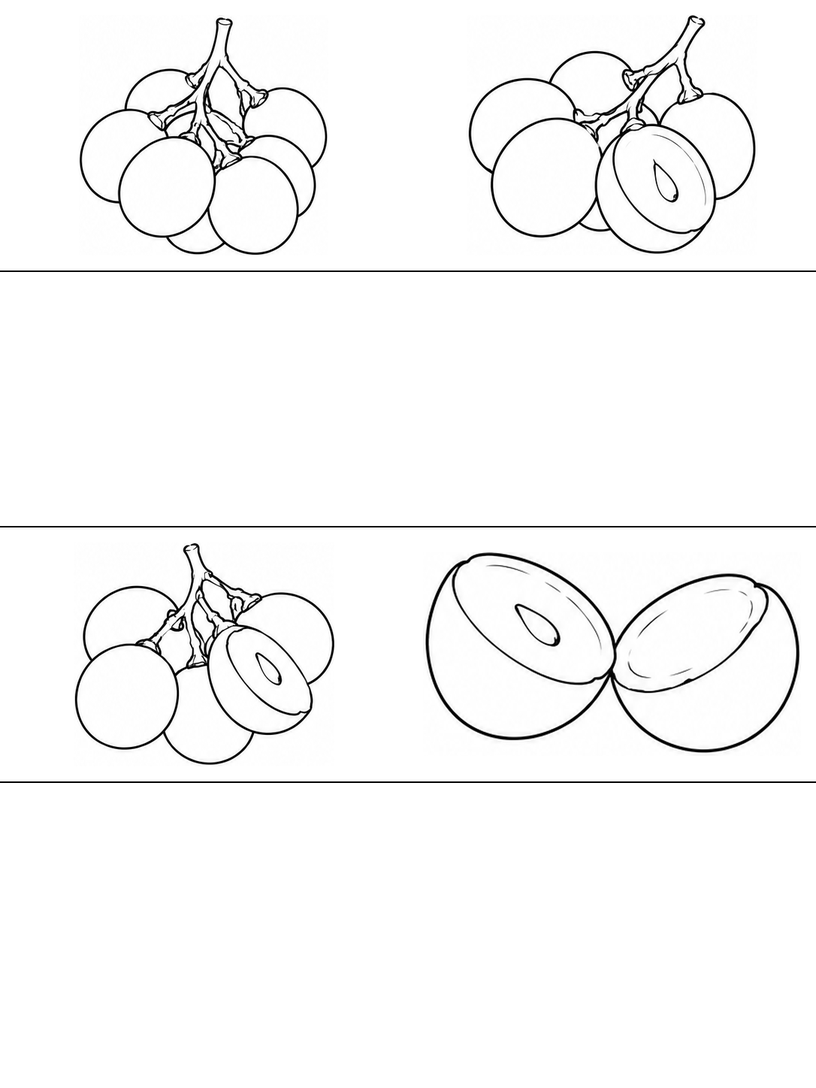
Page 3 places two separate halves at the upper left and a small attached group beside them. Compare the curved bottom of a half with a whole berry in that neighboring group. A half needs an outside wall as well as its face outline. The whole berry needs only the visible part of its rounded boundary where another fruit overlaps it.
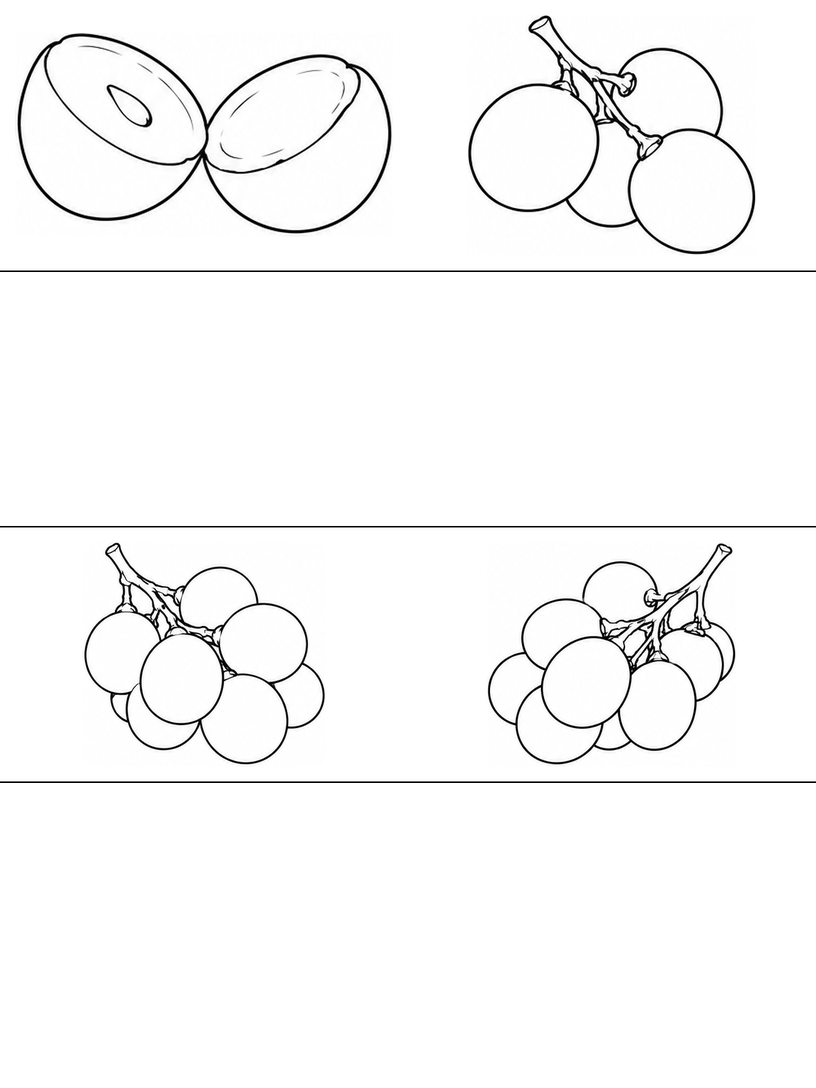
On page 4, a broad sideways bunch sits beside a more upright branching view in the top row. Below, a cut face returns at the right. Choose the broad bunch and point to one front berry whose outline remains clear. Then look at the partial arcs behind it. More complete circles would not automatically make that crowded area easier to understand.
Page 5 puts two attached cut-face views in the upper row, with paired halves and a small split group below. Compare the direction of the oval faces rather than trying to measure matching angles. Your child can choose the view with the easiest branch to see, or stay with one detached half. Reusing a familiar arrangement lets you change one drawing choice at a time.
Draw a stalk partly hidden by grapes
Use one angled whole-bunch reference on page 1. Begin in a blank band or on spare paper with light lines. You can simplify the fruit to a front berry and two behind it, keeping the stalk slanted rather than copying the full printed group.
- Plan the tilted branch route. Draw a light slanted stalk and a short fork. Place one rounded foreground berry beside its lower end, with space for two more behind. Keep the stalk aimed toward the group so that it does not become an unrelated diagonal line.
- Put the front berry over the branch. Strengthen the front berry outline, then remove the stalk section that passes behind it on your own pencil drawing. Add the visible arcs of two rear berries, stopping their curves where the front fruit covers them. Avoid completing circles through the nearest shape.
- Keep the visible branch pieces connected. Show a short branch section between the berries where there is an open gap. Aim it along the same route as the stalk above. Let it end at a berry attachment or disappear behind fruit, then choose one area to color without filling every gap.
If two visible stalk pieces seem to lead in unrelated directions, lightly sketch their full route on spare paper before removing the hidden middle. If a branch cuts across a front berry, leave that crossing section out rather than outlining it more heavily. If the bunch becomes crowded, use fewer rear arcs or make the whole study larger. Ask, “Which grape shall hide this part?” The answer can change in a second drawing; there is no need to rescue every line in the first one.
An optional made-up hidden-path story
Imagine a tiny make-believe messenger following a stalk path behind the bunch. Ask your child to point where the messenger would disappear and where it might be visible again. In their own drawing, they can place two small pencil dots beside those visible branch sections, then leave the hidden route unmarked. The messenger and dots are invented additions, not figures or route labels supplied in the PDF.
Choose a quieter outline if you prefer
For a single rounded fruit with fewer overlaps, try the Beginner apple sheets. The Beginner bird sheets offer a different outline with a beak and tail. You can also return to a familiar grape reference and color just one open shape. The Intermediate label does not require finishing a detailed drawing before choosing something simpler.
Printing and file notes
The download contains only the five Intermediate grape sheets, not every level in the source workbook. Choose A4 paper and 100% / Actual size in your PDF reader. Inspect the preview for missing borders, then try one page before printing the rest. Use Fit if your printer needs more margin. The printing guide explains these choices. The files have been checked digitally; no physical print test has been performed, and the result on your printer has not been verified.
Worksheet questions
Should I draw the stalk all the way through a berry?
Not in the finished visible outline. A light planning line can help you place the route in your own drawing, but leave out the section covered by the front berry. Show the visible pieces only where the reference leaves a gap.
Do the cut faces need several circles inside them?
No. Start with the oval face and its connected curved outer wall. Add a thin skin edge or small interior mark only if you want it. Several nested rings can make a flat cut face look like a hollow bowl.
Are there twenty different arrangements in this download?
No. The five sheets combine an eight-view source pool into four reference positions per page. Whole angled bunches, attached cut faces and detached halves recur. The download contains only the five Intermediate sheets, not all levels of the source workbook.
Use and sharing
You may print these pages for personal, family or classroom activities. Keep the website credit on the sheets. Share this article link with other adults instead of redistributing or selling the PDF. Read the terms of use for the permission and its limits.
Creation and editorial note
The activity guide and page layout were prepared and edited for Coloring Pages Story, with AI assistance. The line art is AI-assisted. The page previews and five-page PDF have been checked digitally. No classroom trial or physical print test has been performed.
Comments
Comments are closed