

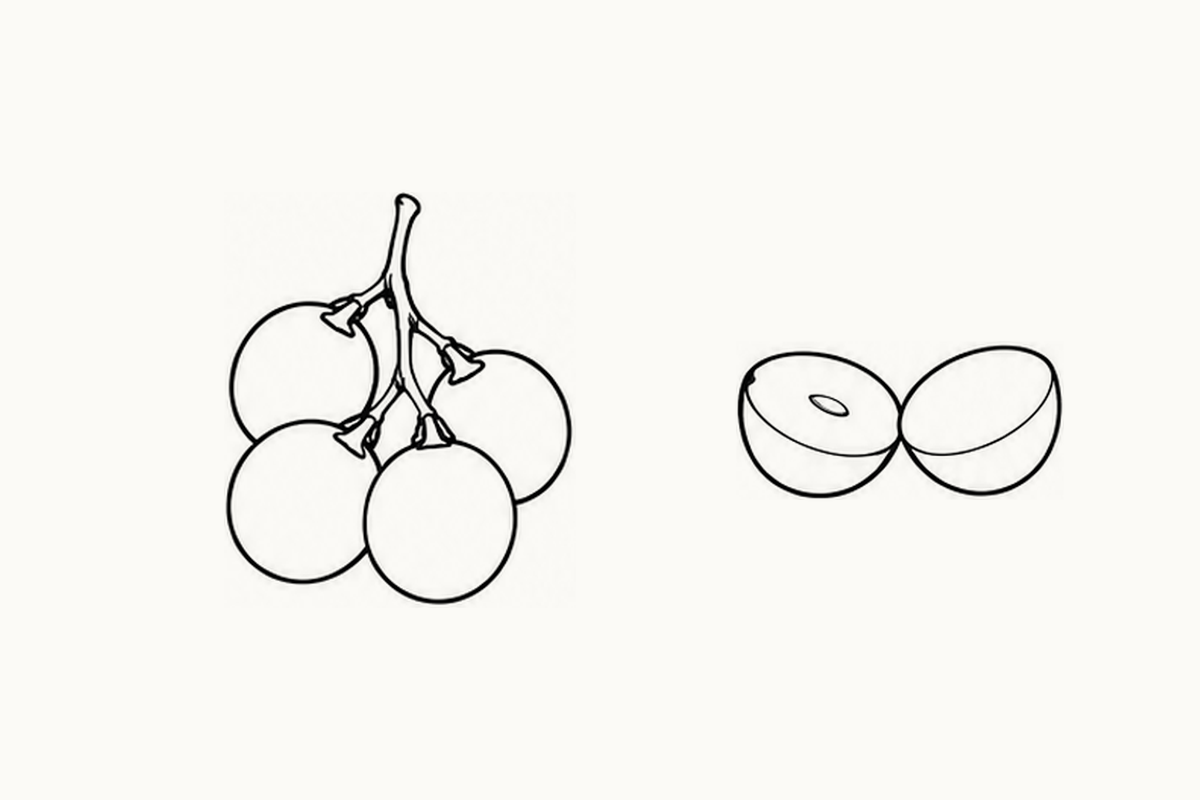
These elementary grape coloring pages contain five A4 sheets of small grape groups, a loose berry and cut halves. Set out a page, pencil and colors, then find the two separate halves in the lower row of page 1. Ask, “Which line goes around the flat face, and which line curves underneath?” Your child can trace one edge in the air, color the open face or draw a larger half in an empty band. The pictures provide the fruit views, so this is a paper-and-pencil activity without cutting or preparing real grapes.
Download the five-page Elementary Grape PDF (1.78 MB)
Attached groups and separate pieces
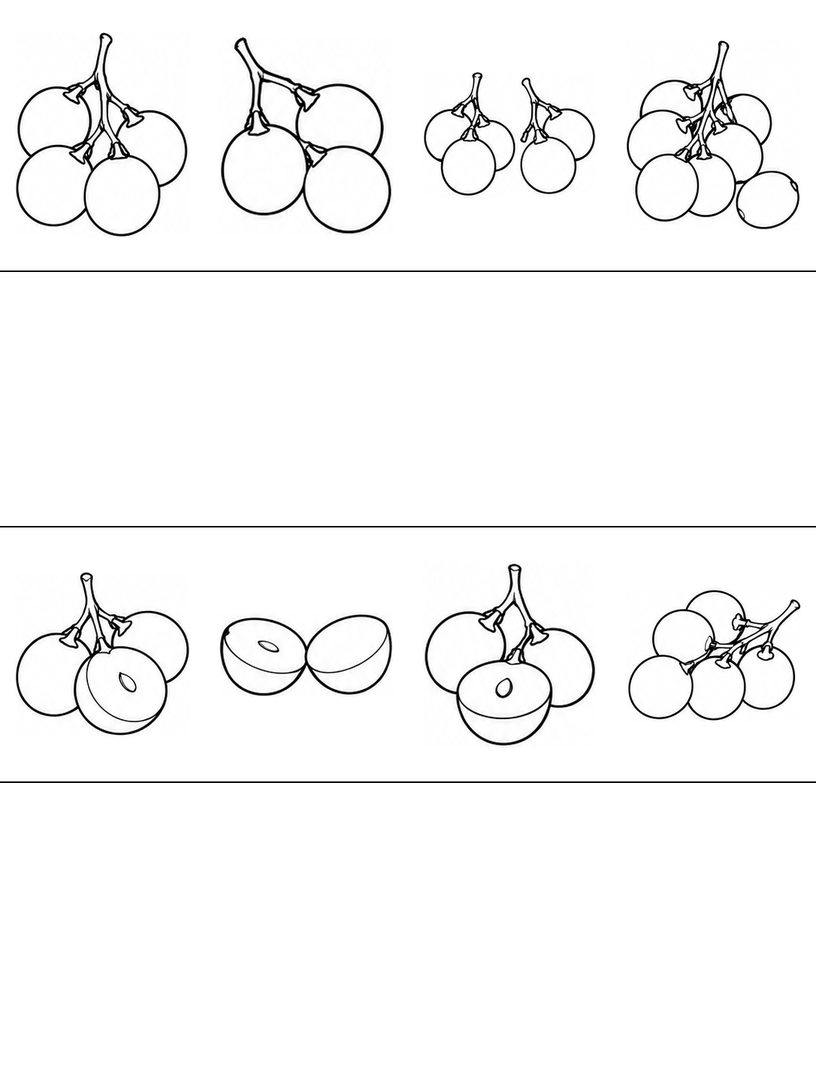
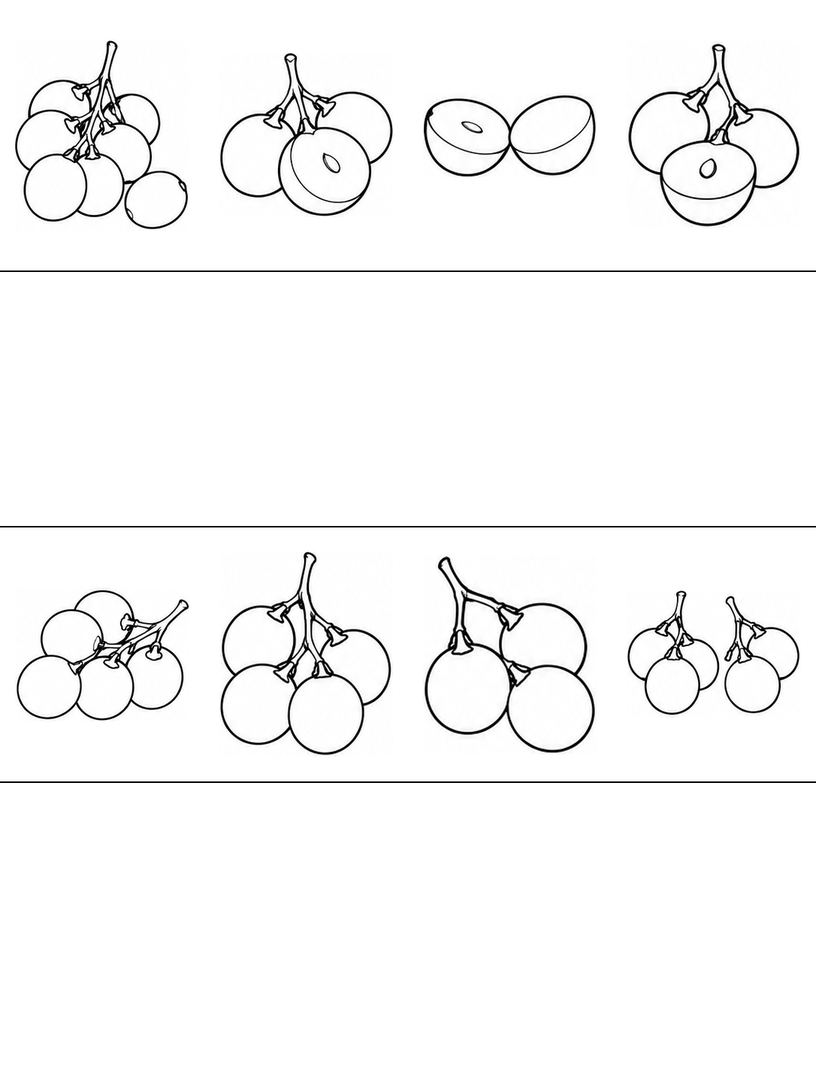
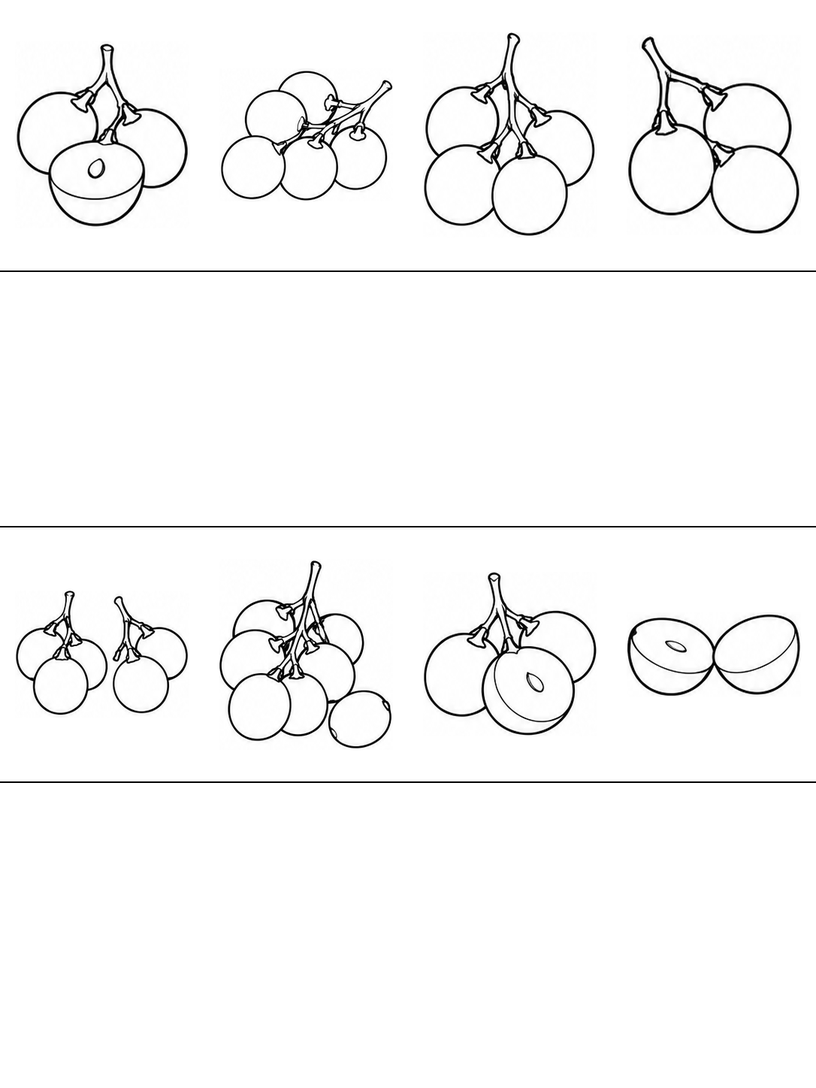
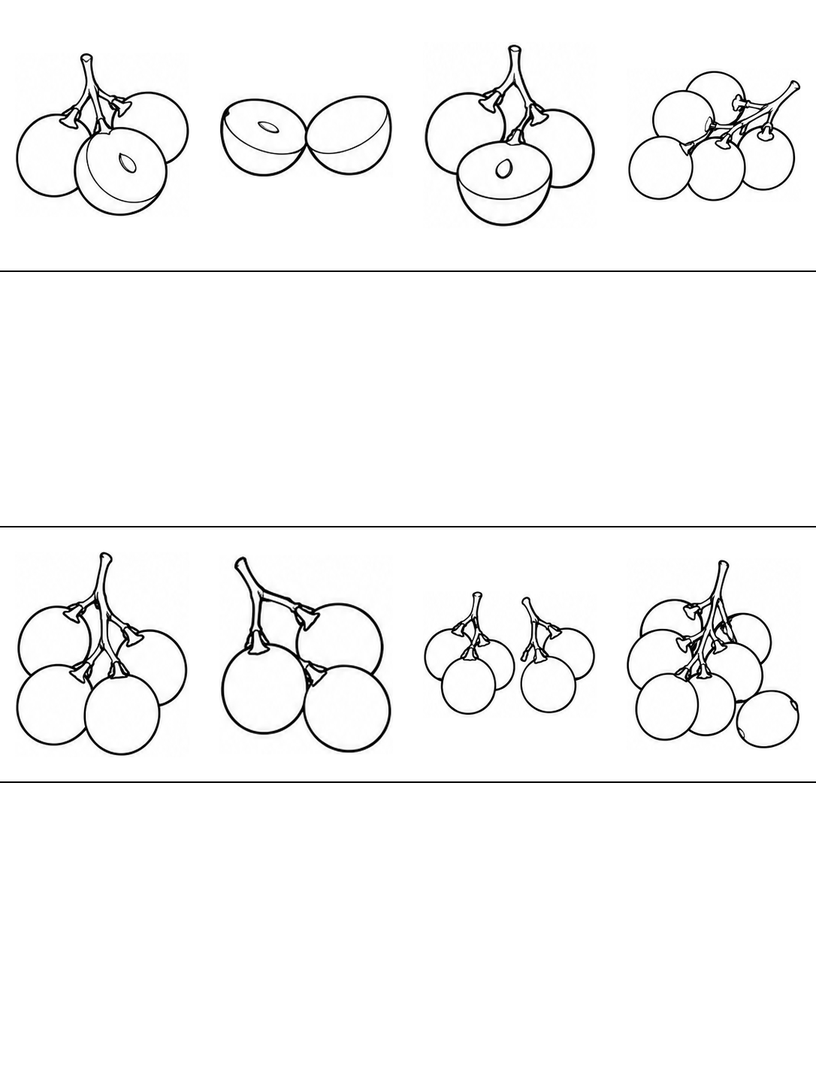
Each page has eight reference arrangements in two rows and two blank practice bands. The same eight arrangements return in five different orders: forty printed positions are not forty unique drawings. Small groups share branching stalks, while separate halves and a fallen berry rest nearby without a branch joining them back. The references also include a half attached to a small group. Look for the difference between a whole rounded outline and an oval cut face with a curved wall beneath it. The interiors stay plain for coloring.
Compare a whole berry with a half
Choose the small attached group at the upper left of page 1, then look at the paired halves below. The whole berries close with rounded outer curves. The half shows an extra boundary around its open face. Your child can use one color for that face and another for the outer wall, or leave both white. You might say, “Let's follow the edge before choosing a color.” There is no need to color the fruit realistically or to copy every small central mark.
See all five complete sheets
Page 1 places a small four-berry group beside a three-berry group in the top row. Farther across, two separate stalk groups sit next to each other. Compare one pair of berries whose outlines overlap. If your child draws a small group, the visible stalk can lead into that overlap without every hidden branch being shown.
On page 2, a bunch with a separate berry leads the upper row. The berry beside it does not need a new connecting stalk in your child's drawing. Follow the gap between the loose fruit and the group, then look for the paired halves farther along the row. One short gap can explain that two pieces are separate.
Page 3 starts with a cut face still attached to a small stalk group, followed by a sideways group. Notice that a cut surface does not automatically mean the whole berry is detached. Trace the short stalk to see which fruit it joins. Your child can choose the separate-half reference instead if the overlapping group feels busy.
On page 4, the separate paired halves move into the lower-left position. Compare their oval faces without measuring their angles. One half shows a small oval mark inside its face, while the other face is plain. Your child can leave that mark out. A clear outer wall underneath the face matters more for this drawing than a tiny interior detail.
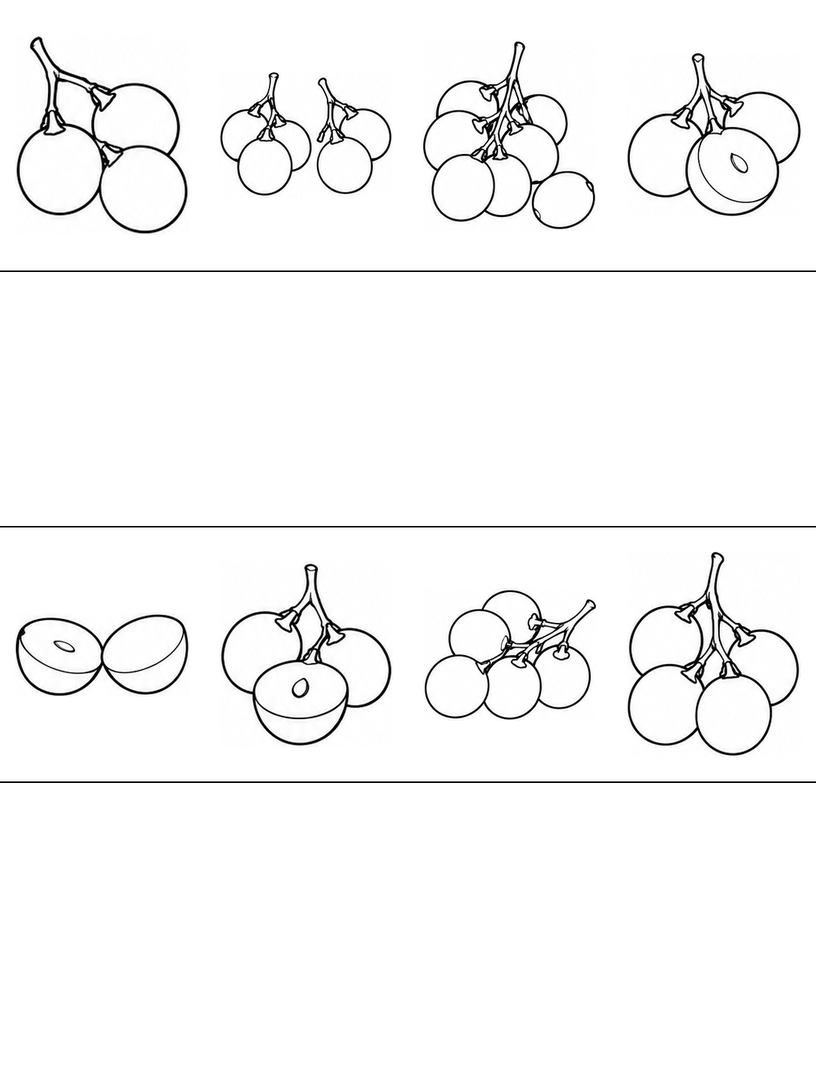
Page 5 brings several cut-face views together in the upper row. Point to the curved bottom of one half and compare it with a whole berry nearby. Then choose a favorite arrangement to repeat in a blank band. The five orders offer different starting points, so you can print one sheet rather than treating every page as another required task.
Draw one grape half with a rounded outside
Use either half in the paired reference on page 1. Try one half by itself in a blank band or on spare paper. A larger drawing gives the open face and the curved outside room to remain separate, without adding a bunch around them.
- Place the oval cut face. Draw a light oval tilted in the direction you choose. This is the flat face of the half. Make it broad enough to leave an open middle rather than pressing several narrow rings together.
- Connect the curved outer wall. From one side of the oval, curve down beneath it and back up to the other side. Let that lower curve form a rounded wall joined to the face. Keep the far part hidden behind the oval instead of drawing a second complete berry through it.
- Choose a small rim or center detail. Add a short inner line near the face edge if you want a thin skin rim. You may place one small oval mark within the face where the reference shows it. Leave most of the face open, then choose whether to color the face, wall or neither.
If the half looks like a flat disk, give its lower outer curve more room on the next drawing. If it looks like an empty bowl, keep the cut face as one flat open area rather than filling it with several inner rings. If the rim becomes crowded, use only the outside oval and the lower wall. Ask, “Which curve would you like to keep?” A simple half can be complete without the small mark or an exact match to the printed tilt.
An optional made-up matching game
Imagine that a pretend fruit sorter wants to match a whole grape drawing with a half. Ask your child to point to one rounded whole berry, then draw their own whole shape beside a half in an empty band. They can choose a shared color to make the two look like a pair. The sorter and matching game are invented story additions; the worksheet itself contains fruit references, not a character or an illustrated cutting sequence.
Choose the simplest fruit view for this turn
The Beginner apple sheets offer another whole-fruit outline if your child wants a break from small groups. The Beginner bird sheets provide an unrelated subject with empty drawing bands. You can also stay with this page and color only one cut face; choosing a new task is optional.
Printing and file notes
The download contains only the five Elementary grape sheets, not every level in the source workbook. Choose A4 paper and 100% / Actual size in your PDF reader. Inspect the preview for missing borders, then try one page before printing the rest. Use Fit if your printer needs more margin. The printing guide explains these choices. The files have been checked digitally; no physical print test has been performed, and the result on your printer has not been verified.
Worksheet questions
Should every berry connect back to a stalk?
No. The attached groups have visible branches, but the loose berry and the two separate halves are detached pieces. Leave them separate. Use the actual reference to decide whether a stalk meets the fruit instead of adding one to every shape.
Do we need real grapes or a knife for the activity?
No. The printed drawings show the whole and cut views. Use the paper with a pencil and colors to compare outlines. The guide is a drawing activity, not a lesson in preparing food.
Are all five pages different collections of fruit drawings?
No. Eight arrangements are reused in five orders, giving eight reference positions on each sheet. Familiar small groups, halves and the loose berry recur. Print the order you want rather than expecting forty unique designs.
Use and sharing
You may print these pages for personal, family or classroom activities. Keep the website credit on the sheets. Share this article link with other adults instead of redistributing or selling the PDF. Read the terms of use for the permission and its limits.
Creation and editorial note
The activity guide and page layout were prepared and edited for Coloring Pages Story, with AI assistance. The line art is AI-assisted. The page previews and five-page PDF have been checked digitally. No classroom trial or physical print test has been performed.
Comments
Comments are closed