

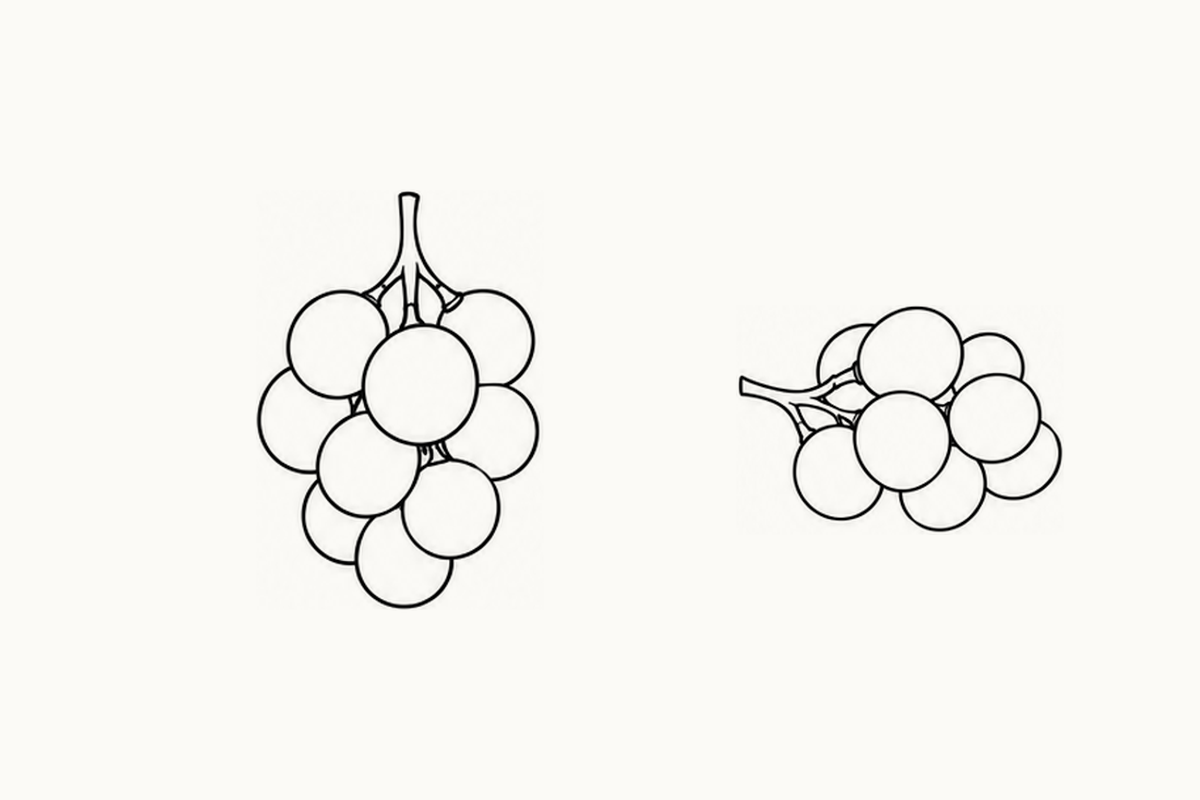
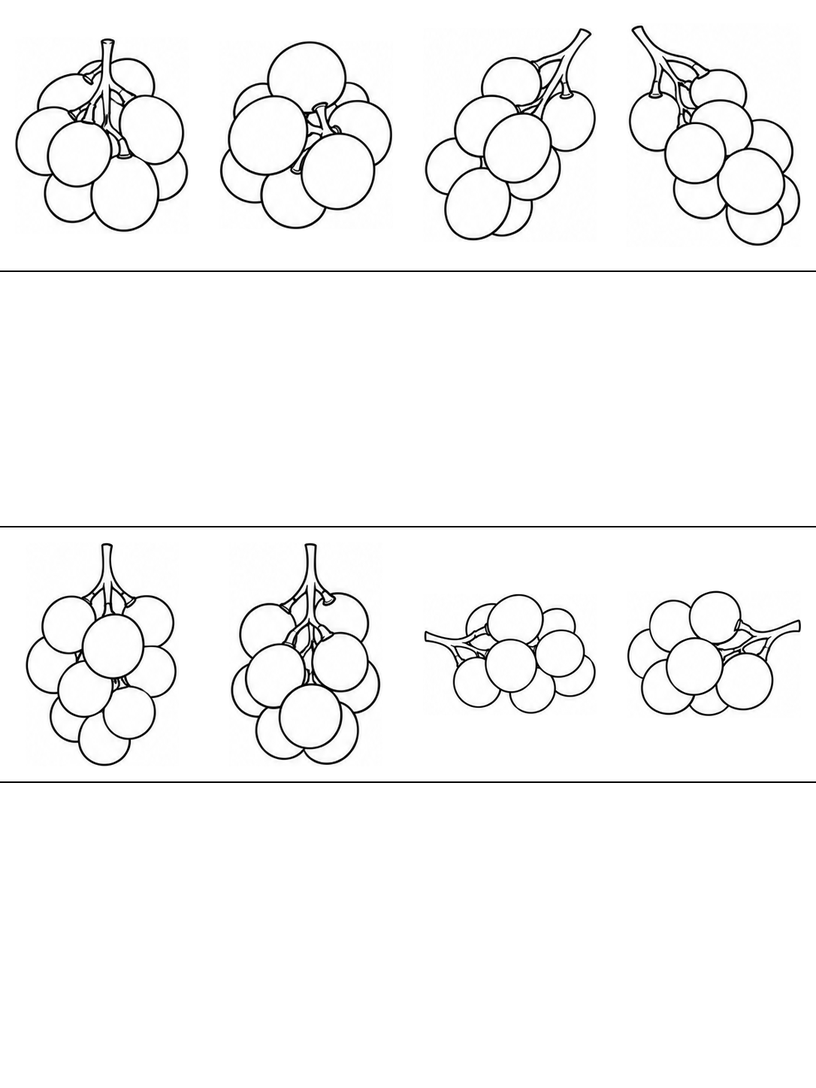
These beginner grape coloring pages contain five A4 sheets of small whole bunches, each with two empty bands for your own drawing. Put one page on the table with a pencil and a few crayons. Choose the upright bunch at the top left of page 1 and ask, “Can you find where the stalk branches?” Your child can point to a short branch, color one berry or draw a much smaller bunch below. You only need the printed sheet and drawing materials; this activity does not involve preparing or eating fruit.
Download the five-page Beginner Grape PDF (2.06 MB)
Round berries with a branching stalk
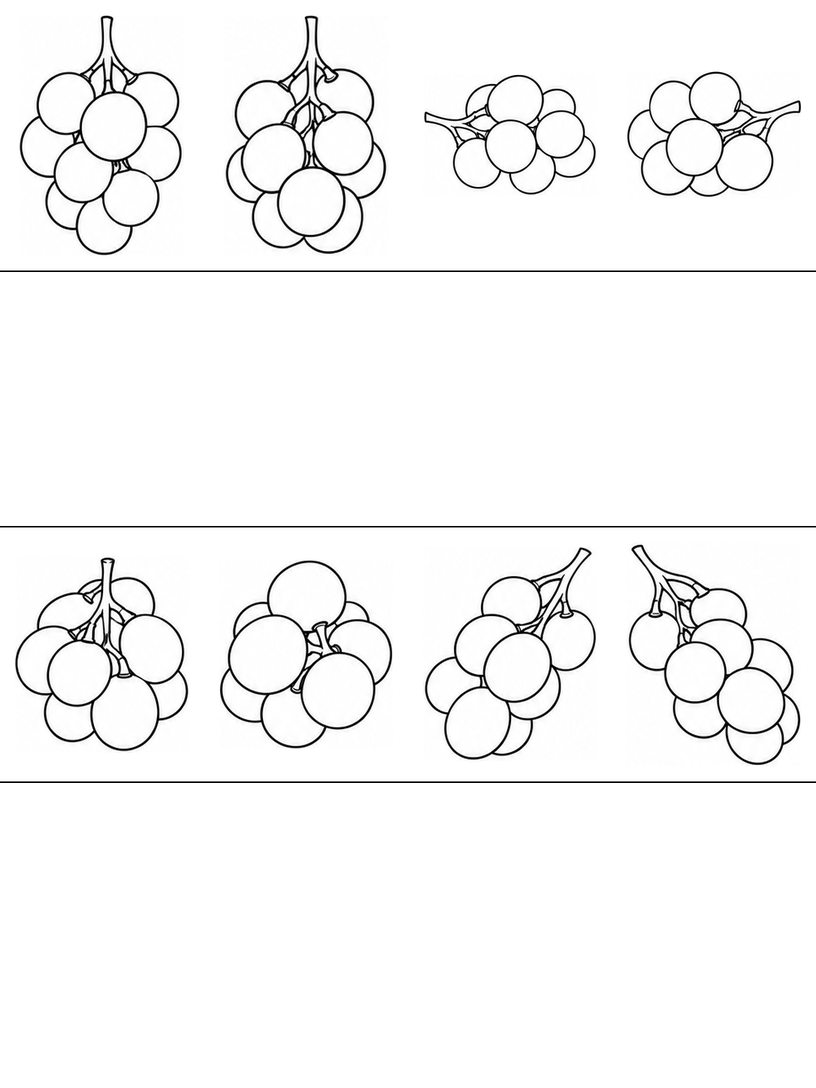
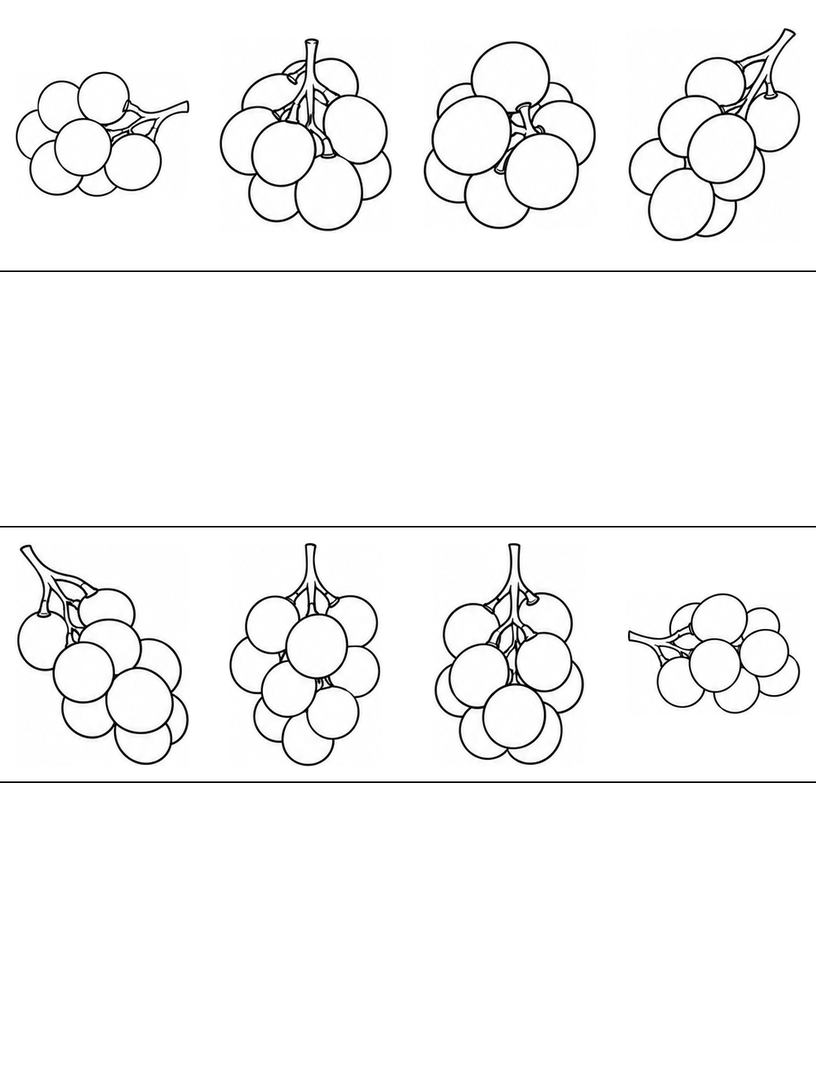
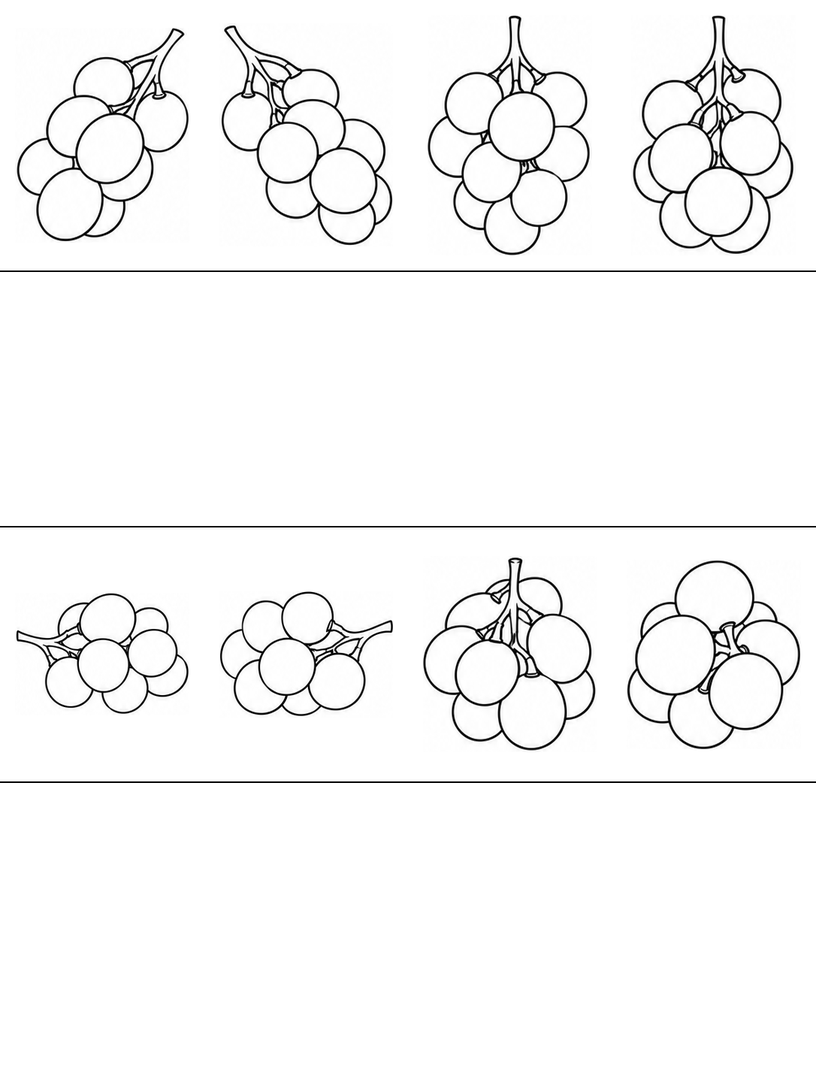
Each page has eight reference positions in two rows. The five arrangements reuse the same eight bunch views, so forty printed positions do not mean forty different designs. Some bunches stand upright, others lie sideways or lean diagonally. Berries partly hide one another and portions of the stalk. There are no added faces, arms or decorative leaves. Leave the smooth berry shapes open or choose any colors your child wants. A bunch does not have to be all one color for this paper activity.
Find one branch before filling the bunch
Follow the main stalk downward in the first upright reference. Where it splits, choose a short line that reaches the top of a berry. Then look at a nearby front berry that covers part of the branching shape. You can say, “The stalk keeps going, even where the fruit hides it.” Your child does not need to draw every hidden connection. Find one visible meeting point, then choose whether to color that berry or try a new outline in a blank band.
See all five complete sheets
Page 1 puts upright bunches at the left of the top row and sideways bunches at the right. Compare the direction of the short stalk above or beside them. For a simple coloring turn, choose one upright bunch and give only its front berry a color. The surrounding white shapes still help you see how the cluster fits together.
Page 2 begins with a sideways bunch and moves several familiar views into new positions. If the stalk points away from your usual drawing direction, turn the paper before starting your own bunch. This changes how your hand approaches the curve without changing the picture you are studying. Turning the printed sheet is optional; pointing or coloring is another way to use it.
On page 3, two diagonal bunches lead the upper row. Their long outlines lean in opposite directions while their branches still meet the rounded fruit. Trace only the outside of one bunch in the air. Your child's own drawing may use just three berries inside that general shape; matching the printed berry count is not the aim.
Page 4 brings an upright branching view back to the first position, followed by sideways bunches. Choose a place where one berry outline ends at another. That small stop tells us which shape is in front. If your child wants to draw it, leave the hidden curve out rather than tracing a complete circle through the nearer berry.
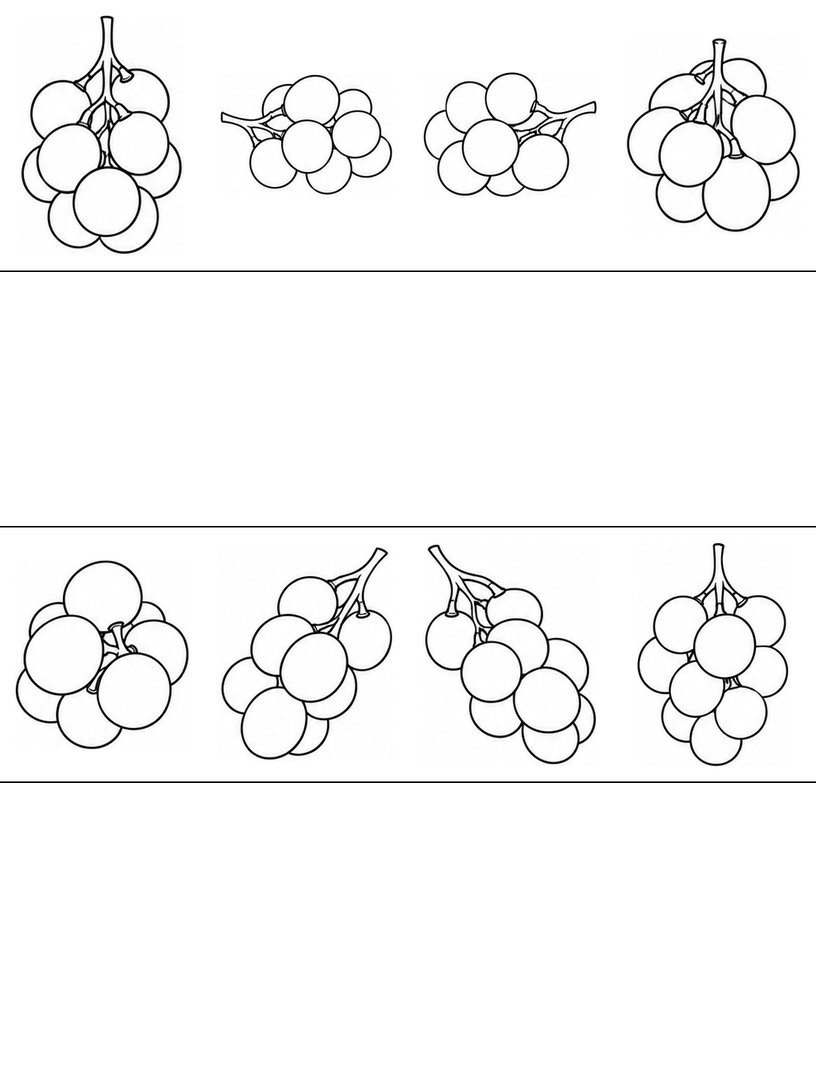
On page 5, familiar upright bunches appear beside each other in the lower row. Compare how much stalk shows between their berries, then choose the view with the clearest branch for you. Repeated pictures can be useful when you want another attempt at a known shape. You do not need to print all five arrangements to use the eight-view pool.
Draw a small connected three-berry bunch
Use an upright reference as a guide to the stalk, but make your own smaller group in a blank band. Three berries give you room to practice the connections without fitting all the printed circles into a tiny space.
- Place a short forked stalk. Draw a short upright stalk and divide its lower end into two small branches. Keep the lines light. Leave room underneath and beside the fork for three rounded berries, rather than spreading the branches across the whole band.
- Add a front berry and two behind. Draw one round berry near the lower center. Place two more beside and a little behind it. Stop their curves at the front berry where it covers them. The berries can be uneven; the important choice is which outline stays in front.
- Join the visible branch ends. Bring each visible branch toward the top of a berry. Omit a branch section if a front berry hides it. Remove any construction line that crosses the fruit, then choose one berry, the stalk or the whole small group to color.
If the group looks like three loose circles, bring the berries closer on your next attempt and connect a short branch to each visible top. If a stalk ends in empty space, extend it toward a berry or omit the stray line. If the circles cross too many times, choose one front berry and leave only the visible arcs of the other two. Ask, “Which berry shall come first?” A larger drawing can give those small line endings more room.
An optional made-up color signal
Try a pretend story in which a tiny visitor follows a colored grape bunch to find an imaginary meeting place. Ask your child to choose one front berry on the sheet, then give the same color to a berry in their own three-berry drawing. That color is their story signal. The visitor and meeting place are invented additions; the PDF contains the bunch references and blank bands, not a character or a ready-made story scene.
Choose another simple fruit outline
If the repeated circles feel busy, the Beginner apple sheets offer a single whole-fruit outline with a short stem. For an entirely different shape, the Beginner bird sheets let you follow a beak, body and tail. Staying with one familiar grape bunch is also a choice; another page does not need to be the next step.
Printing and file notes
The download contains only the five Beginner grape sheets, not every level in the source workbook. Choose A4 paper and 100% / Actual size in your PDF reader. Inspect the preview for missing borders, then try one page before printing the rest. Use Fit if your printer needs more margin. The printing guide explains these choices. The files have been checked digitally; no physical print test has been performed, and the result on your printer has not been verified.
Worksheet questions
Are there forty different grape bunch designs?
No. There are eight reference views reused in five arrangements, with eight printed positions per page. Choose the page whose order you like, or return to a familiar view. The download does not promise forty unique bunch drawings.
Must my bunch have the same number of berries as the reference?
No. The worksheet bunches have modest differences in visible berries and overlap. For your own drawing, three attached berries can be enough. Keep a branching stalk and decide which circles sit in front rather than copying a fixed count.
Does the Beginner download include cut grapes or all four levels?
No. This PDF contains only the five Beginner whole-bunch sheets. Other source levels are separate. The activity here uses whole bunch outlines, visible stalks and blank bands, without a fruit-cutting task.
Use and sharing
You may print these pages for personal, family or classroom activities. Keep the website credit on the sheets. Share this article link with other adults instead of redistributing or selling the PDF. Read the terms of use for the permission and its limits.
Creation and editorial note
The activity guide and page layout were prepared and edited for Coloring Pages Story, with AI assistance. The line art is AI-assisted. The page previews and five-page PDF have been checked digitally. No classroom trial or physical print test has been performed.
Comments
Comments are closed