

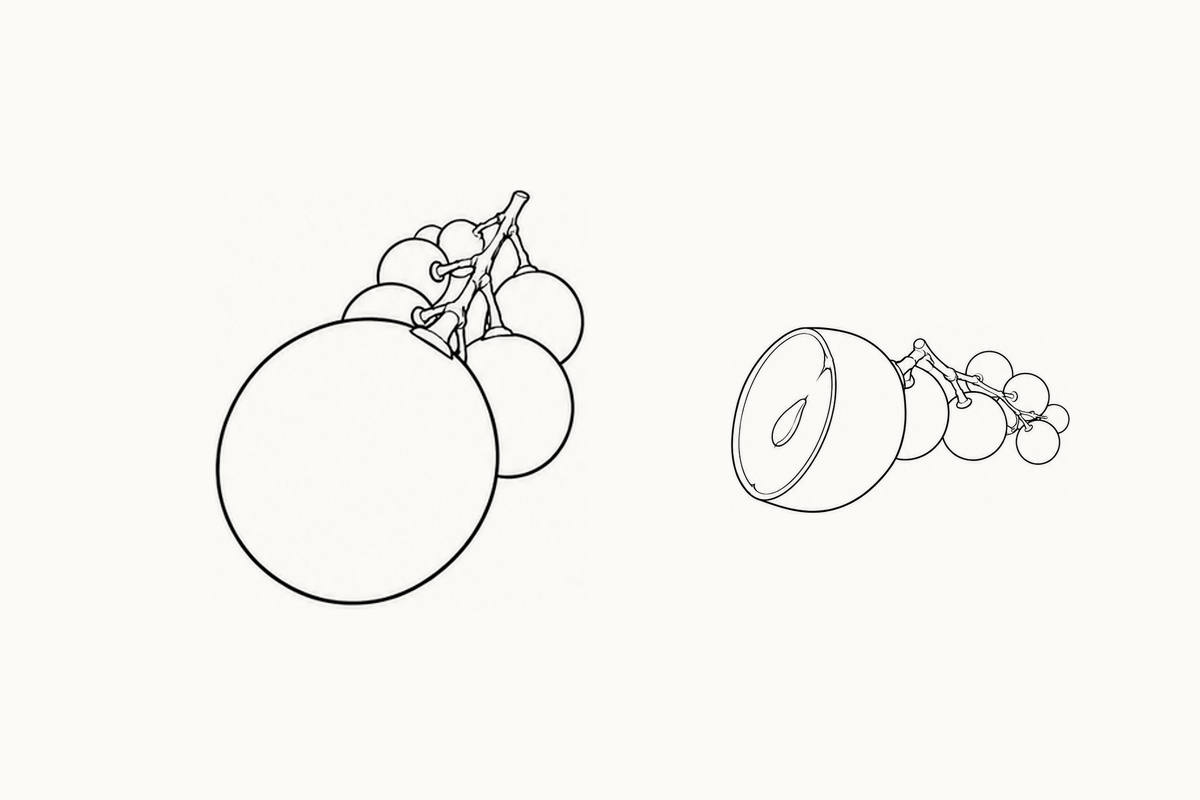
These advanced grape coloring pages contain five A4 sheets with two large reference arrangements on each page. Start with page 1, a pencil and a few colors. Point to the large berry in the upper picture and ask, “Where does the stalk lead behind it?” Your child can follow the direction, color that foreground berry or draw a smaller group in a blank band. The pictures use a strong near-to-far size contrast, but your child's version can be quieter. No measured size ratio or finished perspective drawing is required.
Download the five-page Advanced Grape PDF (0.98 MB)
A connected bunch receding from one large shape
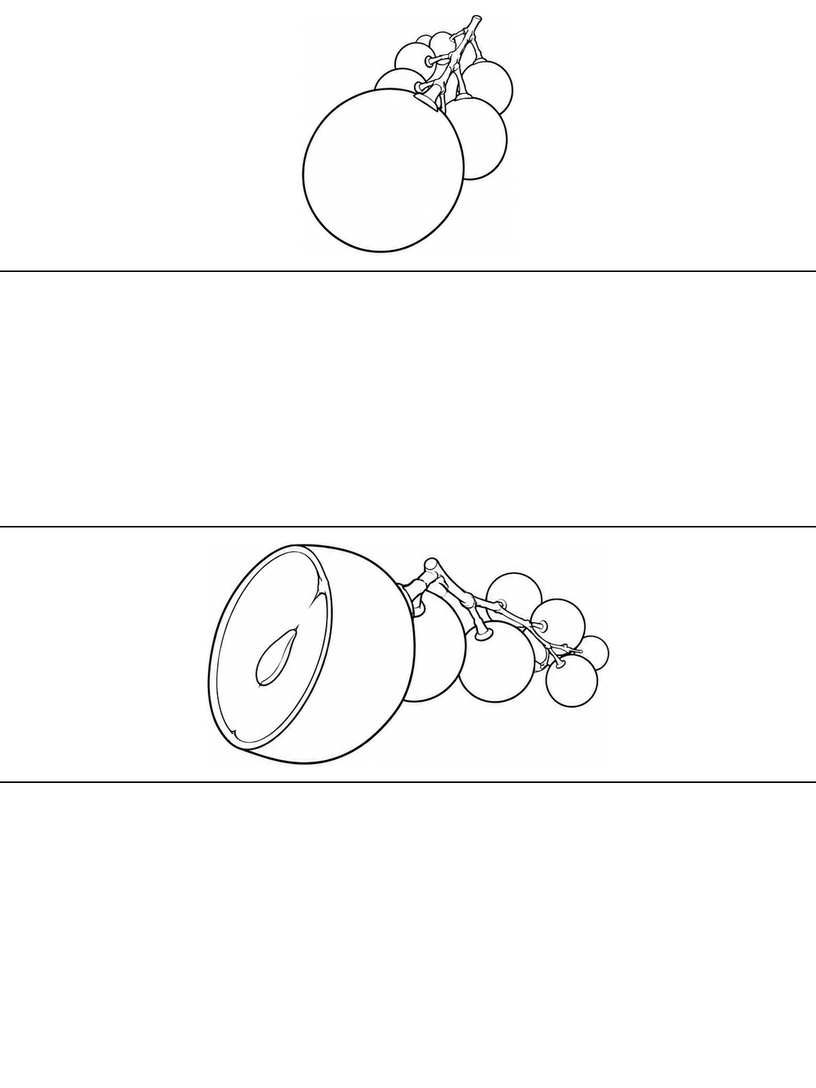
Four source views are reused in five two-picture pairings, giving ten printed positions rather than ten unique designs. One view emphasizes a large whole berry at the front; another looks along the bunch from the stalk side. A third presents a large attached cut half, and a fourth runs diagonally from a prominent berry on the right toward smaller fruit on the left. Each sheet keeps two empty drawing bands. The visible branch route, overlap and changing drawn sizes work together to suggest depth, instead of showing a collection of unrelated large and small circles.
Follow the size change along the same stalk
Look at the upper reference on page 1. Find the large round berry, then follow the connected bunch toward the smaller shapes behind it. Compare that route with the lower reference, where the smaller berries run downward. You might say, “Let's keep the branch leading into this group.” Your child may color just the first berry in either view. Pressing harder or adding gray shadows is not necessary to explore which outline sits in front.
See all five complete sheets
Page 1 pairs two whole-bunch views with different directions. In the upper picture, the large foreground berry covers part of the group behind it. Below, a broad berry near the visible stalk sits above a narrower run of smaller fruit. Choose one direction for your own drawing instead of trying to combine both views into a single complicated bunch.
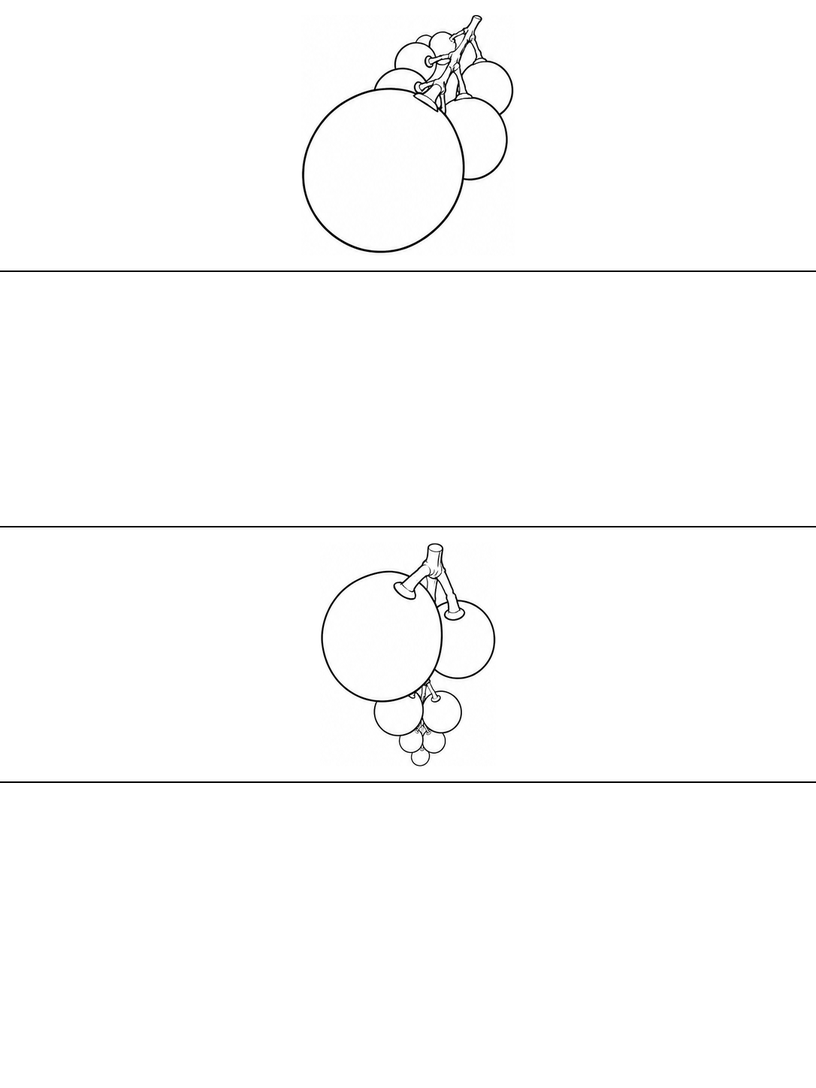
On page 2, the upper bunch places its largest berry at the right, with a branch and smaller berries running back toward the left. The lower picture returns to the first view from page 1. Turn the paper if another direction feels easier to follow. The repeated reference gives you a familiar comparison rather than a demand to master another new subject.
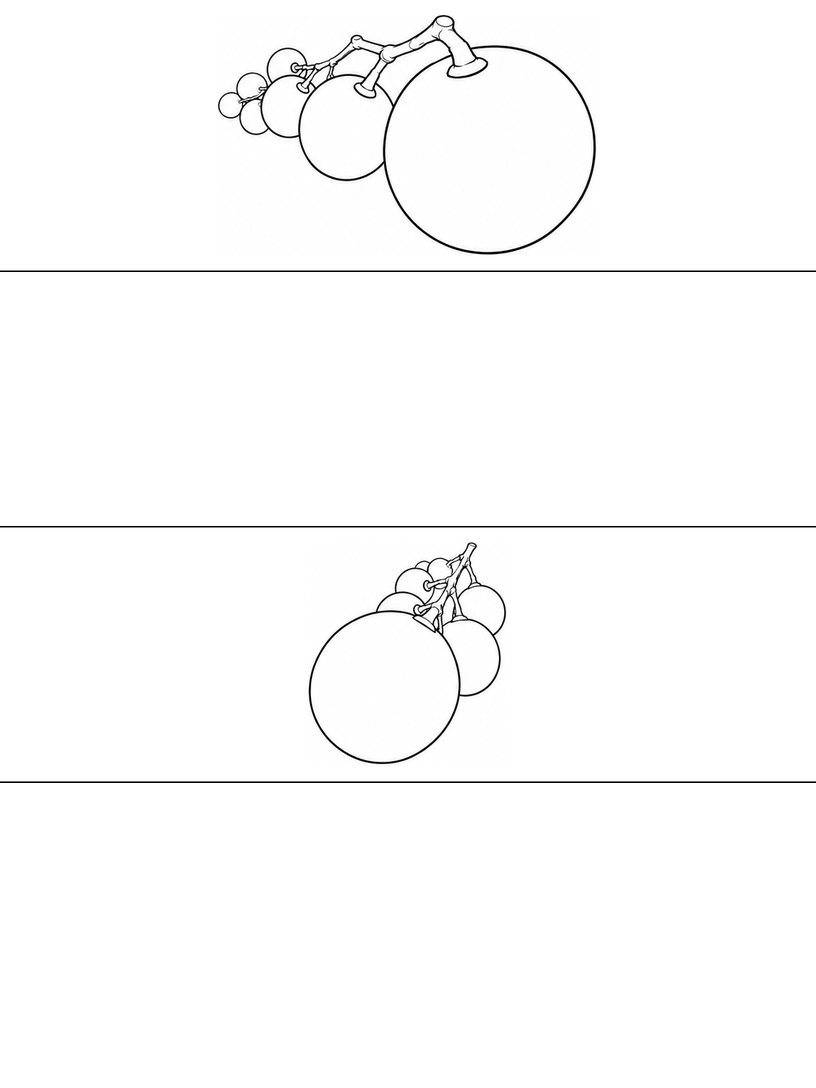
Page 3 introduces the close cut-half view. Its broad oval face occupies the near end, while the curved outside and stalk lead back toward smaller whole berries. Point to the face boundary and the curved wall behind it. The lower reference uses a whole foreground berry instead, so you can compare an intact outline with an open face without adding a cutting task.
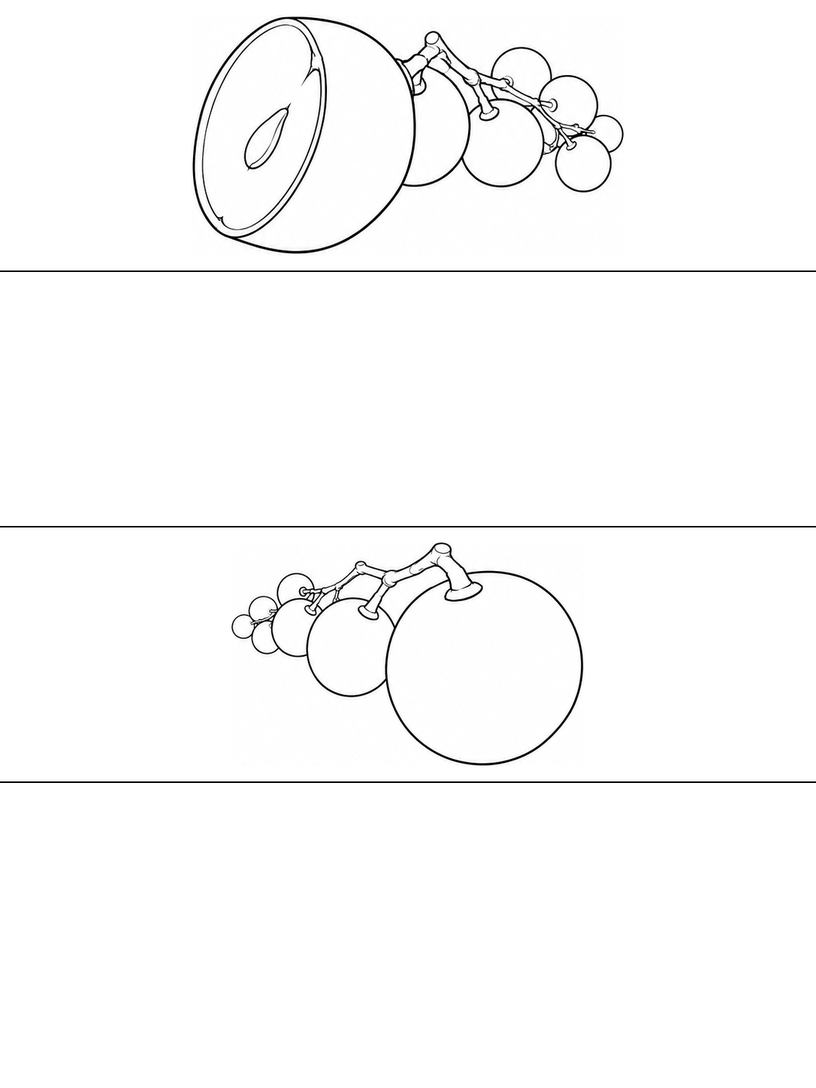
On page 4, the stalk-side whole bunch returns above the cut-half study. Follow the stalk in each before looking at the small central mark on the cut face. Your child can omit that mark in their own drawing. A clear connected route from near fruit to the rest of the group explains more about this activity than several tiny interior details.
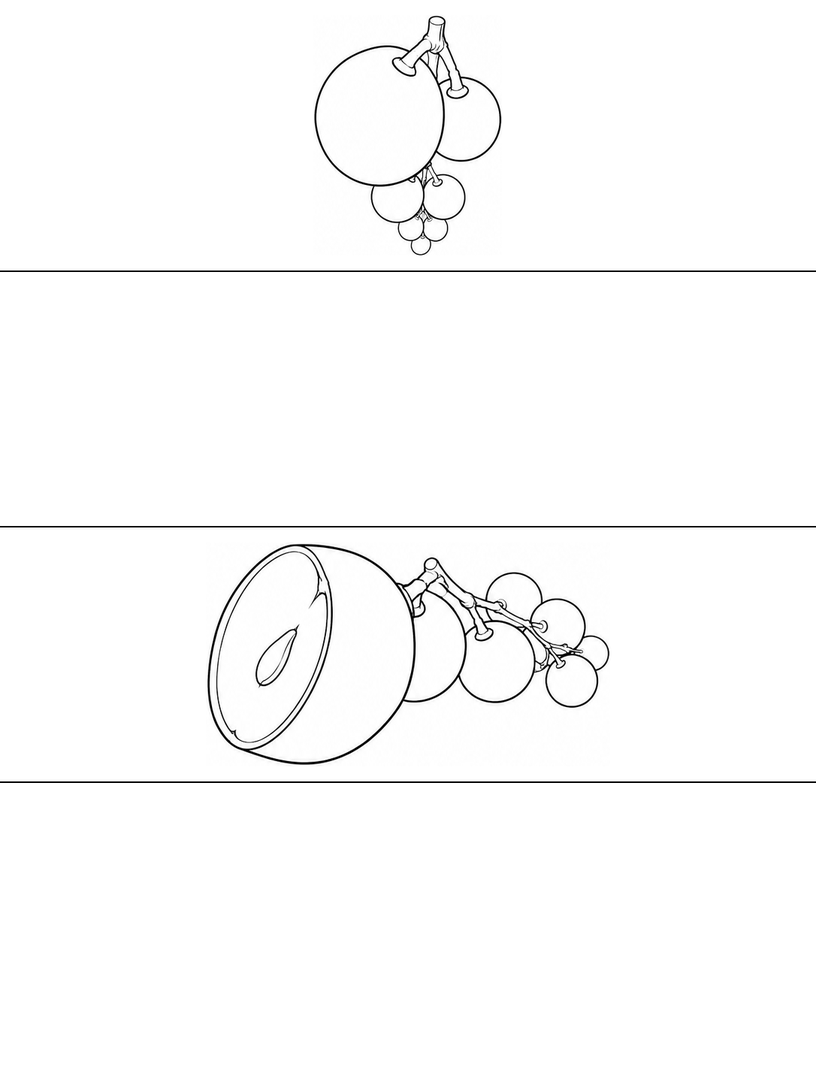
Page 5 puts the upward-receding whole bunch above the cut-half view. These are paired reference arrangements, not a sequence showing one fruit being cut. Choose the view with the clearest starting shape for you. Returning to the same near berry on another page can let your child change only the direction or number of background arcs in a new drawing.
Draw a bunch receding behind a large berry
Use the upper reference on page 1 as a guide. Work in a blank band or on spare paper. Simplify the bunch to a few berries so that one foreground outline, a branch direction and smaller rear shapes can remain easy to see.
- Choose the foreground berry. Draw a large light circle toward one end of your space. Leave room behind it for the rest of the bunch. Mark a slanted route leading away from its upper side so you know where the stalk and rear fruit will go.
- Place smaller berries along that route. Add two or three smaller rounded shapes behind the first berry, following the slant. Stop their outlines where nearer fruit covers them. Let the group narrow gradually rather than placing a tiny isolated circle far from the bunch.
- Connect the visible stalk sections. Bring a branching stalk along the same receding route and toward the visible berry attachments. Omit the sections hidden by the foreground shapes. Remove planning lines through the fruit, then choose a berry or short stalk section to color.
If the smaller berries look like a separate pile, bring them closer along the branch route on your next attempt. If a stalk floats above the fruit, connect its visible ends to the berry tops or let a nearer outline hide the missing section. If the large berry covers almost everything, make it a little smaller and leave more room behind. Ask, “Which part shall we show next?” You can explore a gentle size change; there is no required exaggeration or exact ratio to copy.
An optional made-up tiny-viewer story
Imagine a tiny pretend visitor arriving beside the foreground berry in your drawing. Ask your child to point to the shape that would fill most of the visitor's view, then add a small flag beside that berry in their own blank-band study. The flag marks a made-up starting place. The visitor, flag and journey are story additions; the PDF supplies grape studies, not a character, route map or finished scene.
Switch to one open outline if you want
The Beginner apple sheets offer a single rounded fruit if this bunch feels crowded. The Beginner bird sheets provide another subject with blank drawing bands. You can also stay with this reference and color only the large near shape. The Advanced label names this set of picture tasks, not an age standard or a test your child must pass.
Printing and file notes
The download contains only the five Advanced grape sheets, not every level in the source workbook. Choose A4 paper and 100% / Actual size in your PDF reader. Inspect the preview for missing borders, then try one page before printing the rest. Use Fit if your printer needs more margin. The printing guide explains these choices. The files have been checked digitally; no physical print test has been performed, and the result on your printer has not been verified.
Worksheet questions
Do the large and small berries show different grape varieties?
No varieties or real measurements are identified. These are exaggerated close-view drawing studies. The changing drawn sizes, overlapping outlines and connected stalk explore a near-to-far arrangement; they are not a chart of actual fruit sizes.
Do I need to use the same strong size contrast?
No. Keep one berry in front, connect the others along a branch route and choose how much smaller to make them. A gentler change can be easier to draw. You can also point to the relationships or color the printed reference without copying the pose.
Are all ten reference positions different drawings?
No. Four source views recur in five pairings, with two references and two empty bands per page. Whole-bunch and attached cut-half views repeat. This download includes only the five Advanced sheets, not all four source levels.
Use and sharing
You may print these pages for personal, family or classroom activities. Keep the website credit on the sheets. Share this article link with other adults instead of redistributing or selling the PDF. Read the terms of use for the permission and its limits.
Creation and editorial note
The activity guide and page layout were prepared and edited for Coloring Pages Story, with AI assistance. The line art is AI-assisted. The page previews and five-page PDF have been checked digitally. No classroom trial or physical print test has been performed.
Comments
Comments are closed