

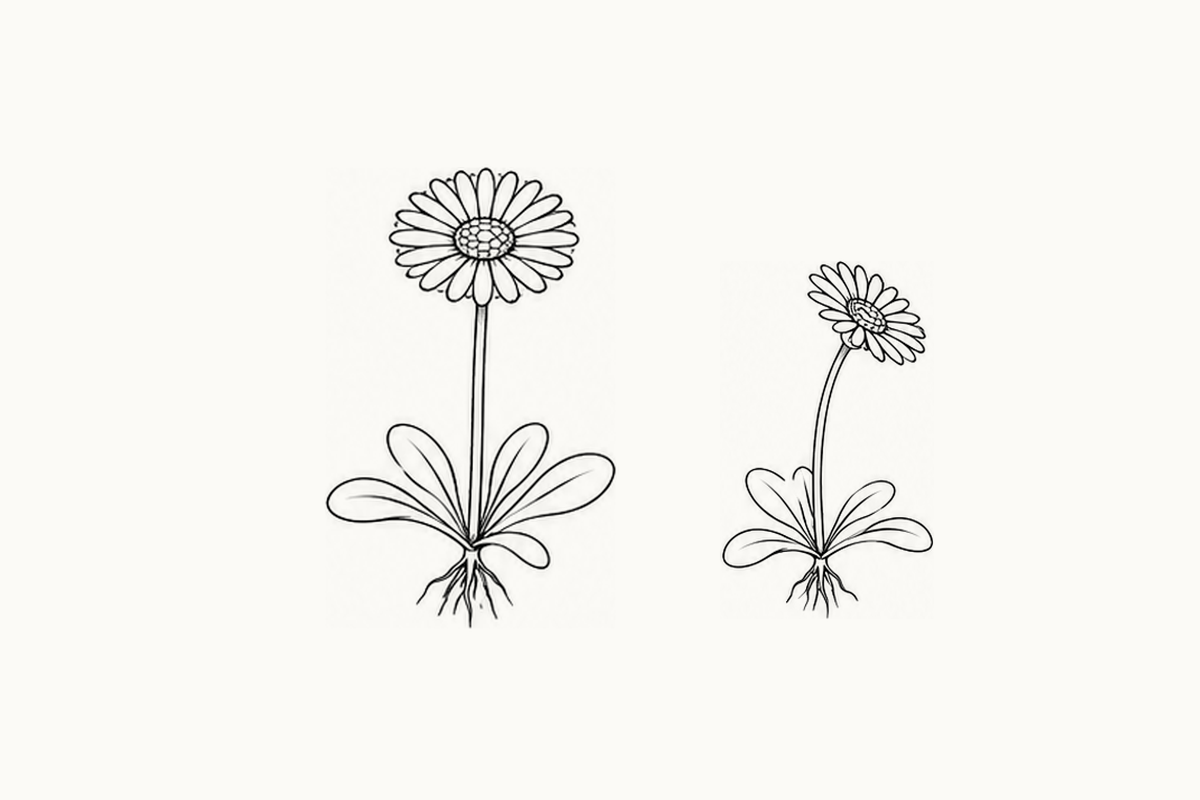
Set out a few colored pencils and let your child choose a daisy. These beginner daisy coloring pages come as five A4 sheets, with small flowers to color and blank space for drawing. Start with one flower and save the others for another day.
Download the daisy coloring pages (PDF, 5 A4 pages, 2.50 MB).
What is in the Beginner set?
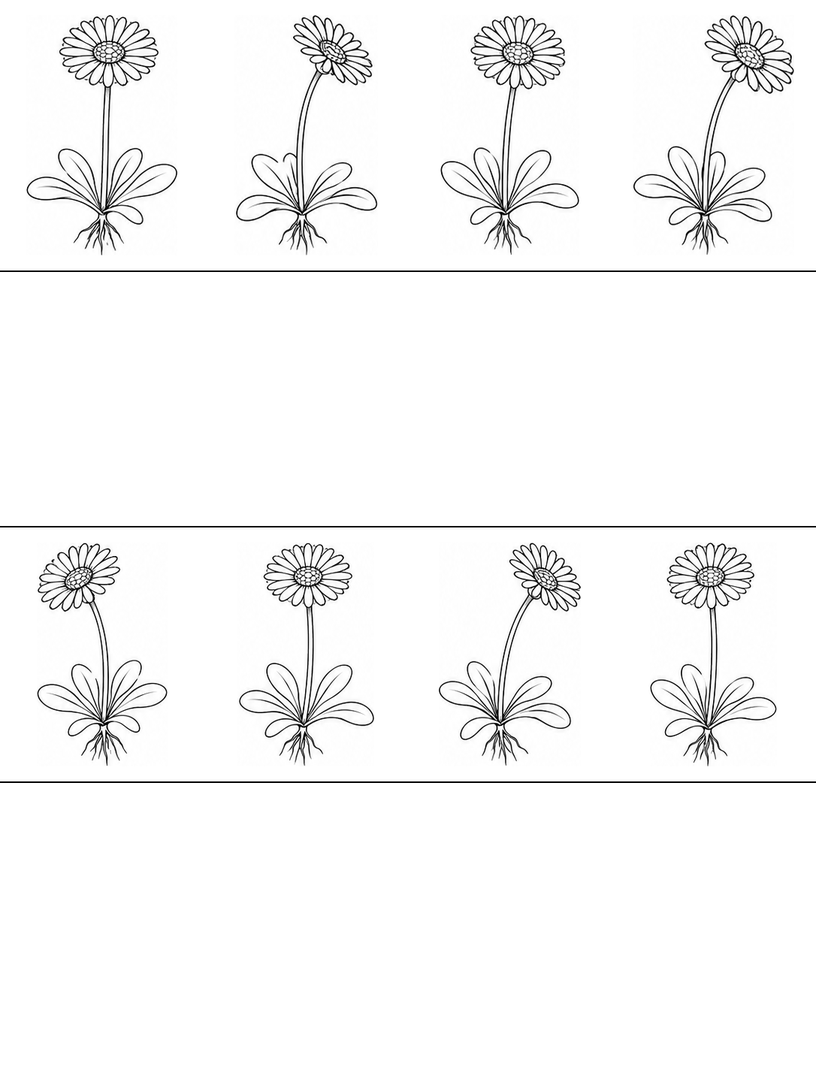
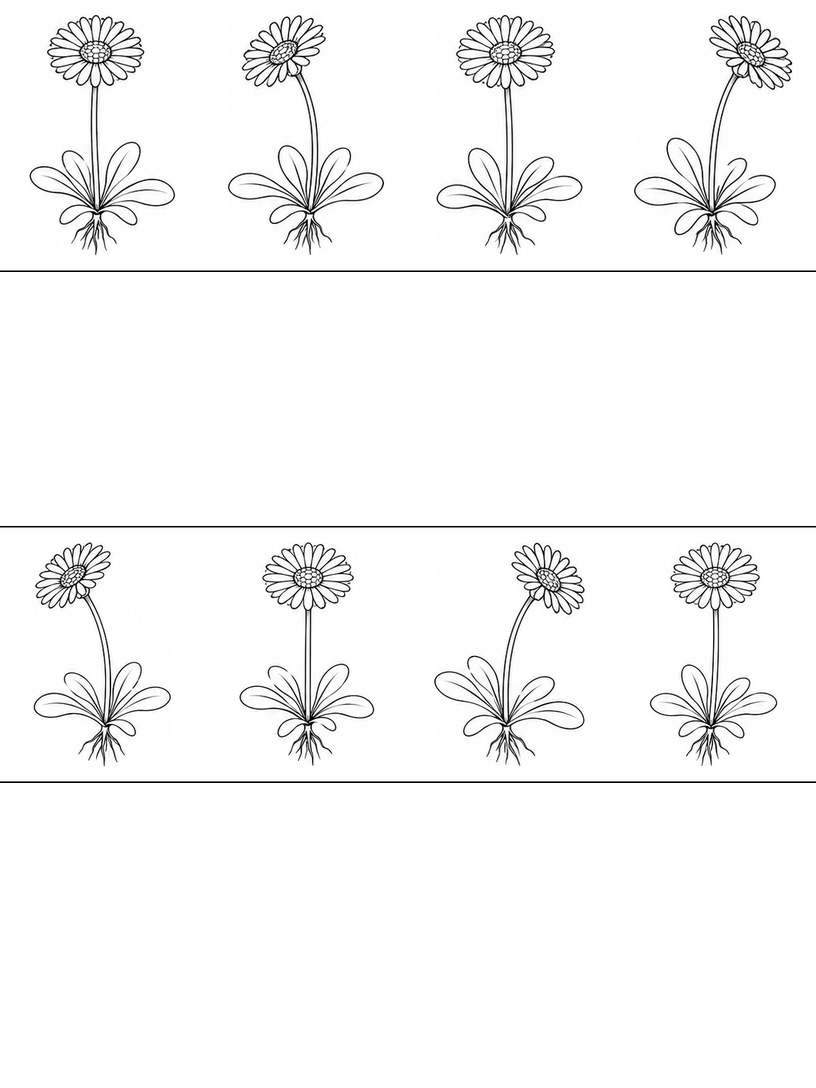
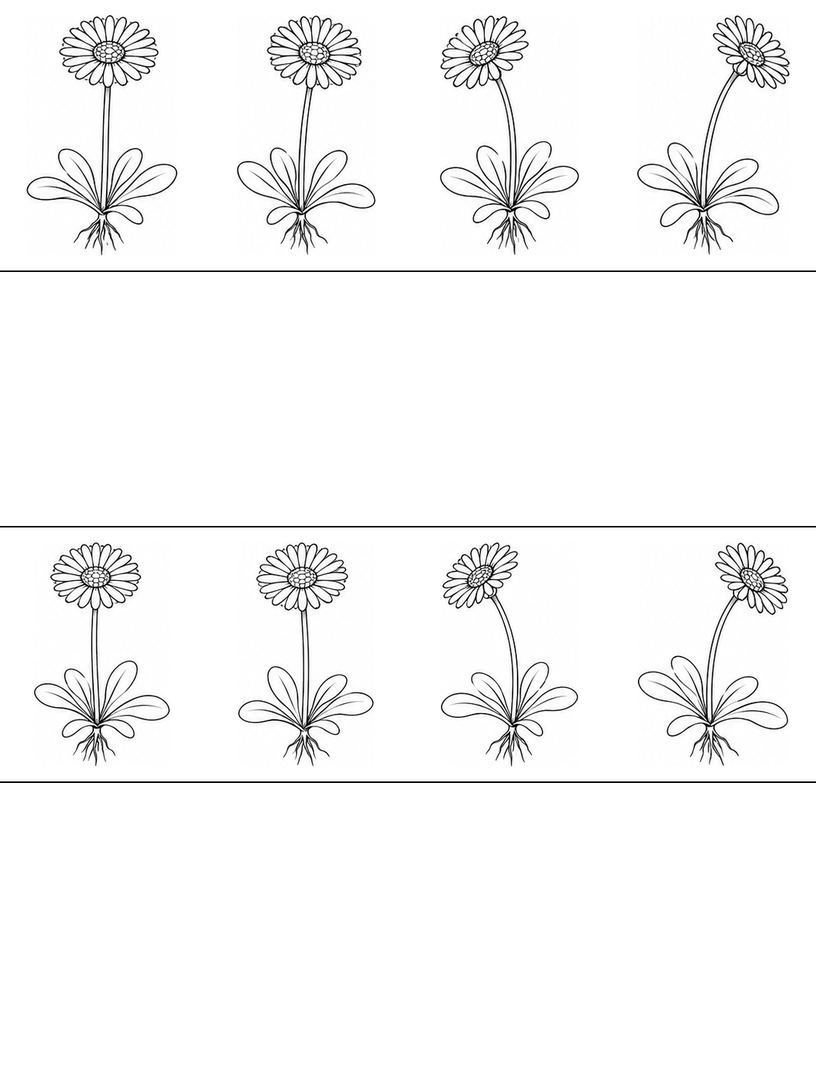
Each sheet has four horizontal bands. The first and third hold eight small daisy drawings in total; the second and fourth are blank for drawing. The flowers have petals, stems, leaves, and visible roots. Some drawings appear more than once across the set, so this is repeated practice, not 40 unique designs.
See all five full-page previews below, then choose a page for your child.
One flower, a few colors
Put one page on the table. You might say, “Which flower would you like to try?” Then follow your child’s choice.
- Choose a center. Ask, “What color shall we use in the middle?” Let your child pick, even if it is a color you would not expect on a flower.
- Move around the petals. Try one color or several. White petals are fine too. You can color beside your child without asking them to copy your choices.
If the small shapes are hard to color, draw a bigger flower together in a blank band. A child who only wants to color one petal can stop there. Notice a choice: “You put blue next to yellow.”
For the narrow petals, offer the point of a colored pencil rather than the broad side. Start near the round center and use a few light strokes toward the petal tip. Turn the paper if it is awkward to move your hand that way. To see the center clearly, your child might choose yellow there and purple on the petals, or any other pair that looks different on a small test patch. If the little petal tips are frustrating, leave them white and color a leaf instead. You do not need to fill every space for the flower to feel finished.
See all five daisy coloring sheets
These full-page previews show the five Beginner worksheets in PDF order. Look through them together and choose one page to try; use the PDF download for printing. Some flower drawings repeat, so your child can return to a familiar shape.
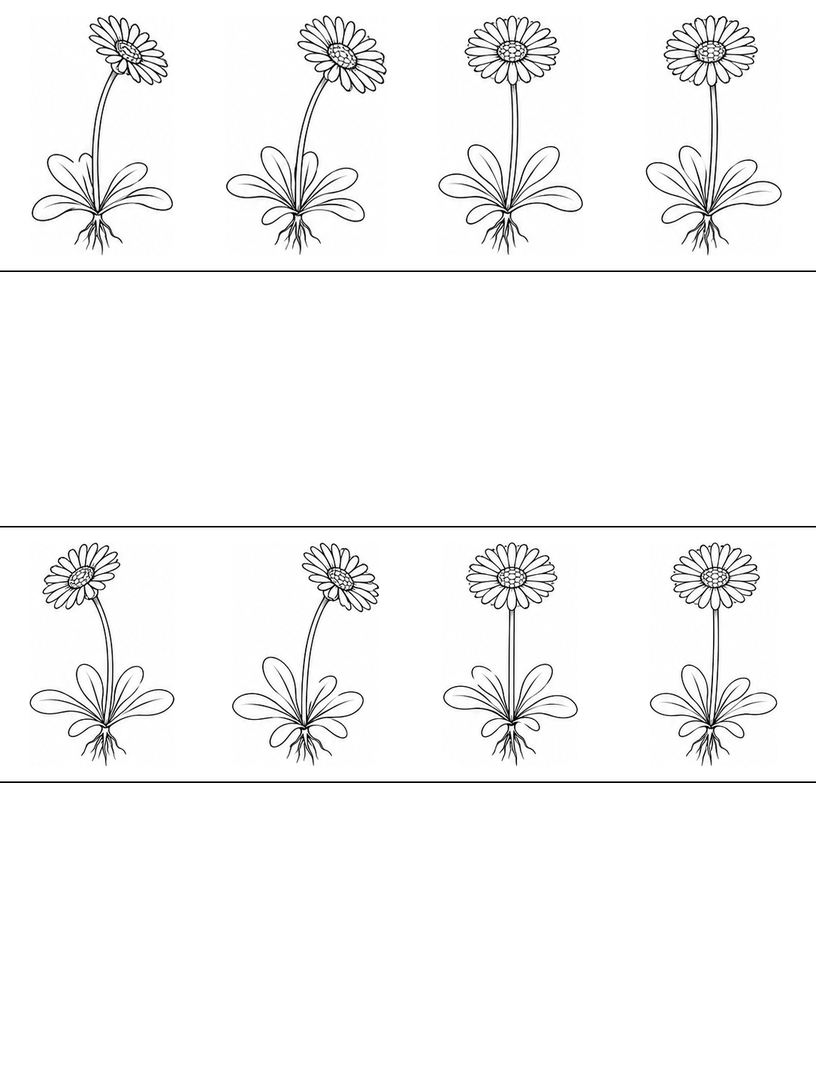
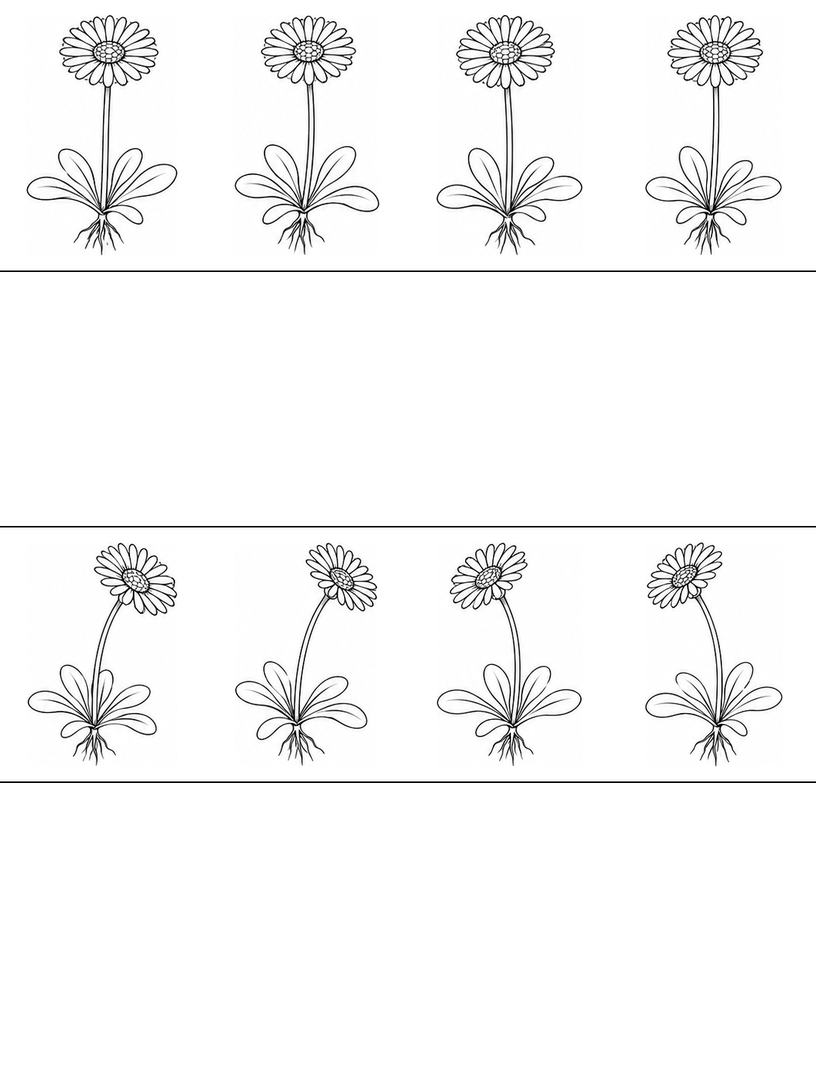
Try drawing one daisy
If your child wants to draw, offer a pencil and a blank band. Pick one flower to look at together. These three little steps are a starting point, not a picture they have to copy exactly.
- Start with the center and petals. Draw a small circle, then add long, rounded loops around it. If the petals become crowded, try fewer loops with a little space between them. There is no need to match the printed petal count.
- Let the stem bend. Start just beneath the flower and draw a gentle curve down. Add a second line beside it if you like. If a gap makes the flower look as though it is floating, join the stem to the bottom of the flower.
- Bring the leaves to the same base. Near the bottom of the stem, draw two or three long, rounded leaves pointing different ways. Begin each one at the same small area so the leaves belong to one plant. Your child can add the thin roots last or leave them out.
Before drawing a whole plant, let your child point to where its flower head, leaves, and roots will go. Make a light circle for the flower center near the top of a blank band, leaving space below for the stem and a few roots. Then draw one petal above the circle and one below it before adding petals at the sides. This gives the flower head room to grow around its center. If a petal reaches the band’s edge, start the next flower a little lower. You can demonstrate a single loop on a spare piece of paper while your child keeps control of their own drawing.
An optional story: a flower friend
Try this made-up story: “After a little rain, a daisy leans over to look for a flower friend.” Ask your child to find a curved stem in the examples, then draw the friend in a blank band. The flower friend is your child’s addition, not an extra picture in the PDF.
To give the flower friend a place in the story, ask, “Which way is it looking?” Find a tilted flower head in the printed row and compare it with an upright one. Your child can draw a second flower leaning toward the first, then add a short curved line for a stem. If they want to show the rain, suggest two or three drops beside the flowers, leaving the petals visible. Ask them to tell you where the drops should go before you offer to draw any. These story details can be tiny additions; the rest of the band can stay empty.
Printing and file notes
This download contains only the five Beginner pages. Choose A4 paper and start with 100% / Actual size. Check the print preview for clipped edges and try one page first. Printer margins vary; a physical print test has not been performed.
These are AI-assisted line-art worksheets. The previews and PDF have been checked digitally. “Beginner” describes the drawing complexity; it is not a tested age range or a promise of learning results.
Ready for a different picture? Try the Beginner cartoon butterfly coloring pages and let your child choose a pair of wing colors.
Comments
Comments are closed