

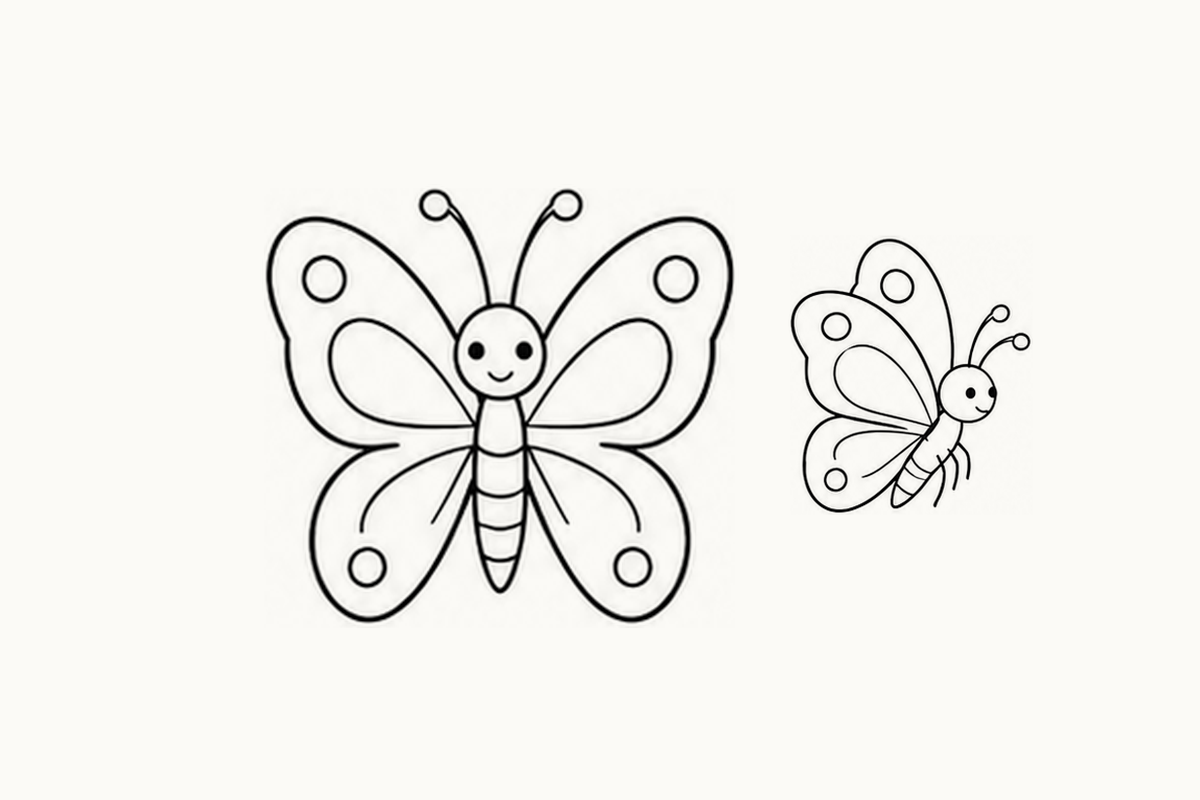
Which butterfly catches your child’s eye? These beginner cartoon butterfly coloring pages give you five A4 sheets of small characters to color, with blank bands for drawing. Put out a few colored pencils and begin with just one butterfly.
Download the cartoon butterfly coloring pages (PDF, 5 A4 pages, 3.55 MB).
What is in the Beginner set?
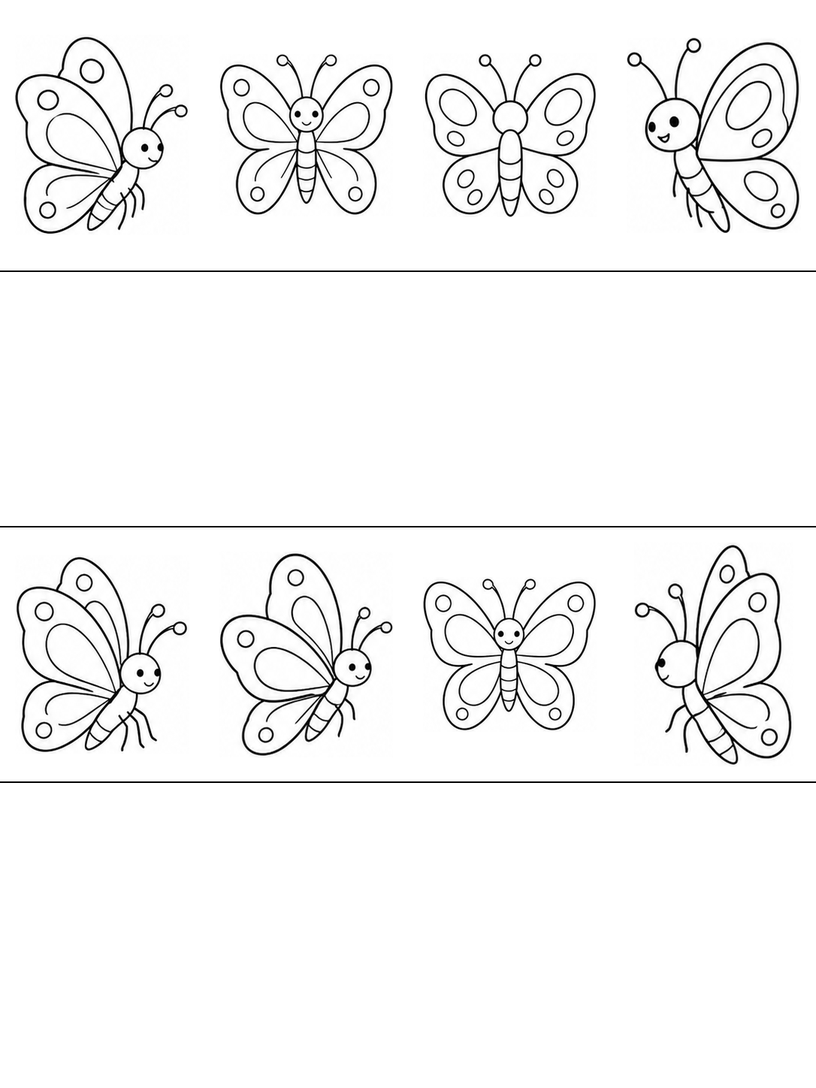
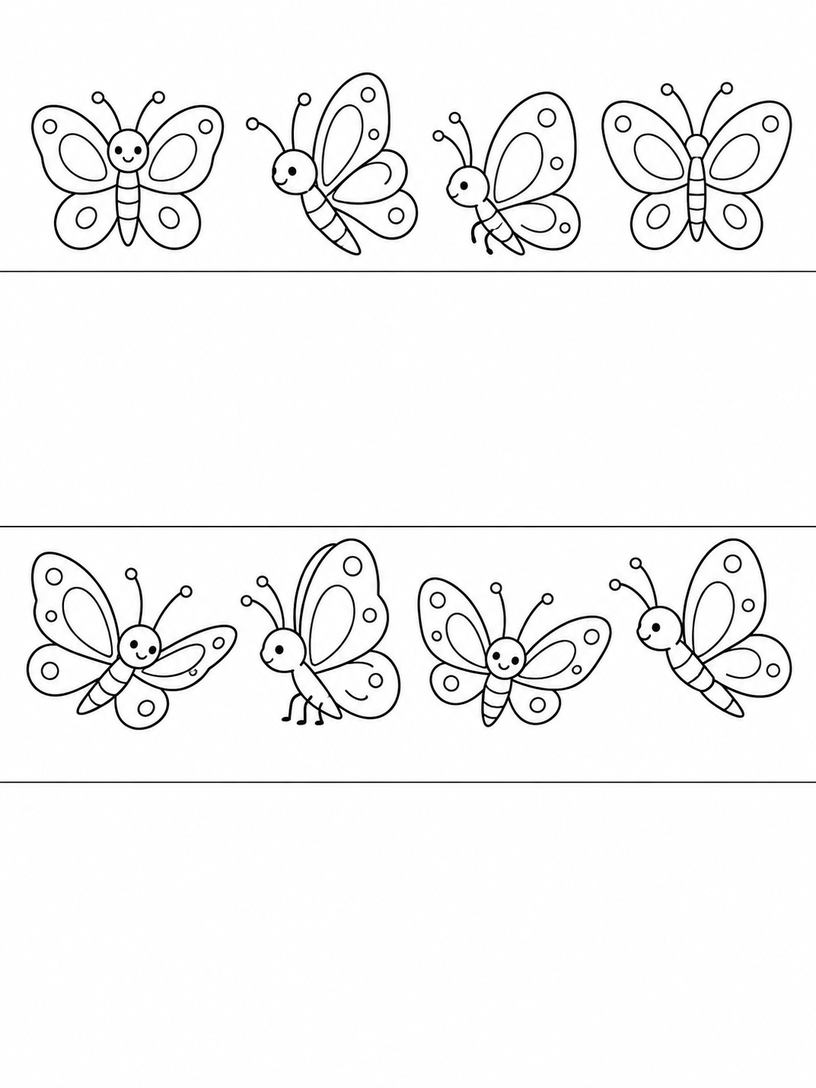
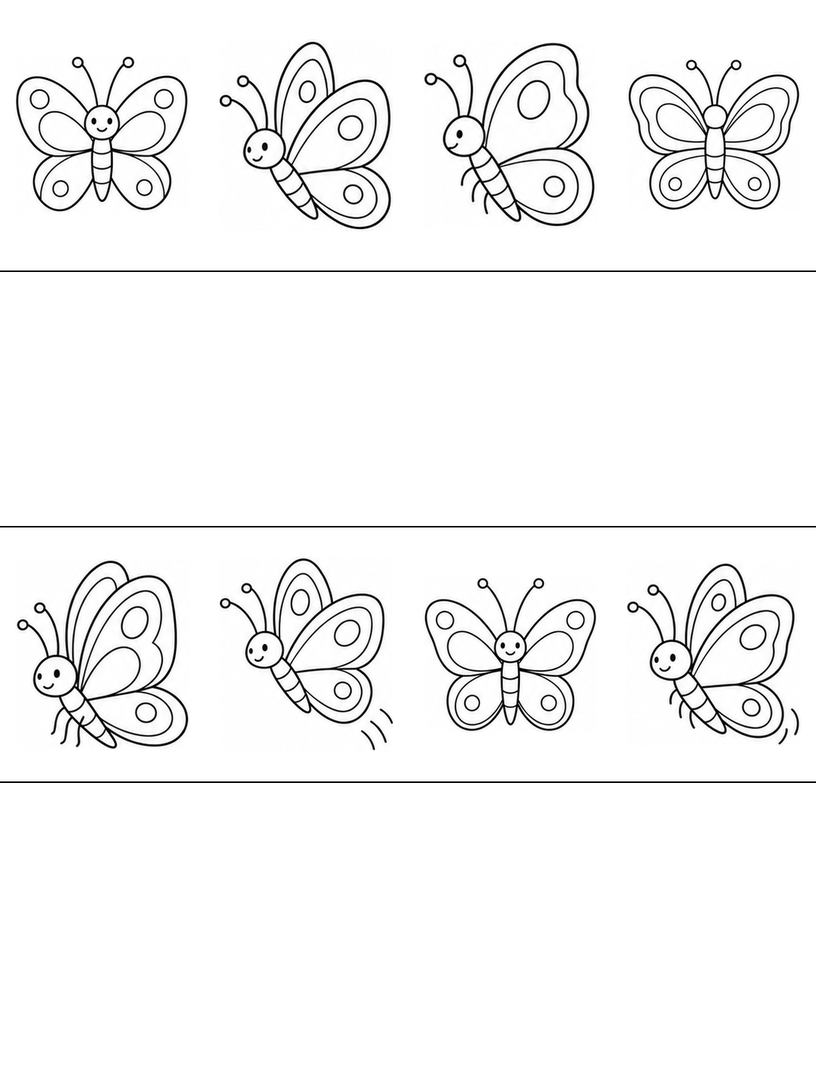
Each sheet has four horizontal bands: drawings in the first and third, and blank space in the second and fourth. There are eight small butterfly examples per sheet. Some face forward and others turn to the side. Shapes and wing patterns repeat across the set; these are not 40 unique designs. The faces and poses are playful cartoons, not a guide to butterfly anatomy.
See all five full-page previews below, then choose a page for your child.
Try a pair of wing colors
Find a butterfly with both wings open toward you. This gives you a little matching game to try together, if your child is interested.
- Let your child choose two colors. Ask, “Which one shall we start with?” They can try a small patch in a blank band before coloring a wing.
- Look for a matching spot. Point to a spot on one wing and ask, “Can you find a spot on the other side?” Offer to use the same color there. Different colors are welcome too; matching is a choice, not a rule.
The printed butterflies are small. If your child wants more space, help draw a bigger one in a blank band. They can leave some parts white or stop after a single wing. Notice a choice rather than neatness: “You gave this butterfly orange spots.”
With colored pencils, suggest short, light strokes inside one wing rather than a heavy outline around every spot. Begin in the widest part and turn the page if that makes the narrow end easier to reach. If two colors blend into a muddy patch, try them in separate areas on the next butterfly. There is no need to rescue the first one. A blank wing beside a colored spot still gives your child a clear place to begin when they come back.
See all five cartoon butterfly coloring sheets
These full-page previews show all five Beginner worksheets in the same order as the PDF. Let your child find a favorite butterfly, then use the PDF download for printing. Similar characters and wing patterns appear again; there is no need to use every page at once.
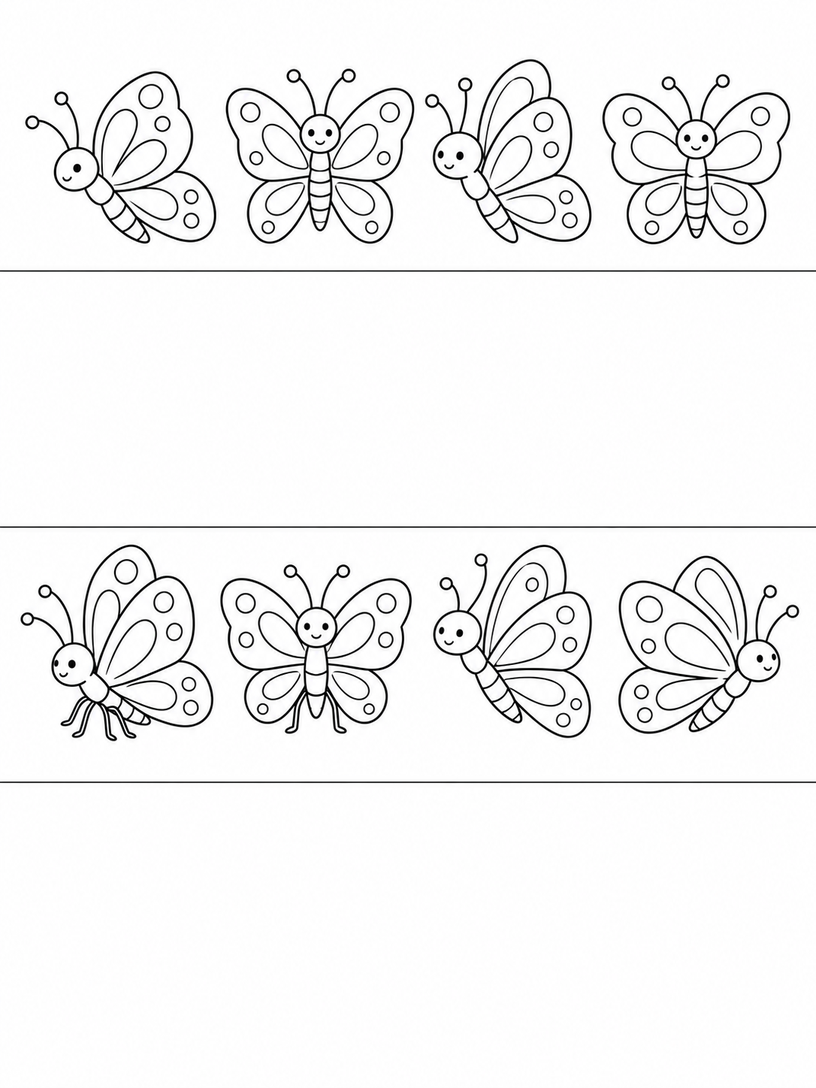
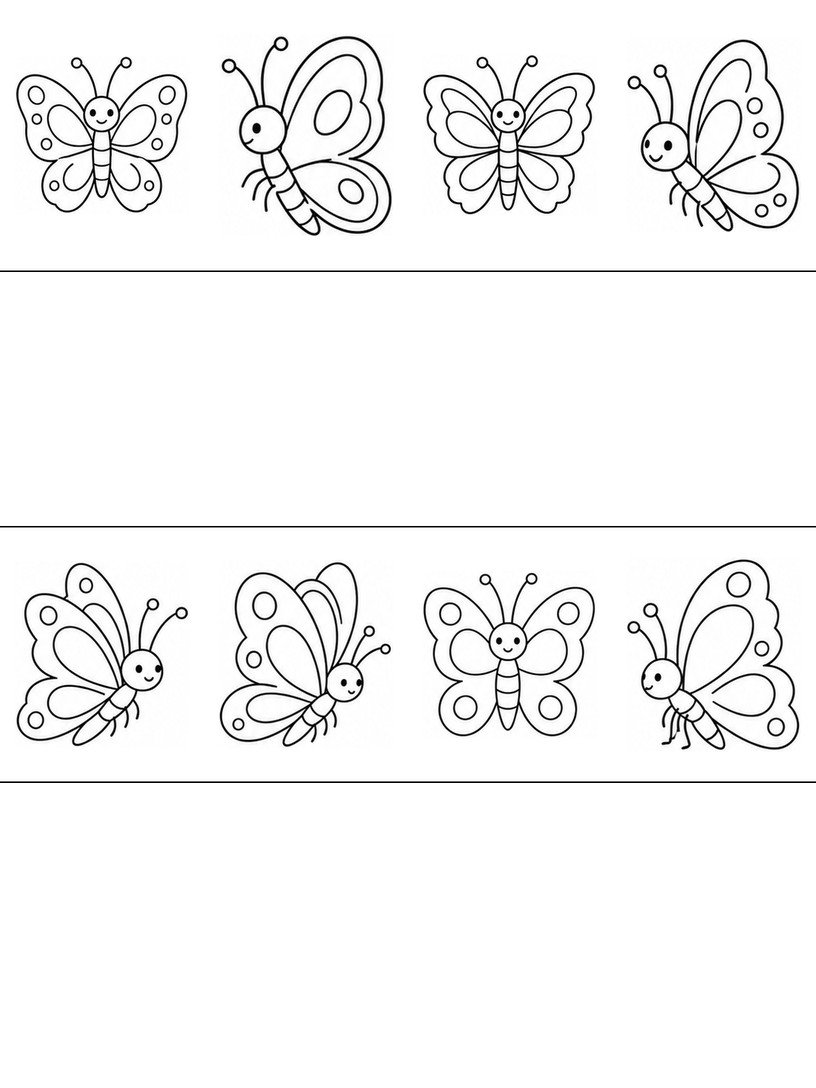
Draw a butterfly of your own
Use a pencil in a blank band and look at a front-facing example. Let your child choose how much to add; the wings do not need to be identical.
- Leave room beside the body. Draw a little head and a narrow body near the middle of the space. Pause before adding details so there is room on both sides for the wings.
- Connect the wings. Draw a large, rounded upper wing and a smaller lower wing on each side. Start and finish the curves at the body. If a wing looks detached, add a short line back to the body instead of erasing the whole butterfly.
- Add spots last. Try one oval or a few round spots inside the wings. If they feel crowded, leave out the next spot or make it smaller. Your child can use the same colors on both sides or choose different ones.
For a side-view butterfly, choose an example that faces left or right and look at where its head sits beside the wings. Draw the head first, then a short body slanting away from it. Add one tall upper-wing curve behind the head and a rounder lower curve beside the body. Your child can point to the joins before adding the lines. Two short, curved lines above the head can be enough for antennae; your child can leave the little circles at their tips for later. If the wings crowd the face, start their curves a little farther down the body on your next try. Keep the first drawing as another version, rather than treating it as a mistake.
A pretend garden visit
Here is a pretend idea: a butterfly is getting ready to visit a garden and wants a special spot on its wings. Which spot would your child choose? They can point to one in the examples and draw a flower for the butterfly to visit in a blank band. That flower and garden visit are part of the story you make up together; they are not extra PDF pictures.
If your child wants to continue the visit, ask, “Where is your butterfly going to land?” Let them place a simple flower on either side of their drawing. They can choose a butterfly facing that direction or turn their own butterfly’s head toward it. A few short lines behind the wings can suggest movement, like the motion marks in the lower row of page 3. No garden background is needed.
Printing and file notes
The PDF contains only the five Beginner pages. Choose A4 paper and start with 100% / Actual size. Check the print preview and try one page before printing the set. Printer margins differ; a physical print test has not been performed.
These are AI-assisted line-art worksheets. The previews and PDF have been checked digitally. “Beginner” describes the drawing complexity; it is not a tested age range or a promise of learning results.
If your child would rather color flowers, try the Beginner daisy coloring pages. You can choose petals and a center together.
Comments
Comments are closed