

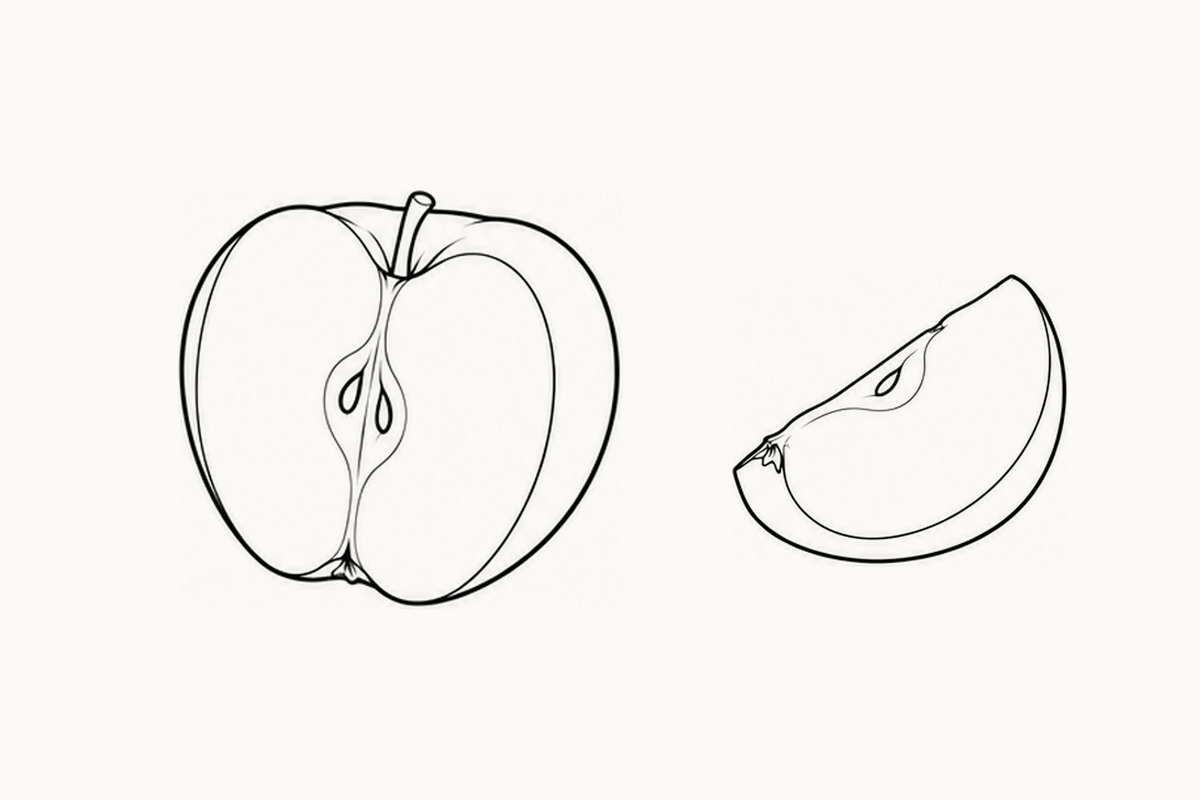
These intermediate apple coloring pages offer five A4 sheets of turned cut faces, wedges and overlapping portions, with empty bands for your own drawings. Choose one sheet, a pencil and a few crayons. On page 1, point to the two halves at the lower left and ask, “Which piece is in front?” Your child can follow an edge with a finger, color one visible face or try the pair below. The activity is about noticing which lines stay visible when one portion hides part of another.
Download the five-page Intermediate Apple PDF (1.79 MB)
What the five sheets show
Each complete page contains four larger reference arrangements, set in two rows, and two blank practice bands. The five pages recombine eight source reference positions; their twenty placements are not twenty unique drawings. Some cut faces turn away from a straight front view. A curved band of skin sits behind the open face, while overlapping halves or wedges hide parts of one another. Another reference shows a whole apple with a long strip of peel still attached. These are drawing studies, with no printed story, basket or characters.
Follow the edge that stops
Begin with the overlapping halves at the lower left of page 1. Follow the front half all the way around its visible shape. Now follow the rear half until its outline reaches that front piece. Let your child point to the place where the rear line disappears. You can say, “That part is behind the first apple half. We can leave its hidden edge out.” Choose one cut face to color, or leave both white and try drawing the stopping point in the practice band. There is no need to copy every seed or stem.
Look through all five complete pages
Page 1 places a turned half and a single wedge above an overlapping pair and the whole fruit with hanging peel. On the single half, compare the broad white face with the curved strip of skin beside it. The strip follows the same fruit; it is not a separate slice leaning against it.
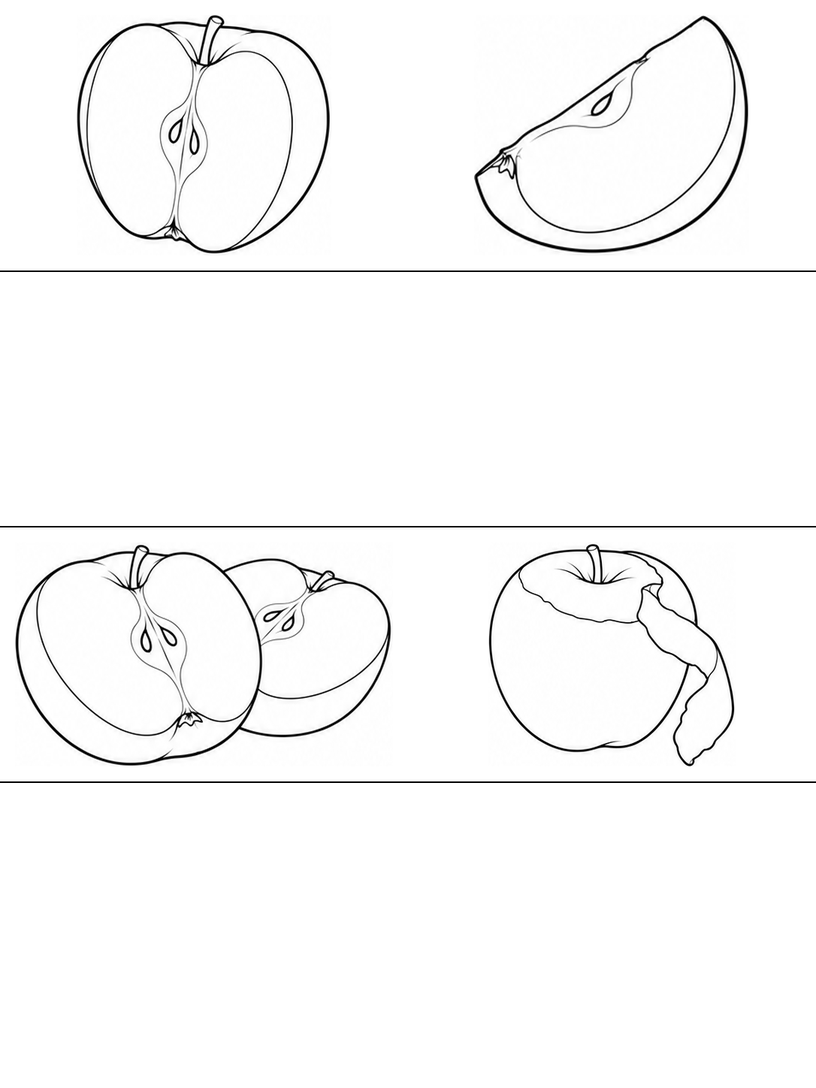
Page 2 offers more steeply tilted cut faces, with overlapping wedges below. Follow the front wedge's long curved edge, then look for where the rear wedge's edge stops. A half beside a wedge gives another arrangement to choose if a pair of similar wedges is difficult to follow.
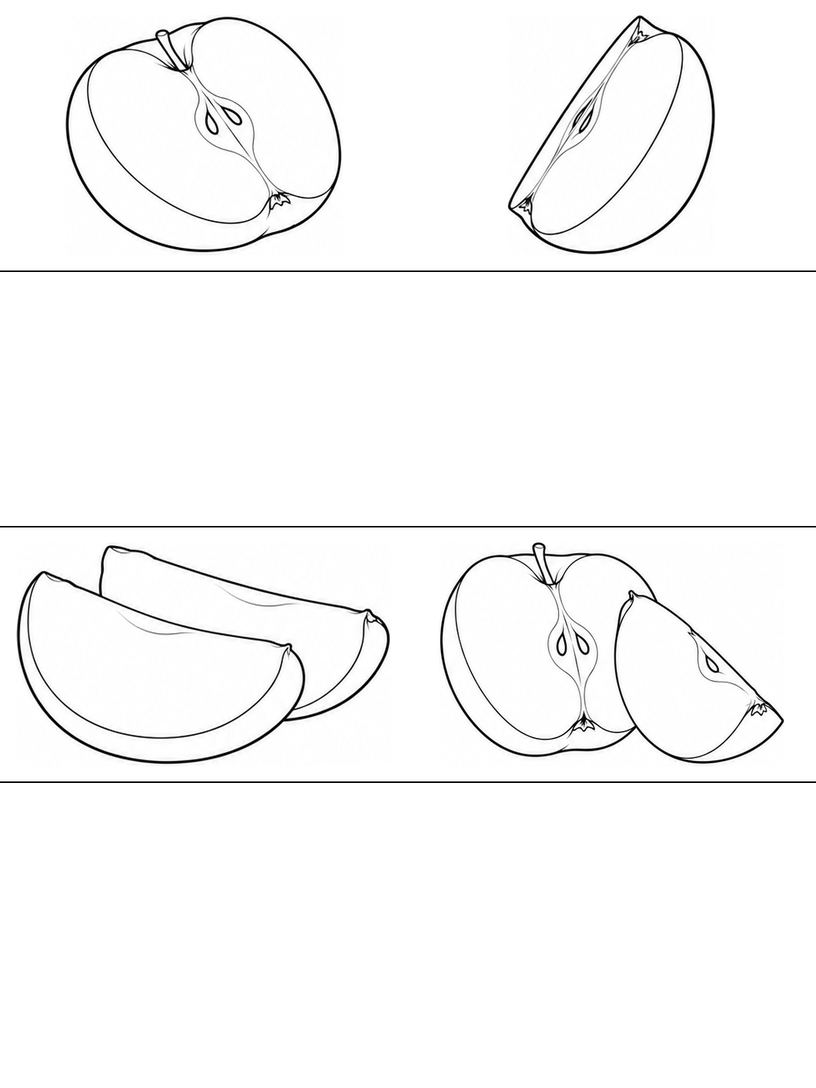
Page 3 brings a familiar broad half together with a narrower tilted face. The lower row includes the overlapping halves again. A child can revisit that known arrangement, or compare how much of the cut face remains visible in the two views above.
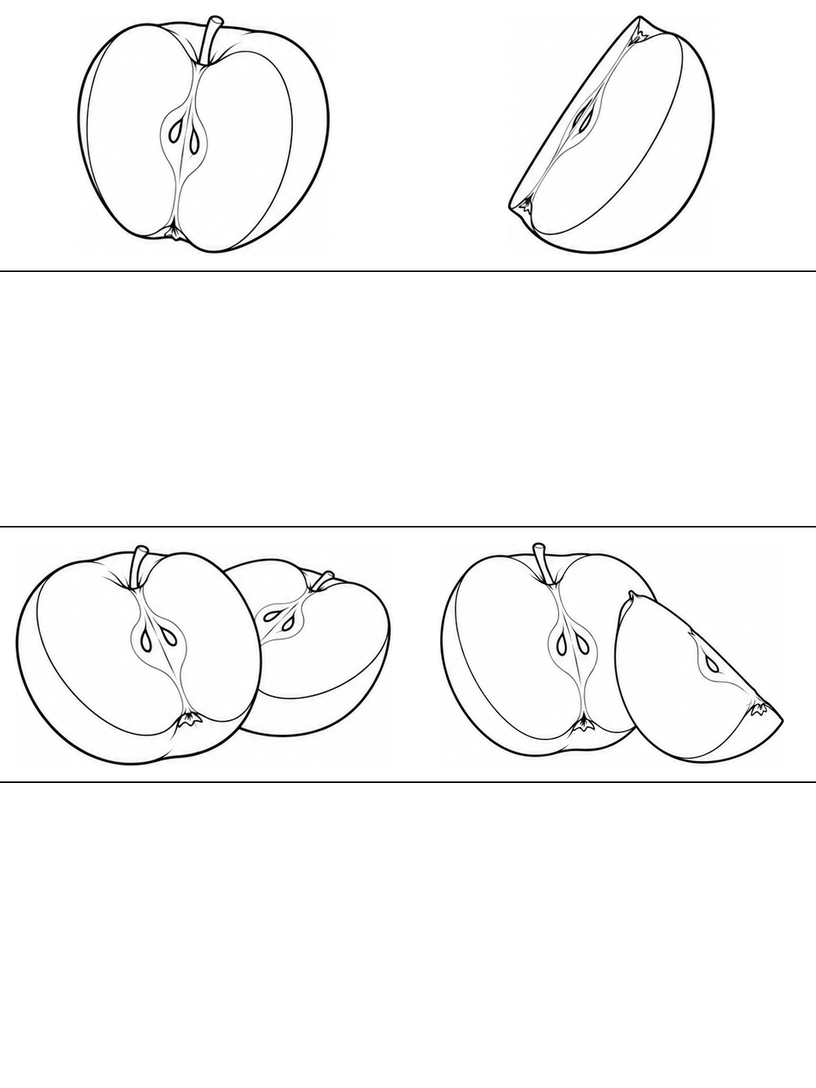
Page 4 pairs a tilted half and a wedge with overlapping wedges and the hanging peel reference. Trace the peel from the apple's upper edge to its loose end. If copying that long strip becomes confusing, choose one cut portion instead; the peel is an optional drawing subject.
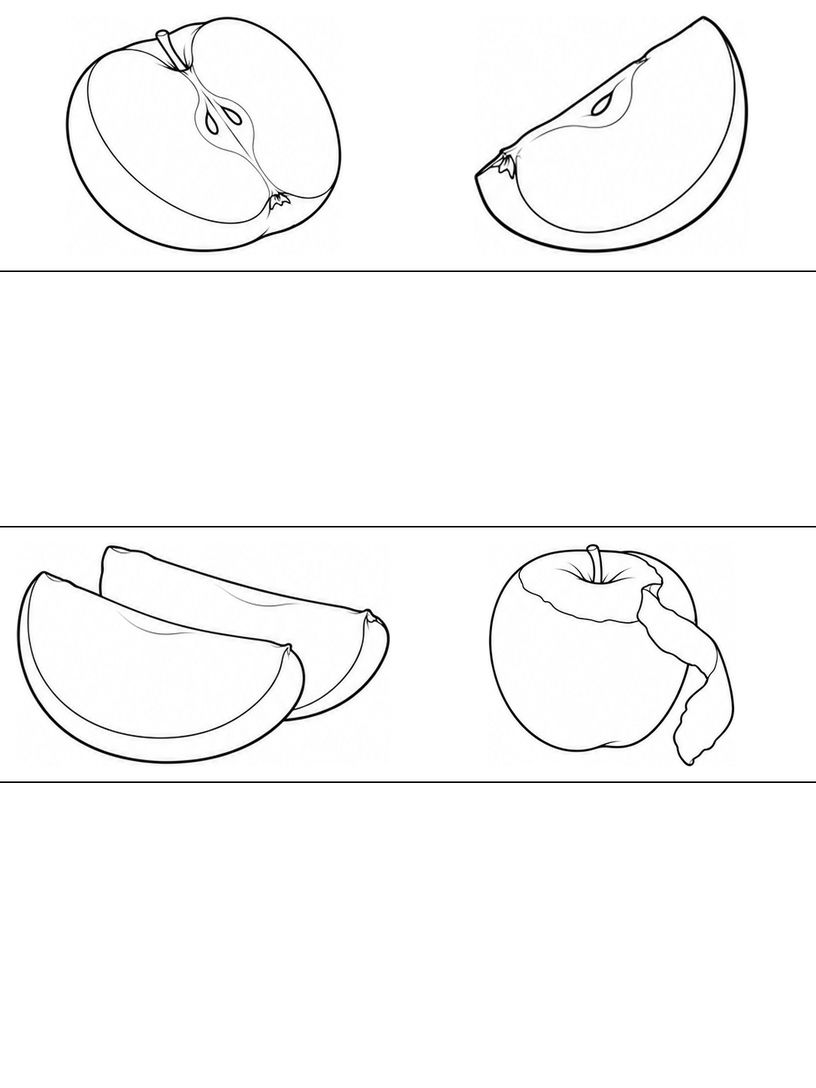
Page 5 moves the familiar overlapping halves and hanging peel into the top row. The turned half and wedge sit below. These rearranged references offer another place to work on a chosen view, rather than a completely new set of fruit drawings.
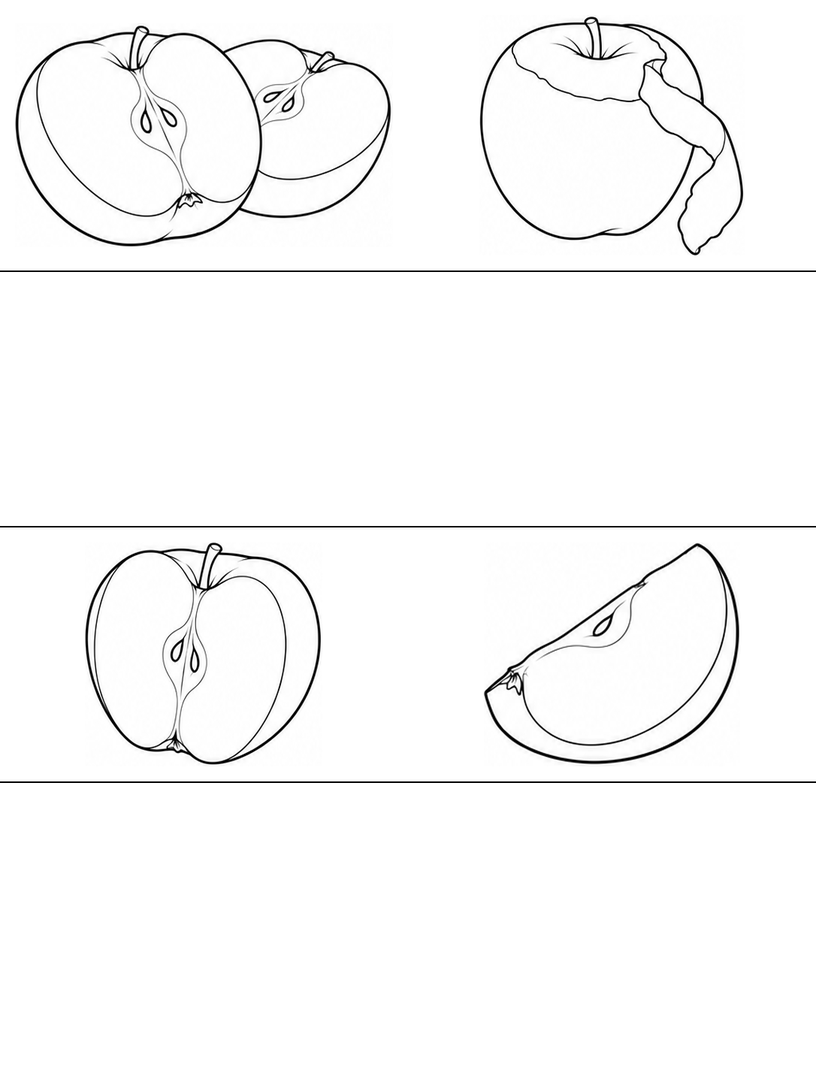
Draw two overlapping apple halves
Use the lower-left arrangement on page 1. Offer a blank band or spare paper and draw larger than the example if that makes the meeting edges easier to see. Your child can start with just two outlines, adding a core or skin edge later.
- Draw the front cut face. Begin with a broad rounded outline for the nearer half, allowing a small dip at its top. Keep its outside edge continuous. Add a light curve along one side to show the curved skin behind the cut face, joining that curve back to the same portion.
- Place the visible part of the rear half. Start a second curved outline slightly behind and to one side. Follow the part you can see in the reference, then stop where it meets the first half. Do not run the rear line across the open face of the front half.
- Add only the details that remain visible. Place a narrow core and a few hollow seed shapes in the front cut face if you want them. On the rear half, include only the visible part of its core. Compare the joining edges once more, then choose an area to color or leave the outlines uncolored.
If the rear outline cuts through the front half, try a fresh pair beside it and stop that line earlier. If the rear piece seems to float, compare where its bottom curve meets the front portion rather than adding an unrelated stand or stalk. If the skin looks like a detached ring, connect its short ends back to the cut-face edge. Keep just one of these adjustments for the next drawing; your child can also finish with two simple overlapping shapes and omit the small details.
A made-up fruit-stand choice
For an optional made-up story, imagine that two apple portions are waiting on a fruit-stand tray. One is partly hidden behind the other. Ask your child to choose which portion should be nearest, then draw its outline first in a blank band and add the visible part of the second behind it. The tray belongs to your imagined scene and may be added to their own drawing; it is not included on the worksheets.
An easier turn or a different subject
If the overlapping pair feels busy, choose a single half from the top row and follow only its outer shape. The Beginner apple sheets also offer whole-fruit views without an open cut face. For a different subject, the Beginner bird sheets use whole cartoon birds and blank drawing bands. These are choices for another turn, not extra tasks to finish before stopping.
Printing this level
The PDF contains only the five Intermediate apple sheets. Choose A4 paper and 100% / Actual size, check the preview for clipped borders, and try one page before printing more. Use Fit if your printer needs extra margin. The printing guide explains these settings. The digital file checks do not establish how a particular printer handles margins; no physical print test has been performed.
Worksheet questions
Why are there four references on each page?
This Intermediate set uses four larger reference arrangements per sheet, with two empty bands for drawing. Some arrangements contain more than one apple portion. The five pages reuse eight source reference positions, so repeated shapes are part of the set rather than new designs.
Should I complete the outline hidden behind another portion?
You may plan it lightly if that helps, but the finished drawing does not need to show a hidden rear edge through the front half. Follow the actual reference and stop the rear line where the front portion covers it.
Is the hanging strip a leaf?
No. In this reference, the long strip is peel attached to the whole apple. Follow its connection near the upper edge of the fruit. You can choose a half or wedge instead if you do not want to draw that curling strip.
Use and sharing
You may print these pages for personal, family or classroom activities. Keep the website credit on the sheets. Share this article link with other adults instead of redistributing or selling the PDF. Read the terms of use for the permission and its limits.
Creation and editorial note
The activity guide and page layout were prepared and edited for Coloring Pages Story, with AI assistance. The line art is AI-assisted. The page previews and five-page PDF have been checked digitally. No classroom trial or physical print test has been performed.
Comments
Comments are closed