

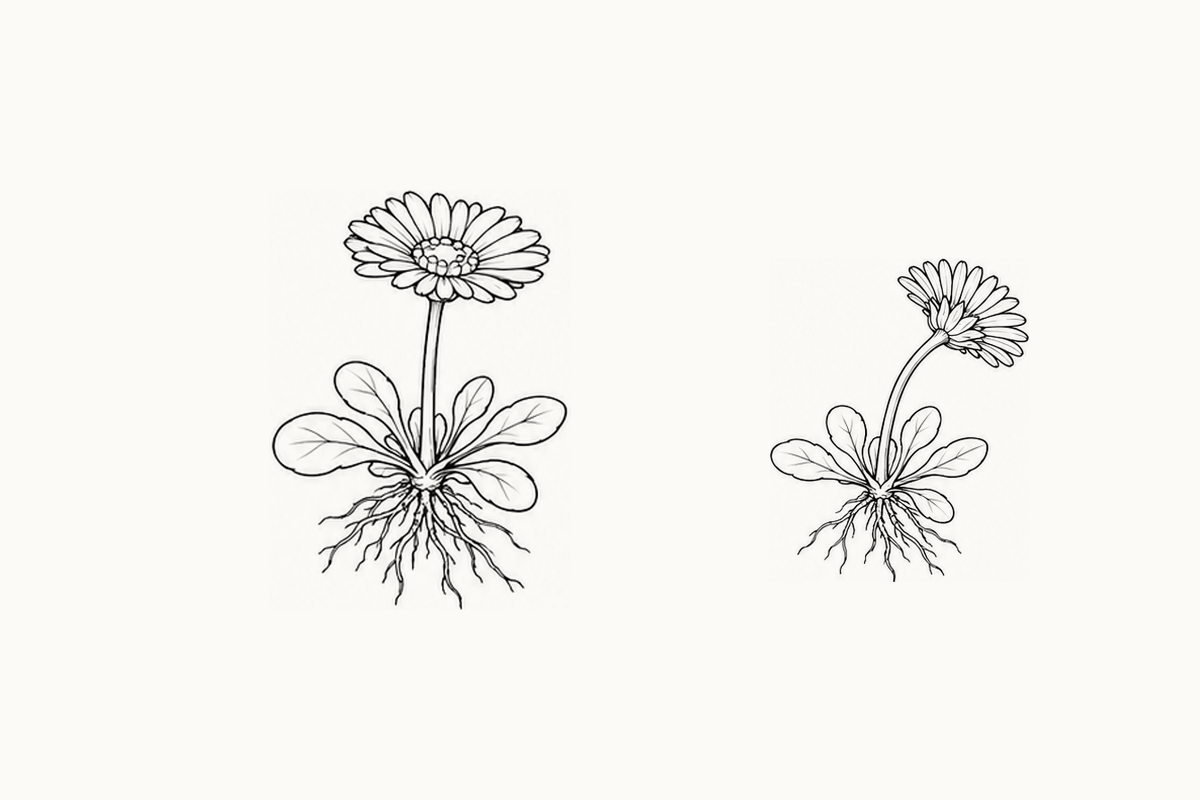
Which leaf comes closest to you? In these intermediate daisy coloring pages, broad leaves overlap around a shared base. Print a sheet and choose one clear front edge to follow. You can color the front leaf, let a back leaf stop behind it, and try the same overlap in a blank band. The flower head can stay as a small oval while you work on the leaf connection. One readable overlap is a useful place to pause.
Download the five-page Intermediate Daisy PDF (1.88 MB)
What is in this set?
The download has five A4 sheets. Each carries four complete plant references, two in the first band and two in the third, with blank drawing bands beneath them. Four source plant drawings recur in changed positions and arrangements across the set. You are getting five practice layouts, not twenty unique plants. The plants and fine roots are simplified illustrations, rather than photographs of a particular specimen.
Before you begin
Look at the upper-left plant on page 2. Find the broad leaf that spreads toward the lower left, then a narrower leaf behind it. Ask your child to follow the front leaf's unbroken edge with a finger. That edge is your starting point. Leave the small flower-center marks and fine roots for later; you can keep this whole activity around the leaf base.
Look through the five sheets
Page 1 introduces all four plant views. Compare the open tilted head at the top left with the more side-facing head at the top right. Below, one plant stands more upright and another leans. Start by choosing the direction of the head, rather than counting the petals.
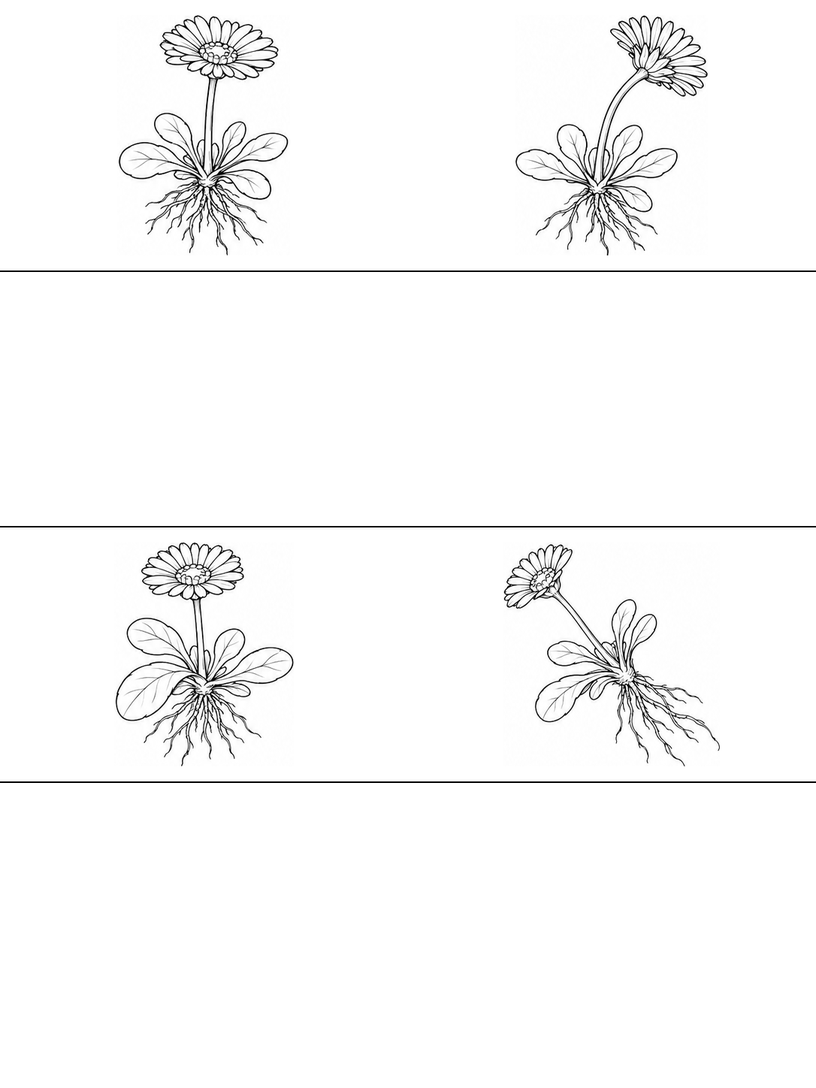
Page 2 changes the positions of those same references. Find the wide leaf that passes in front of the leaf cluster. Color its whole visible shape first. Then color a leaf behind it, stopping at the front leaf's outline instead of continuing across that border.
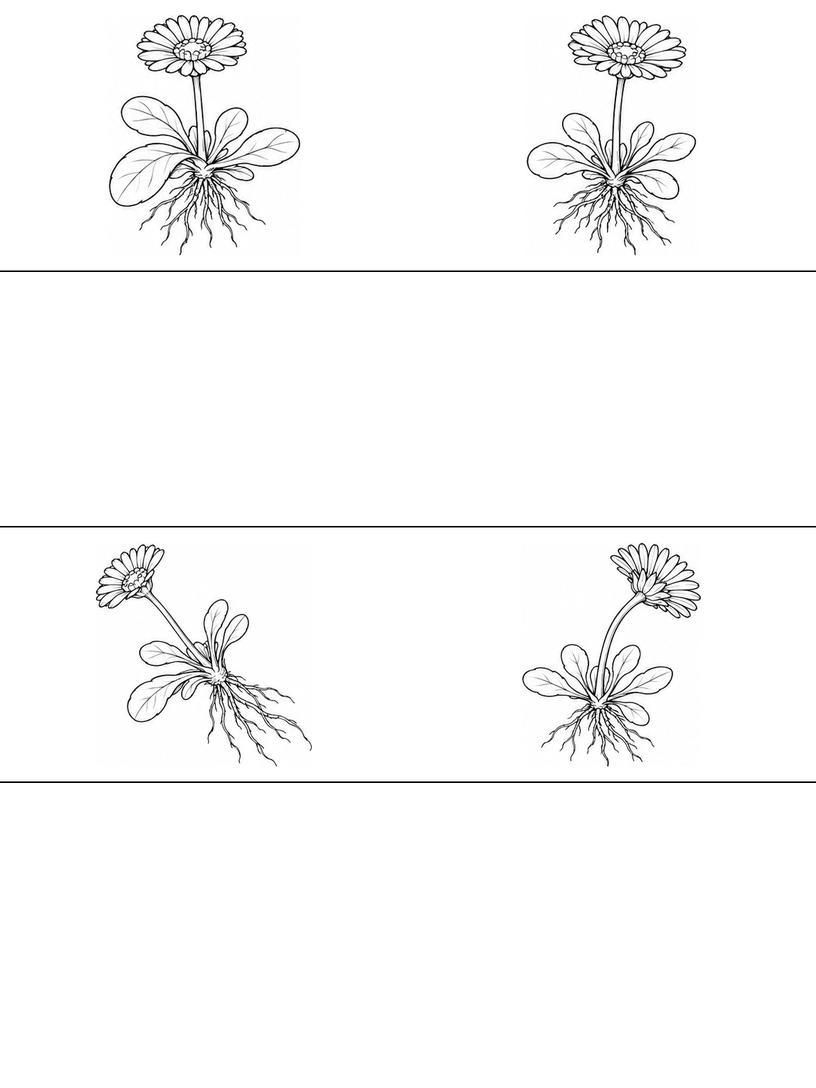
Page 3 puts the side-facing and leaning plants in the upper row. Follow the long stem from each head back to its base. In the practice band, draw just that route and a small oval for the center. Add leaves only after those two parts belong together.
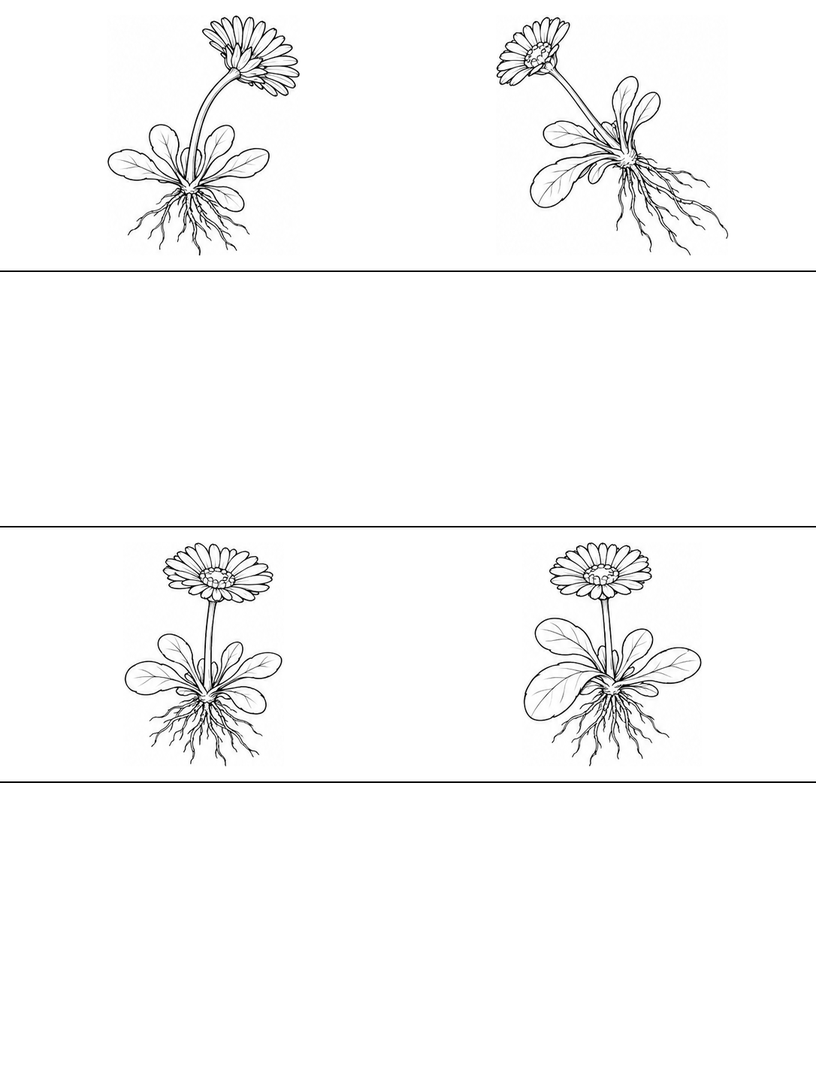
Page 4 brings the diagonal plant beside a more upright one. Compare their stem directions without turning the page. Your child can point toward the top of each flower, then draw two light direction lines below. The lines can stay as a quick observation sketch.
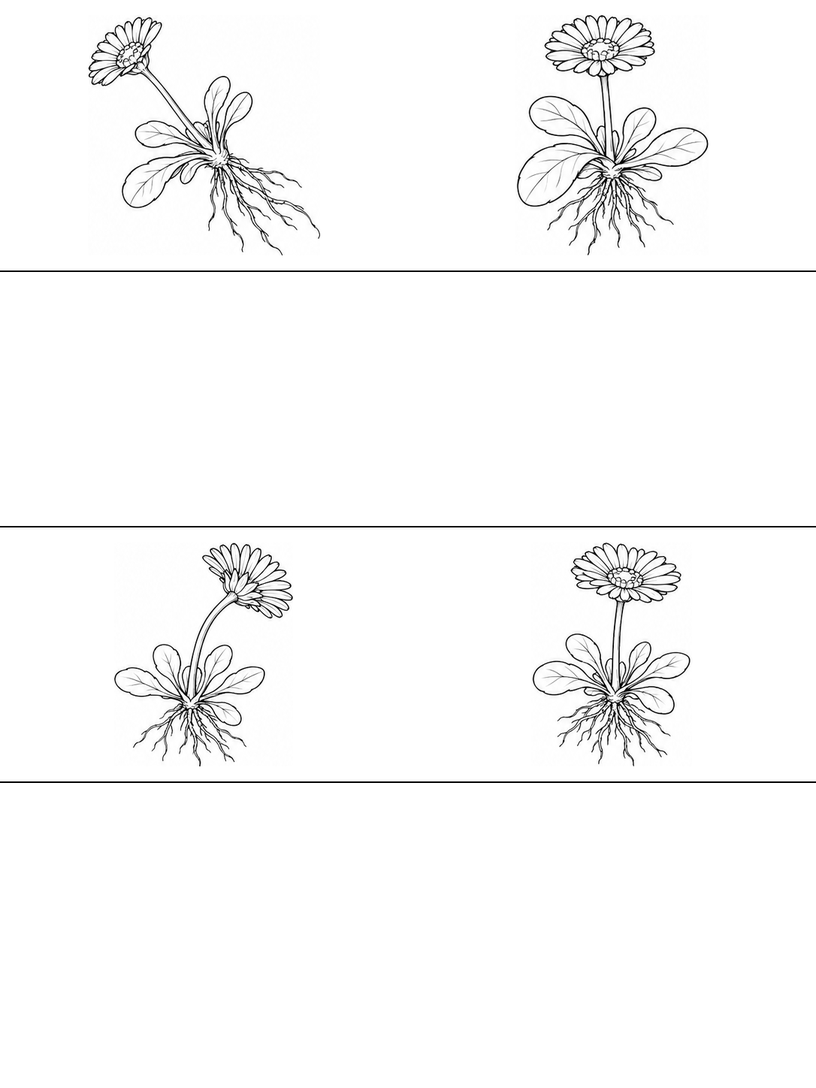
Page 5 returns to a familiar arrangement. Revisit one drawing and change only a single choice, such as the color of the front leaf or the width of the flower center. Repeated references make that comparison possible; they do not add new kinds of flowers.
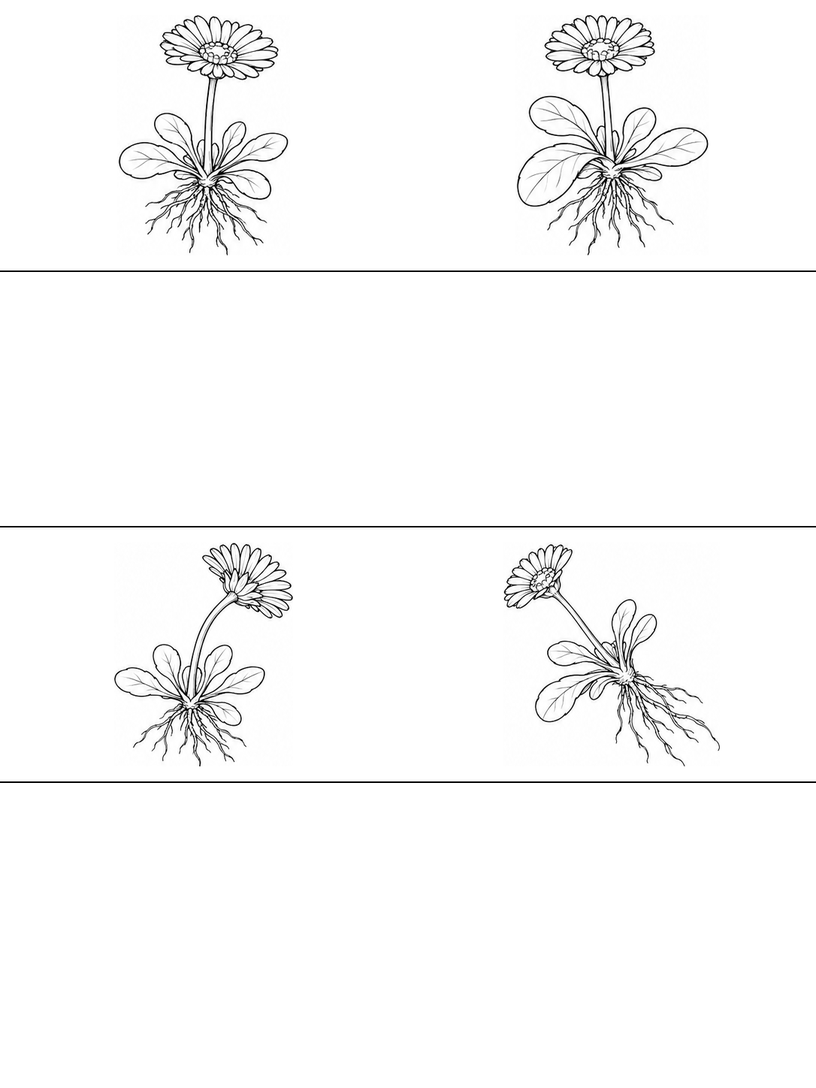
Draw one daisy leaf in front of another
Use the broad leaf cluster on page 2 as your reference. Begin with only two leaves, drawing larger on spare paper if the printed edges feel crowded. The aim is to connect both leaves to the same base while making one clearly pass in front.
- Place the base and the whole front leaf. Mark a small starting point for the shared base. From it, sweep out toward the lower left and return with a second curve to make one broad leaf. Keep its outside edge clear and continuous. Leave the vein out for now. If the leaf is too narrow to see inside, make a wider version beside it before adding another shape.
- Let the back leaf disappear behind that edge. Start a second leaf at the same base and send it in a different direction, following a narrower leaf in the reference. Draw only the edge you can see before it meets the front leaf. Stop there. Continue its visible shape on the other side only where the printed drawing shows it. Do not trace a hidden line through the broad front leaf.
- Check both connections before adding the stalk. Point from the tip of each leaf back toward the shared base. Each route should belong to the same cluster, even where a short part is hidden. Then add the simple flower stalk above that base. Keep a light stalk segment behind a front leaf out of view. One center oval is enough for the flower while you check the leaf overlap.
Try two light colors: one for the broad front leaf and another for the visible back leaf. If a line cuts through the front color, check whether that segment should be hidden. Remove only that short segment, then follow the front edge again. If the base has become a dark knot, draw the two leaves larger on spare paper and leave out veins, roots and the flower until their joining point is clear.
A garden window story
Imagine two daisies sharing a garden window. One has a broad leaf in front of its neighbor's leaf. Ask, 'Which leaf might catch the first drop of rain?' Your child can choose a front leaf from page 2, color it lightly, and draw one raindrop above it in the blank band. Tell the next part aloud. Perhaps the other flower needs to lean closer. Which leaf edge would you still see, and which small part would disappear behind the first?
Make the activity your own
For a gentler turn, color the broad leaf and point to the back leaf without drawing. For another attempt, keep the shared base but change which leaf comes forward. Compare the stopping lines in the two sketches. The surrounding flower is optional here; you can save tilted flower centers for a separate activity.
If the shared base is hard to follow, the Elementary daisy guide breaks the flower, stalk and leaf connection into a smaller first task. For a different challenge after the leaves, try the Advanced daisy head study: its repeated flower heads make room to compare broad near petals with a compressed far edge.
Printing and file notes
Select one of the five Intermediate A4 sheets in your PDF reader's page range. Start with 100% / Actual size, look for cut edges in the print preview, and try one page. Use Fit if your printer needs more margin. For paper size and print settings, read the printing guide.
Worksheet questions
Are there twenty different plant designs?
No. The five sheets rearrange four existing daisy drawings, with four references on each page. The layouts provide repeated practice space. Check all five previews before downloading if you are looking for new pictures rather than another attempt at the same views.
How can I tell which leaf goes in front?
Look for an edge that continues without a break while another edge stops at it. On page 2, trace the broad front leaf before following a narrower leaf behind it. Your drawing can use just those two shapes. If every outline crosses the others, remove the short hidden back segment instead of adding more veins.
Can I print just one practice sheet?
Yes. Open the five-page PDF and select the page you want in your printer's page range. Choose A4, start with 100% / Actual size, and inspect the print preview. Try a single sheet first because printer margins vary.
Use and sharing
You may print these pages for personal, family or classroom activities. Keep the website credit on the sheets. Share this article link with other adults instead of redistributing or selling the PDF. Read the terms of use for the permission and its limits.
Creation and editorial note
The activity guide and page layout were prepared and edited for Coloring Pages Story, with AI assistance. The line art is AI-assisted. The page previews and five-page PDF have been checked digitally. No classroom trial or physical print test has been performed.
Comments
Comments are closed