

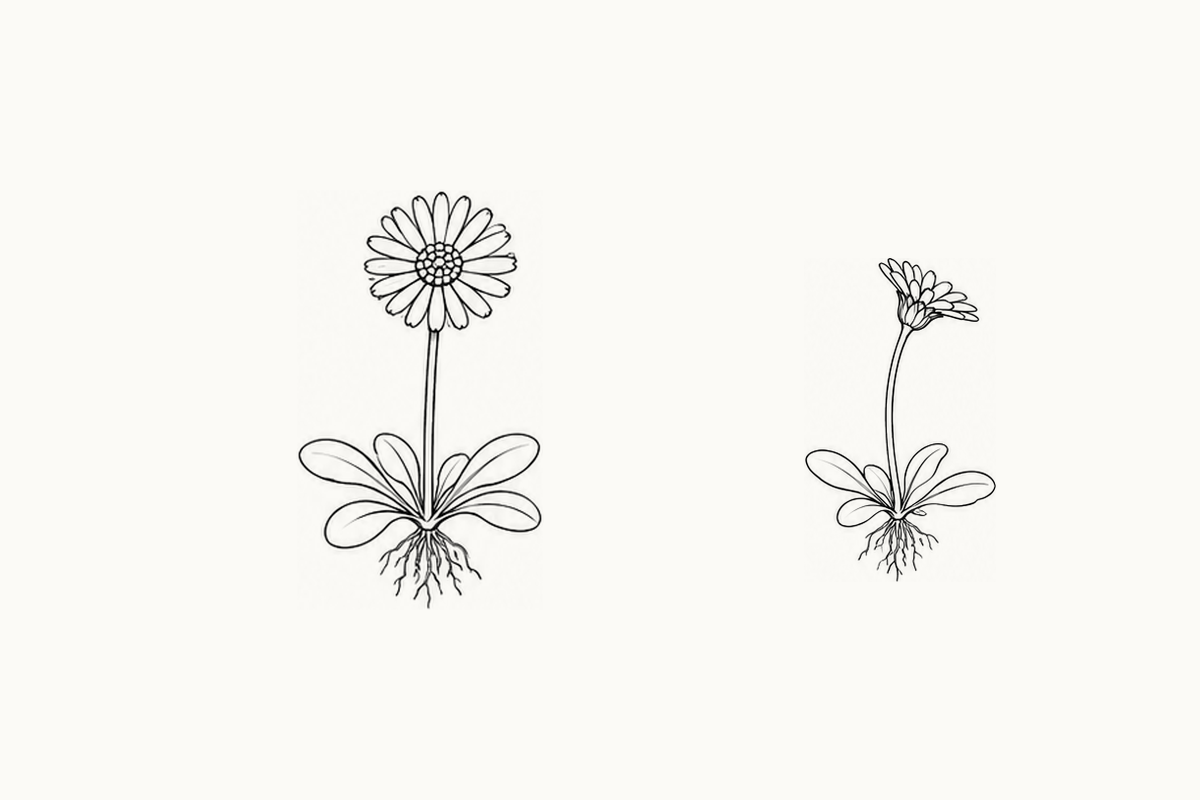
Find a daisy with a bent stem and follow its line down with your finger. Where do the leaves begin? These elementary daisy coloring pages give you five A4 sheets for noticing that connection, coloring a small plant, and trying your own version underneath. You can begin with one leaf and one flower. There is no need to fill the whole band or finish every example.
Download the five-page Elementary Daisy PDF (2.48 MB)
What is in this set?
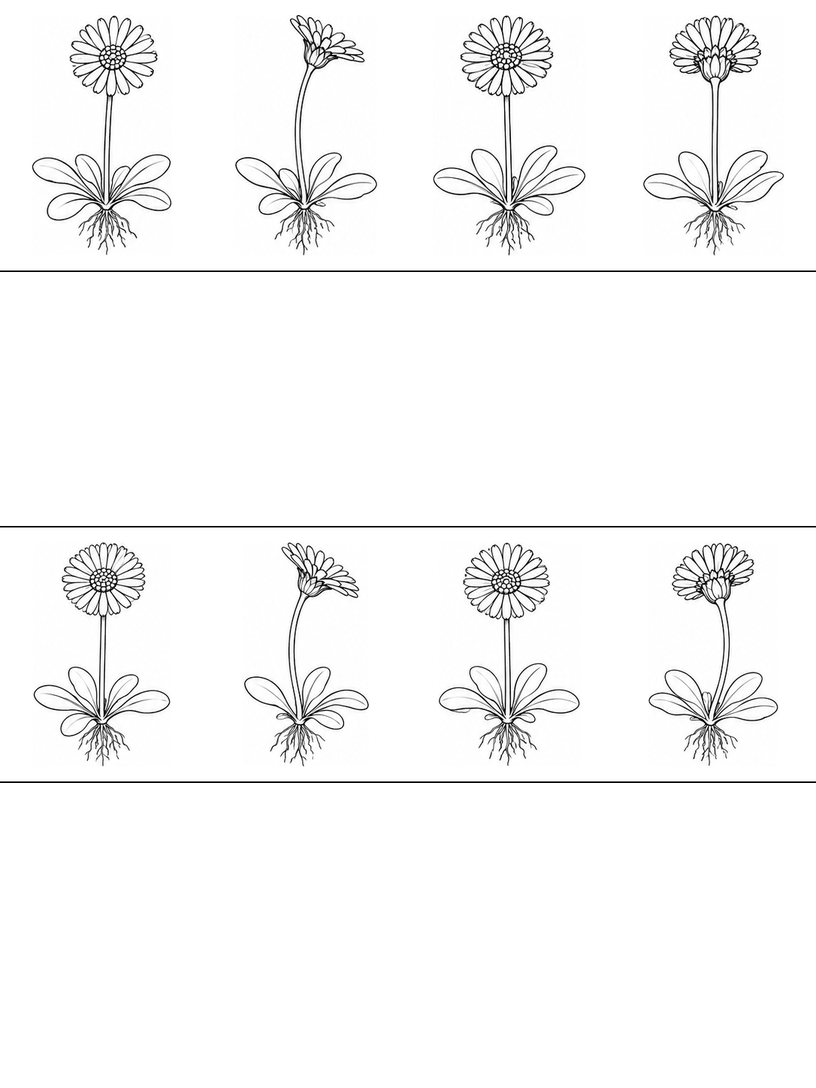
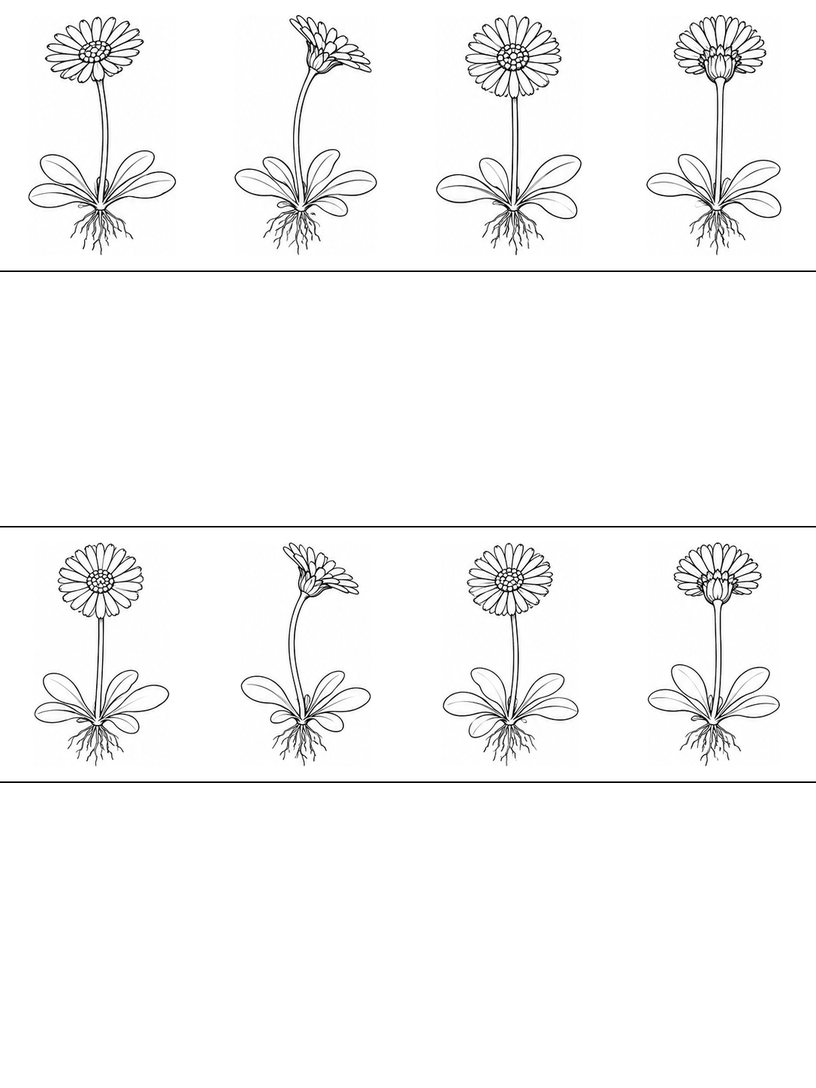
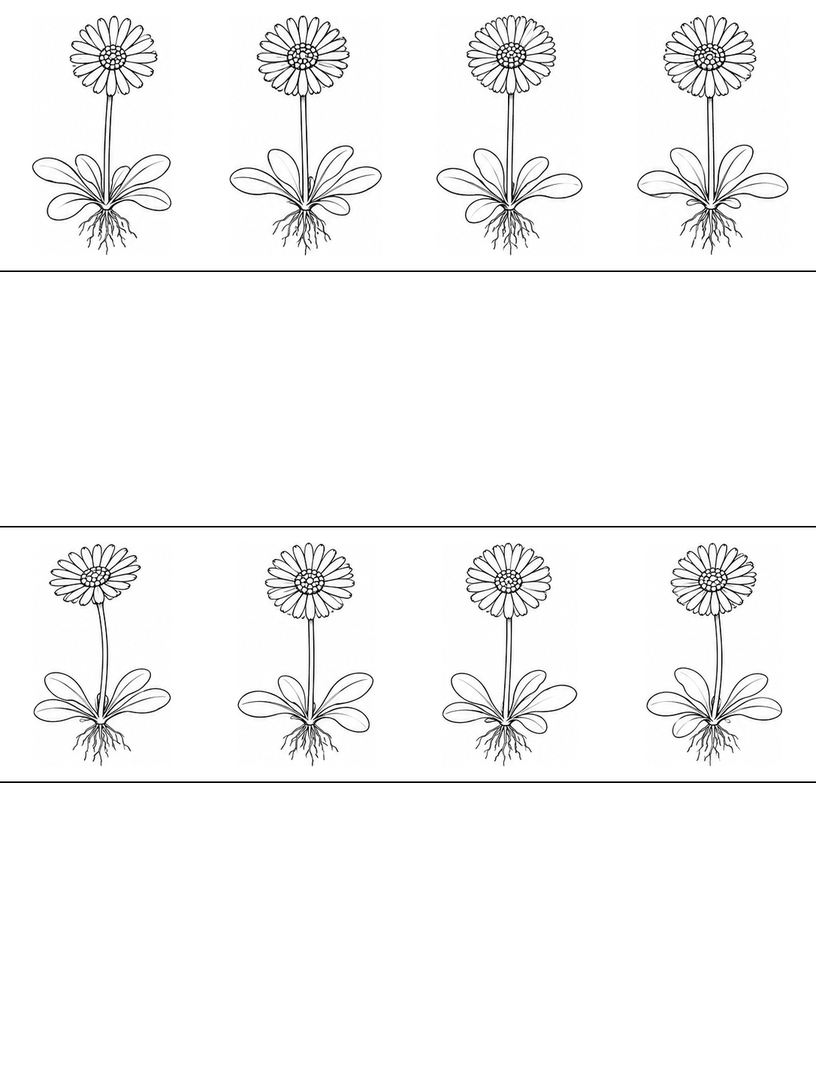
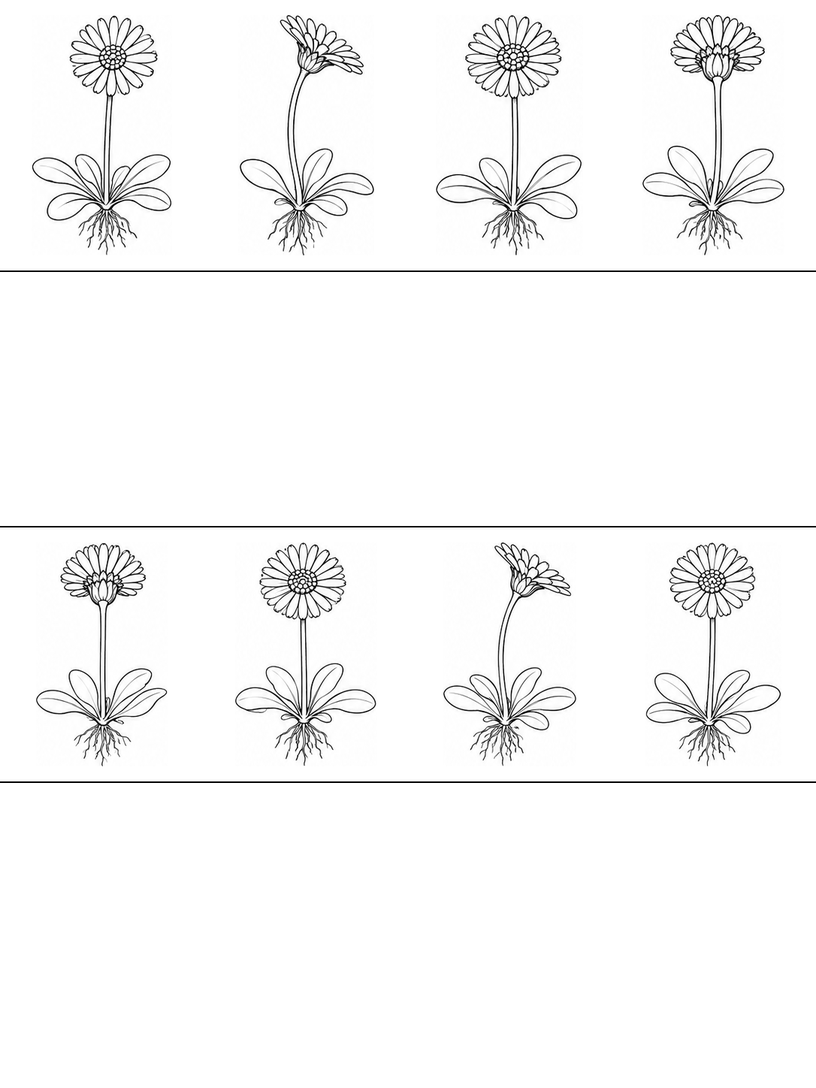
Each sheet has eight plant drawings, four in the first band and four in the third. The second and fourth bands are blank practice space. The pictures include front-facing flowers, side views and views of the supporting green shapes beneath the flower head. The same source drawings return in different combinations. This is repeated drawing practice, not forty different plant designs. The pictures simplify the plants, especially the fine roots.
Before you begin
Offer two choices: color a flower head, or draw the route from a flower to its leaves. If you are sharing the page, ask your child to point before you demonstrate. A finger can follow a long stem while the pencil waits. The thin root lines are optional; a clear flower, stem and leaf connection is a useful place to stop.
Look through the five sheets
Page 1 mixes open, side-facing and underside flower heads. Choose two neighboring examples and compare where the stem meets each head. Color that meeting point first, then continue down to the leaf base. The center stays attached even when the flower turns.
Page 2 returns to the same kinds of views with slightly different stems and leaf arrangements. Look for the narrow paths between the leaves. Leave those gaps white while you color one leaf at a time, so the plant does not become one solid green patch.
Page 3 brings together front-facing flowers. It is a good sheet for comparing the ring of long petal shapes with the smaller marks inside the center. Choose one light color for the long shapes and another for the center, without trying to fill every tiny mark.
Page 4 emphasizes side and underside views. Find the small supporting shapes directly beneath a flower, then follow their outline into the stem. In the blank band, try a small cup shape with a stem beneath it before adding the visible petals above.
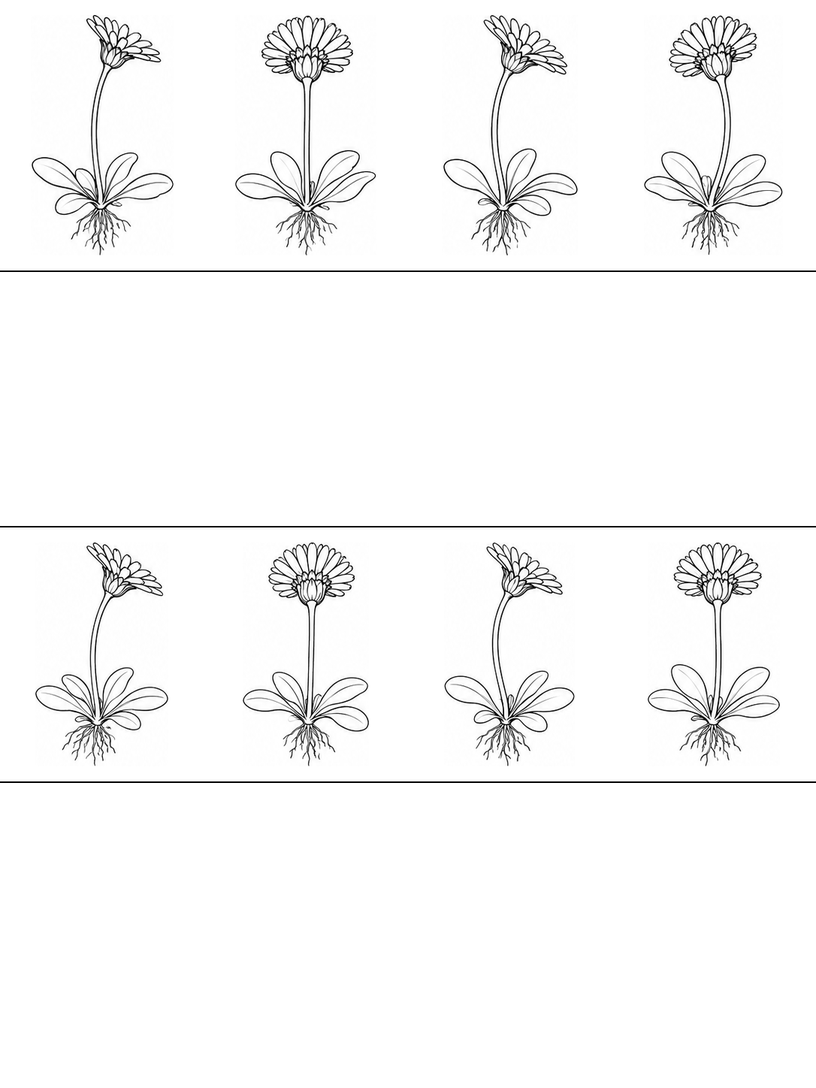
Page 5 mixes the views again. Ask which flower is looking toward you and which is turned away. Your child can draw one chosen view below, rather than copy the whole row. Use the repeated examples to try a different color choice, not to race through more pictures.
Draw a daisy with connected leaves
Choose a front-facing plant from page 3. On a spare piece of paper, or in a blank band, leave space for the flower above and the leaves below. These three steps help organize the drawing; they are not a test of exact petal or leaf counts.
- Place the flower before its details. Draw a small center and a few long loops around it. Keep a little opening beneath the head for the stem connection. If the loops crowd together, use fewer and make the next one farther from its neighbor. Leave the small center marks until later.
- Follow one clear stem to the base. Begin under the flower and make a gentle curve down. Draw a second nearby line if there is room. Keep this long flower stalk free of added side leaves, following the printed example. Stop where the small cluster of leaves begins.
- Return the leaves to the shared base. Start a leaf at that cluster, curve outward, then bring its edge back. Add another leaf pointing a different way. Check that both belong to the same base. A few fine root lines may continue below it, but they can be left out when the drawing already feels complete.
If a leaf seems to float beside the plant, look at its inner end before changing its outside edge. A short connecting line may be all that is needed. If the whole plant is too small to manage, draw just the base and two larger leaves on spare paper. Keep the printed sheet as a reference beside that drawing.
A windy garden visit
Imagine that a daisy is waiting for a garden visitor. Which way will its flower look? Choose a turned head from page 1 or page 4, then draw a second daisy facing it in the blank band. Tell their conversation aloud while you draw. Two curved lines can stand for a breeze; you do not need to fill the garden. Ask your child whether the visitor arrives from the left or right, and let that answer decide the next flower's direction.
Make the activity your own
For a gentler activity, color one large leaf and leave the veins alone. For another try, compare a front view with an underside view and draw only their different flower-head shapes. Avoid asking for more tiny roots as a reward for finishing. The useful question is whether the parts connect clearly, and your child can answer that by pointing as well as drawing.
If connecting a whole plant feels busy, return to the Beginner daisy sheets and choose a flower head to color first. When the stem and leaf base feel clear, the Intermediate daisy activity gives a closer look at one leaf passing in front of another.
Printing and file notes
Select one of the five Elementary A4 sheets in your PDF reader's page range. Start with 100% / Actual size, look for cut edges in the print preview, and try one page. Use Fit if your printer needs more margin. For paper size and print settings, read the printing guide.
Worksheet questions
Does this PDF contain every daisy level?
No. This file contains only the five Elementary A4 sheets shown here. Beginner, Intermediate and Advanced are separate sets. Each Elementary page has eight small plant references and two blank drawing bands. Some references repeat across the five sheets.
Must we copy the fine roots and every petal?
No. You can practice the flower, stem and shared leaf base without the fine roots or every small center mark. The roots are simplified drawings. Use a real plant or a trusted nature reference when you want to identify plant parts.
What should I check before printing all five sheets?
Choose A4 and start with 100% / Actual size. Inspect the print preview for cut edges and try one page first. If your printer clips the sheet, use its Fit option and check again.
Use and sharing
You may print these pages for personal, family or classroom activities. Keep the website credit on the sheets. Share this article link with other adults instead of redistributing or selling the PDF. Read the terms of use for the permission and its limits.
Creation and editorial note
The activity guide and page layout were prepared and edited for Coloring Pages Story, with AI assistance. The line art is AI-assisted. The page previews and five-page PDF have been checked digitally. No classroom trial or physical print test has been performed.
Comments
Comments are closed