

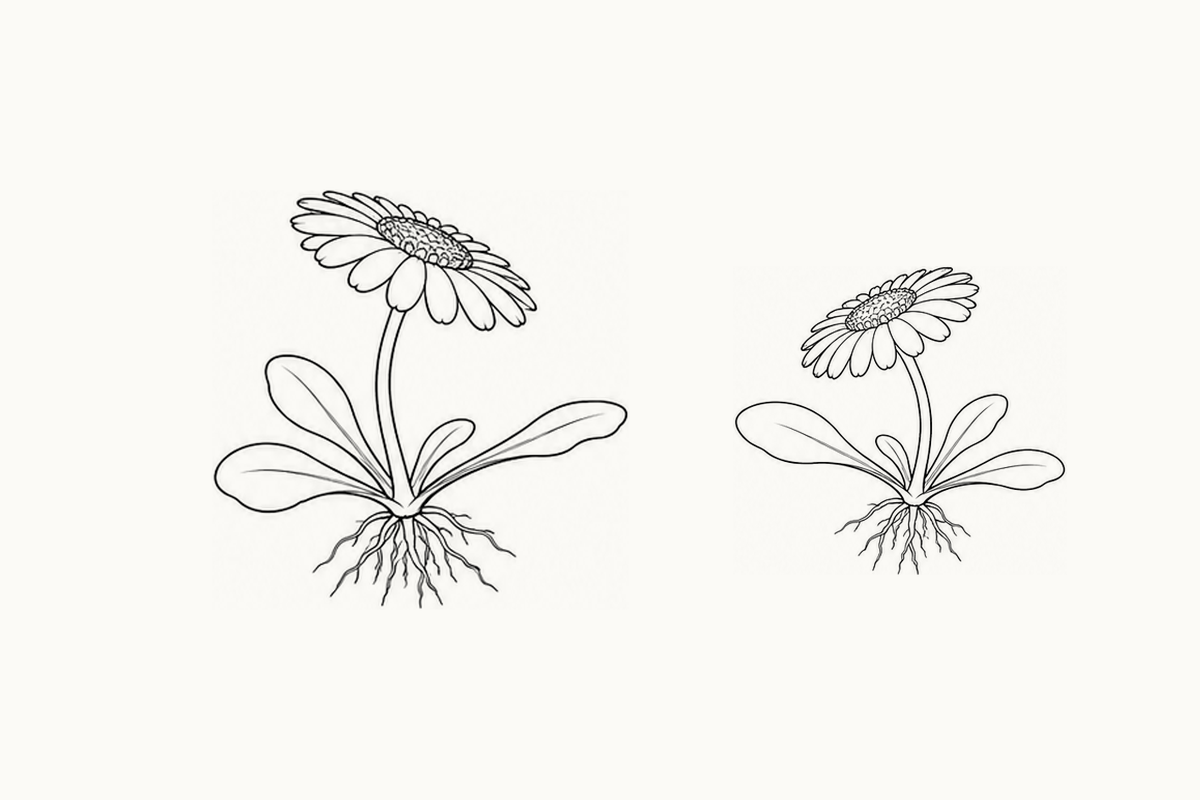
Look at the petals along the lower edge of the flower head. They spread toward you, while the farther petals appear shorter and partly hidden. These advanced daisy coloring pages offer five A4 practice sheets built around that contrast. There are two plant drawings, repeated in different positions and sizes. Choose this set for returning to a drawing problem, rather than for five completely new flower designs.
Download the five-page Advanced Daisy PDF (0.94 MB)
What is in this set?
Each page has two references, one in the first band and one in the third, followed by blank drawing space. The plant heads tilt in opposing directions. The long stalks return to basal leaves and fine roots. Some leaf and root shapes are simplified reconstructions. Advanced refers to the perspective task in these illustrations; it does not establish a tested age range or a botanical identification standard.
Before you begin
Put a finger beside the near edge of one head and trace that edge slowly in the air. Then find the narrow far edge without turning the sheet. Ask which petals have the most room. Your child can answer by pointing or coloring, before trying to draw a whole plant. The very small center pattern can wait.
Look through the five sheets
Page 1 places one tilted plant above its opposite-facing companion. Pick a single near petal and color it lightly from base to tip. Compare it with a far petal. Do not try to make their visible lengths match when the reference shows a difference.
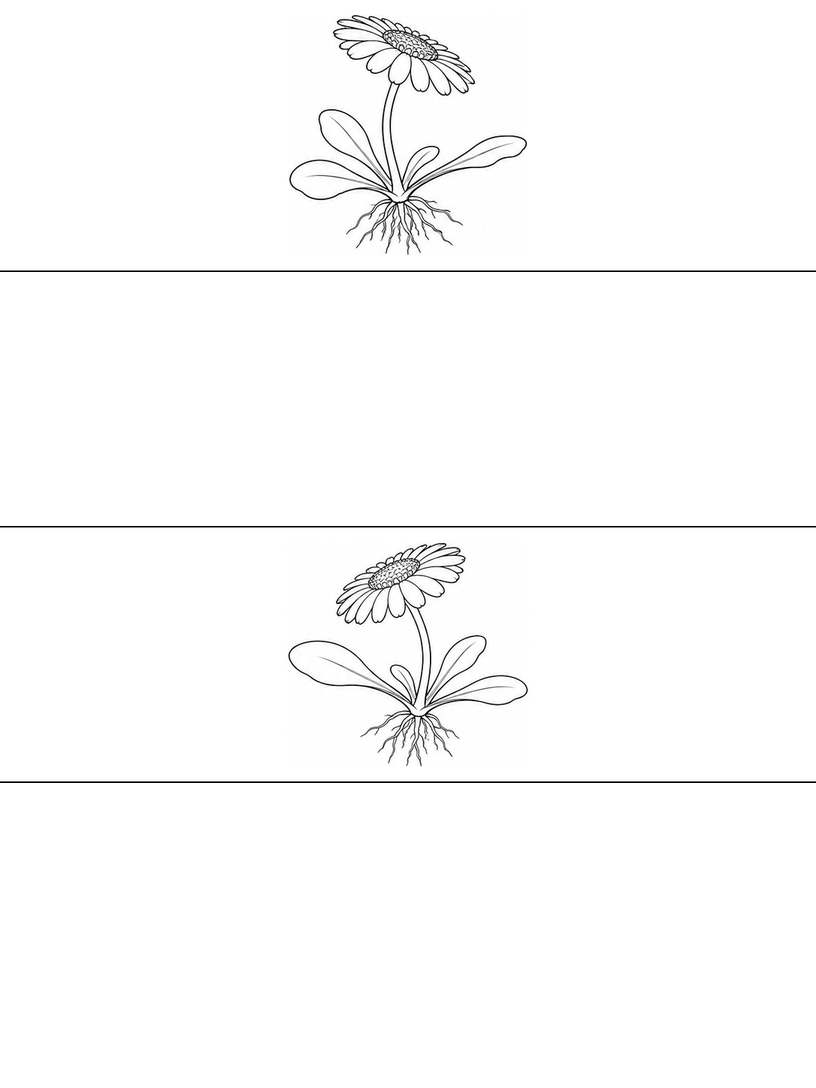
Page 2 reverses the order of the same pair. Find the drawing you used on page 1 and point to its flower-center direction again. In the blank band, draw only an oval and a near petal. A familiar model lets you focus on that small change.
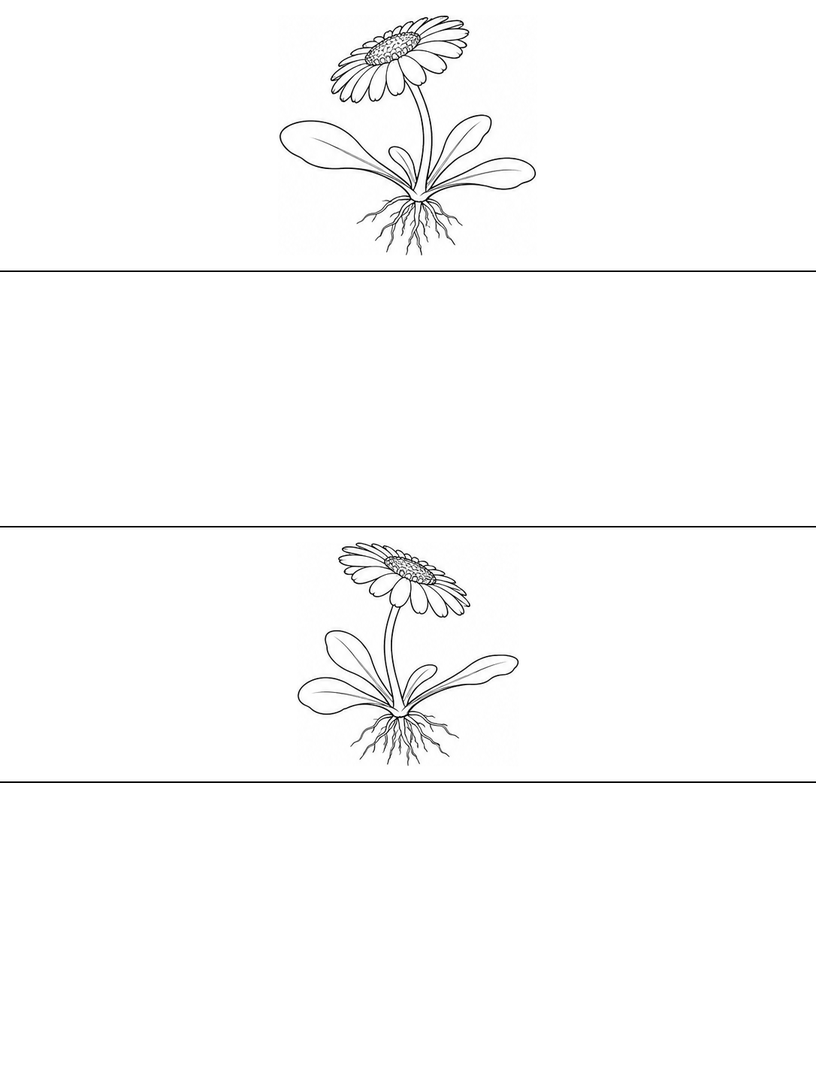
Page 3 repeats the pair with a little more surrounding space. Use the extra white area as permission to make a larger rehearsal, not to add many more petals. Leave a clear gap around the flower head so its tilt remains easy to read.
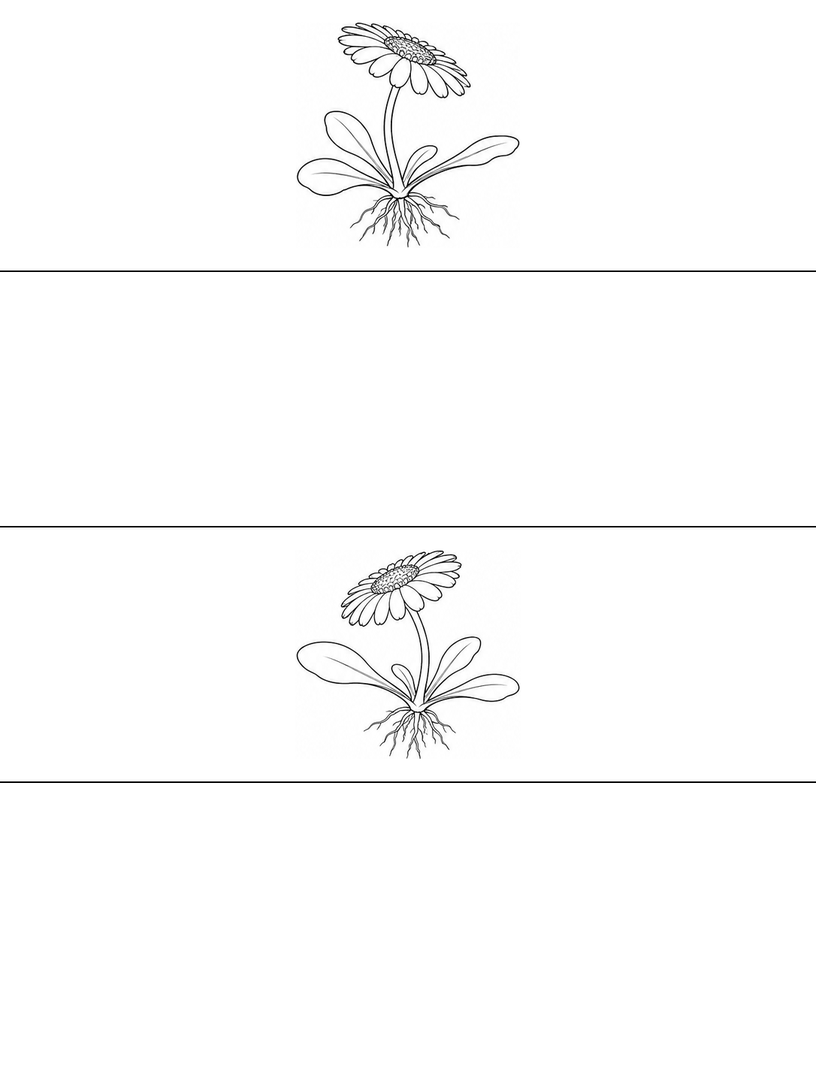
Page 4 returns the opposite-facing plant to the upper reference band. Try coloring the nearer leaf one color and the leaf behind it another. Follow the shared base before you add any veins. The question is which edge stays in front, rather than how much detail you can fit.
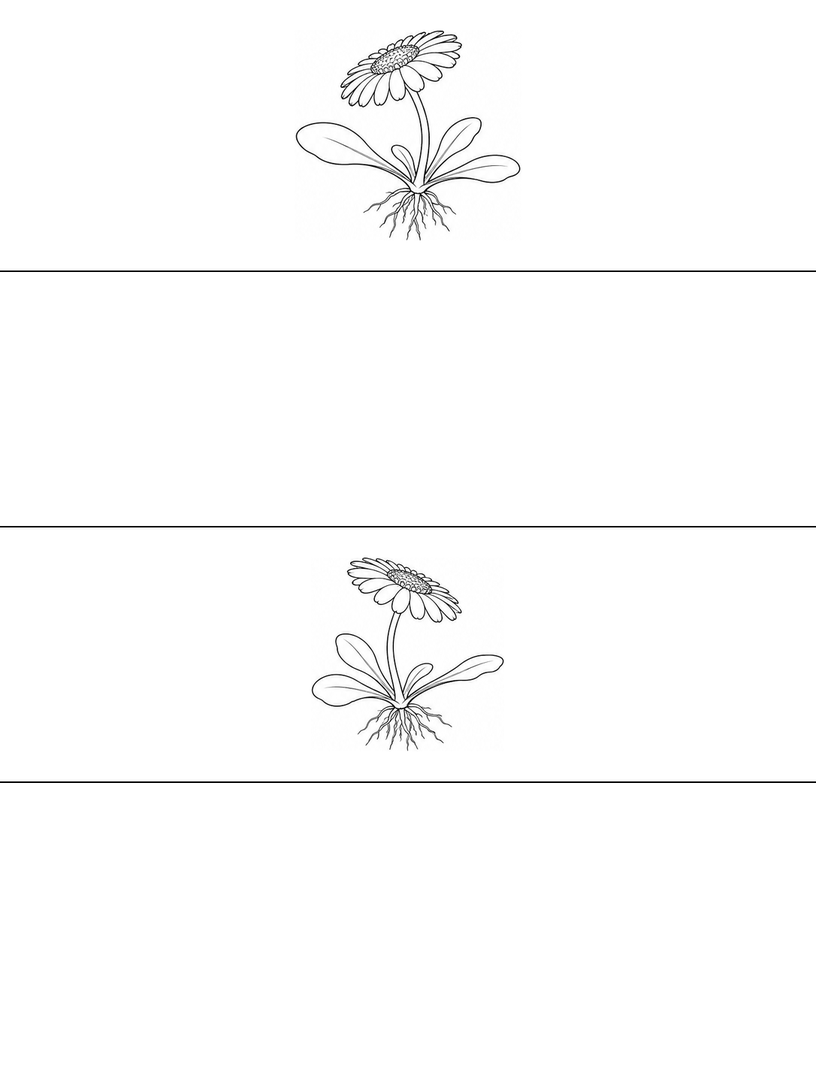
Page 5 repeats the two views at another placement scale. Choose one earlier attempt to compare with a new sketch. Ask whether the center looks flatter, whether the near petals have room, or whether the stalk connects. Choose only one of those questions for this turn.
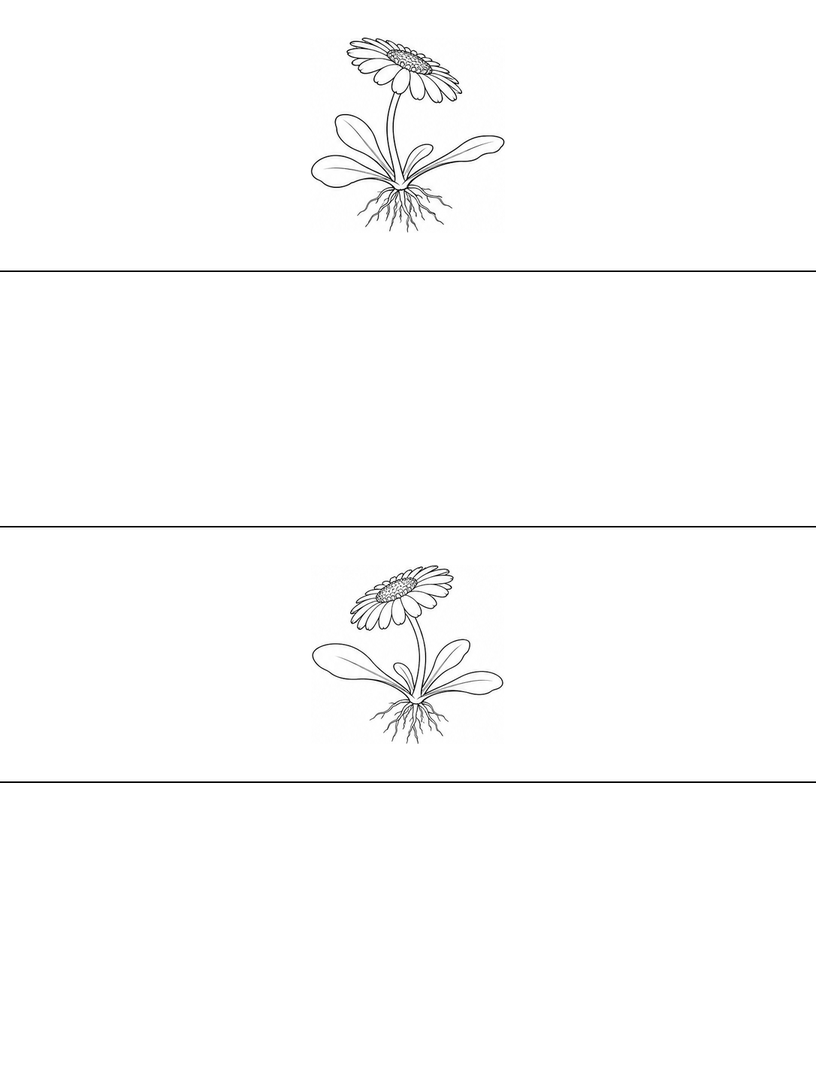
Show the turn in a daisy flower head
Use either plant on page 1. A spare sheet can be easier than the blank band for the first rehearsal. You will draw the large shapes before the small center pattern; that keeps the perspective problem visible.
- Set the shallow center and its far rim. Sketch a wide, shallow oval tilted like the chosen page 1 head. Point to its narrow far rim before adding petals. Leave room below for the broad near petals. If the center looks round, make a second lighter oval beside it and compare their width and height. Choose the one whose far edge feels more compressed.
- Spread the near petals and shorten the far view. Draw three broad near petals from the lower edge with space between their tips. Now look above the oval: add only the short visible parts of the farther petals, hiding their bases behind the center. Let the near petals interrupt smaller edges. Keep the near and far parts different instead of surrounding the oval with equal-length spokes.
- Test the turn before drawing the rest of the plant. Give the near petals one light color and the far tips another. Compare the visible space above and below the center. The far band should look compressed, with some bases hidden. If both sides look equally open, try a new head with a shallower center and shorter far tips. Add the stalk only after this size and overlap check; roots can wait.
Cover the near petals with a piece of spare paper for a moment and look only at the center and far tips. Move the paper away and compare the broader shapes below. If the head still reads like a flat wheel, make a new sketch with fewer, wider near petals and hidden far bases. Keep texture out until those large differences show the turn. You can compare the two opposite-facing references without copying the whole plants.
A leaf drifting past
Pretend the two daisies are watching a drifting leaf. One turns toward the left of the paper and the other looks back from the right. Ask your child to choose where the leaf goes, then sketch just the flower head that notices it. A small curved leaf beside the head is enough to start. On another attempt, move that leaf to the other side. Which petals will spread toward you now, and which will be partly hidden?
Make the activity your own
For a quieter activity, use two colors to separate the near and far petals on one printed reference. For another challenge, redraw just the head without the roots and compare its silhouette with the model. Because the references repeat, printing one page may be all you need. If your child loses interest in the repeated views, stop here and save the other pages for another day.
If stopping a hidden line is the tricky part, the Intermediate leaf-overlap activity practices that choice with two larger leaf shapes before you return to petals. To add the rest of the plant later, use the Elementary connected-plant guide for a clear stalk and shared leaf base rather than adding every root at once.
Printing and file notes
Select one of the five Advanced A4 sheets in your PDF reader's page range. Start with 100% / Actual size, look for cut edges in the print preview, and try one page. Use Fit if your printer needs more margin. For paper size and print settings, read the printing guide.
Worksheet questions
Why do the same two daisies appear on all five sheets?
This set provides five practice layouts using two existing drawings, with changes in order and placement. It does not contain ten unique plants. Repetition can support a new drawing attempt, but you can print only one sheet if you prefer a single pair of references.
Does Advanced mean adding more tiny details?
Here the main task is the tilted flower head: nearer petals spread more broadly while farther parts are compressed or hidden. Fine roots and small center marks can be omitted. More texture alone does not make the turn clearer.
How should I print a repeated-practice page?
Select the page you want from the five-page A4 PDF. Start with 100% / Actual size and inspect the print preview for clipping. Use Fit if your printer needs it, then check the result on one sheet.
Use and sharing
You may print these pages for personal, family or classroom activities. Keep the website credit on the sheets. Share this article link with other adults instead of redistributing or selling the PDF. Read the terms of use for the permission and its limits.
Creation and editorial note
The activity guide and page layout were prepared and edited for Coloring Pages Story, with AI assistance. The line art is AI-assisted. The page previews and five-page PDF have been checked digitally. No classroom trial or physical print test has been performed.
Comments
Comments are closed