

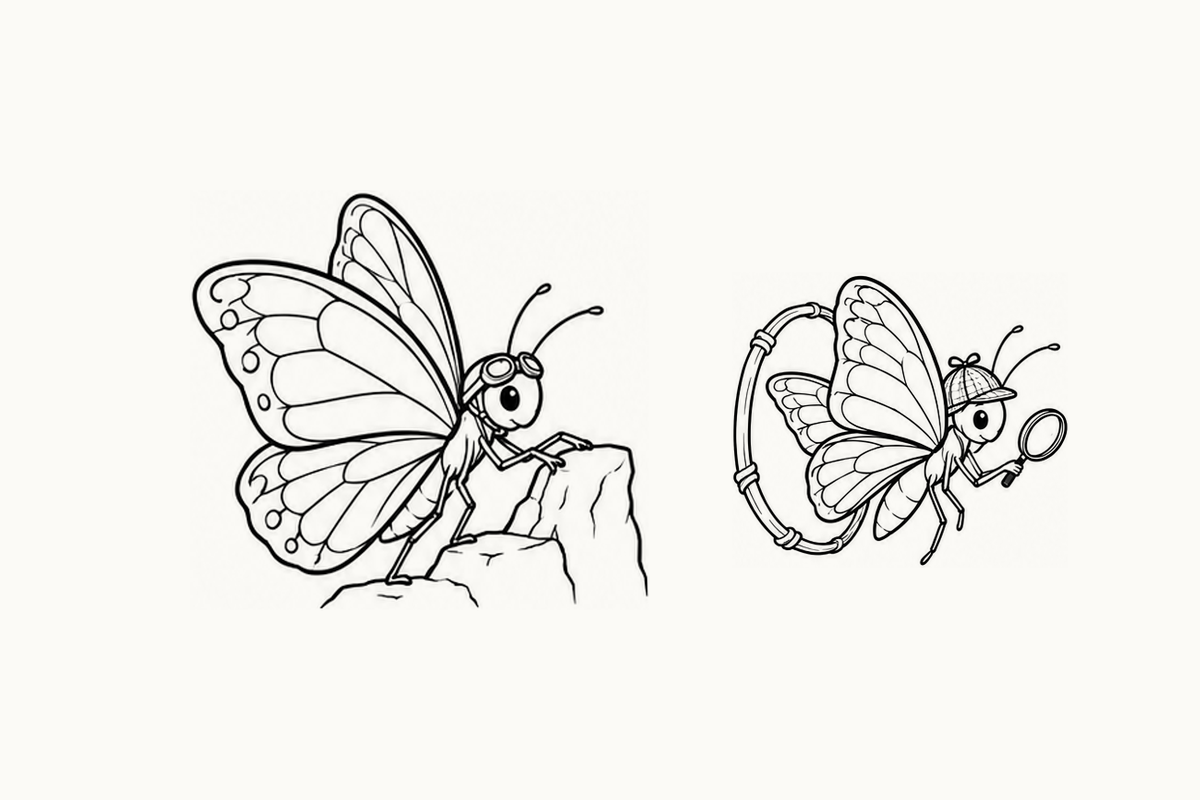
Before coloring the wing patterns, find where the character touches a branch or rock. That one contact can help you understand the whole pose. These intermediate cartoon butterfly coloring pages include five A4 sheets with turned bodies, overlapping wings and imagined activity scenes. You can color a reference, draw one supporting shape below it, or simply point out which part is nearest. One clear observation is a useful starting point.
Download the five-page Intermediate Cartoon Butterfly PDF (2.25 MB)
What is in this set?
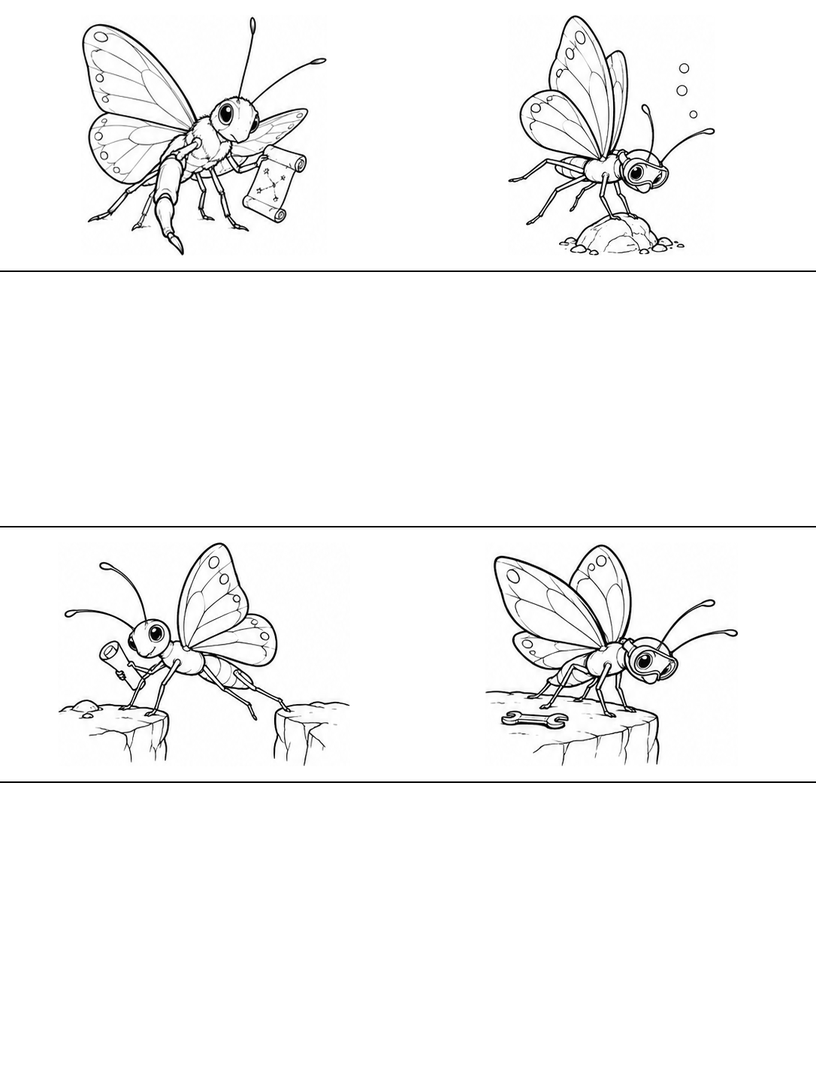
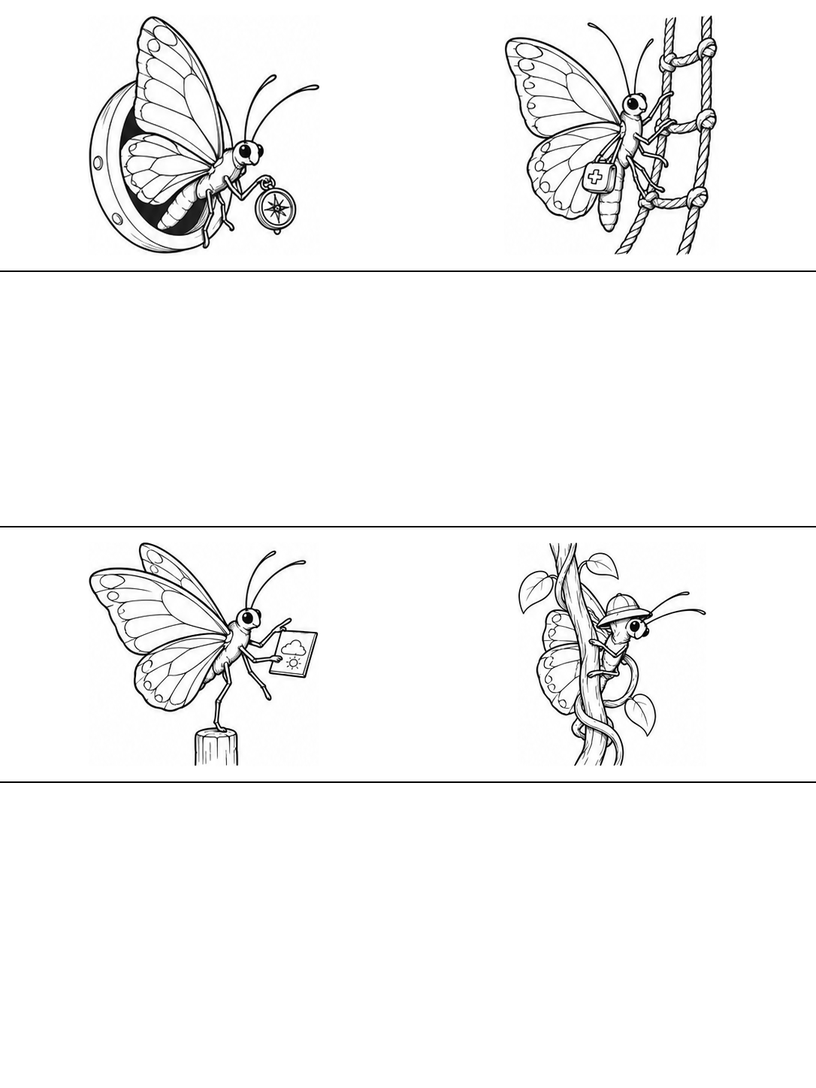
Each sheet has four references, two in the first band and two in the third. The second and fourth bands stay blank for drawing. The characters wear or hold invented equipment such as goggles, a camera, a rope or a notebook. Their limb shapes and tool use are cartoon choices. This set offers practice reading illustrated poses and overlaps; it is not an insect anatomy lesson or a guide to real butterfly behavior.
Before you begin
Choose the lower-right camera scene on page 1. Follow the line of the rock beneath the character before looking at the camera. Ask, 'Where does the character stand?' If the wing veins make the image feel crowded, cover them with a spare sheet while you look at the body and contact points. Move the paper aside when your child wants the whole picture again.
Look through the five sheets
Page 1 shows rock support, a circular opening, a root-crossing pose and a camera scene. Compare a foot resting on a rock with a limb reaching forward. When sketching, mark the ground or support first so the character does not appear to float by accident.
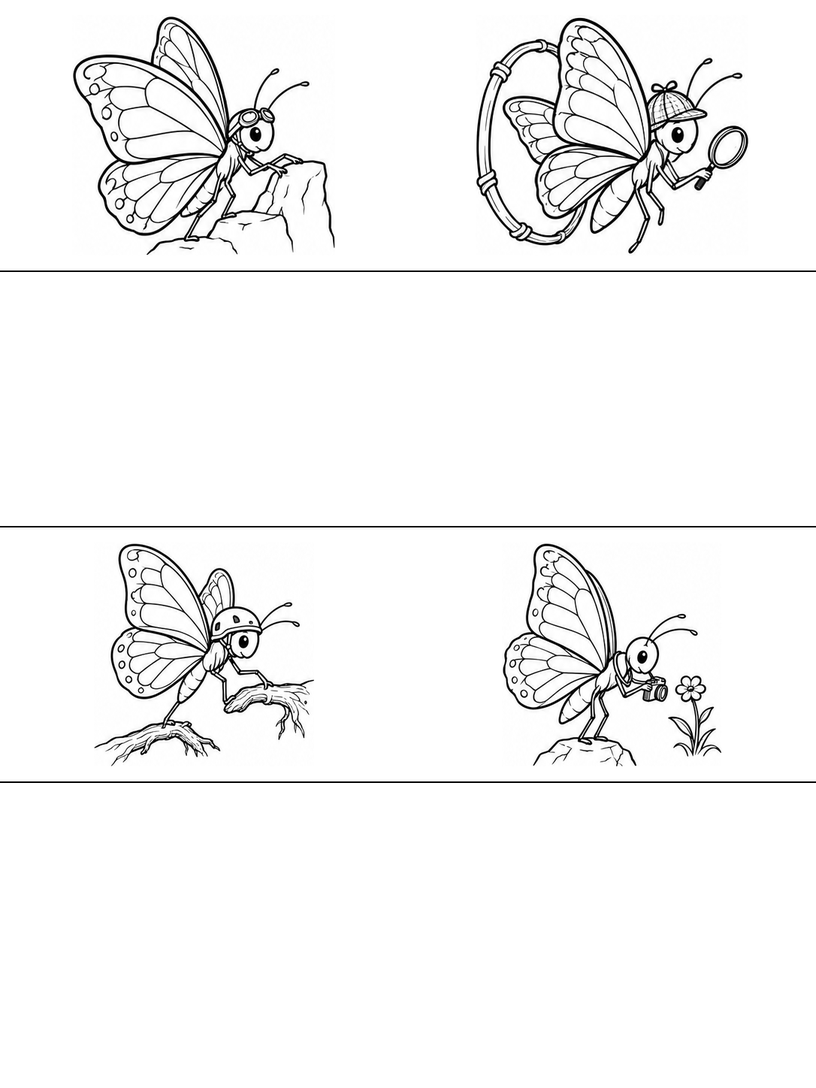
Page 2 includes a character on a curved stem, a chef-hatted branch walker, a rope holder on rock and a goggled character reaching back with a flask. Choose one supporting contact. In the blank band, draw only that support and the body direction before adding wings.
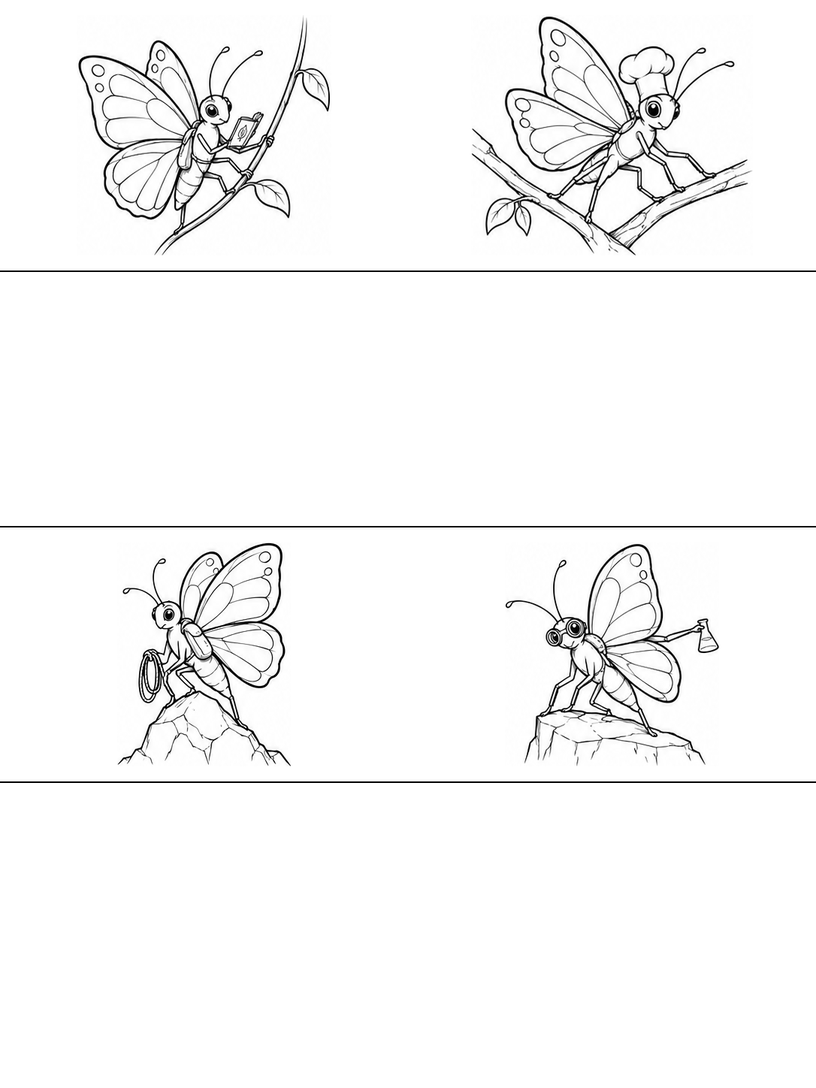
Page 3 includes sloping ground, a platform step, a rock climb and a character between two stems. Look for an edge that disappears behind a wing or body. Use two colors to separate the nearer and farther wing shapes rather than making every wing pattern equally dark.
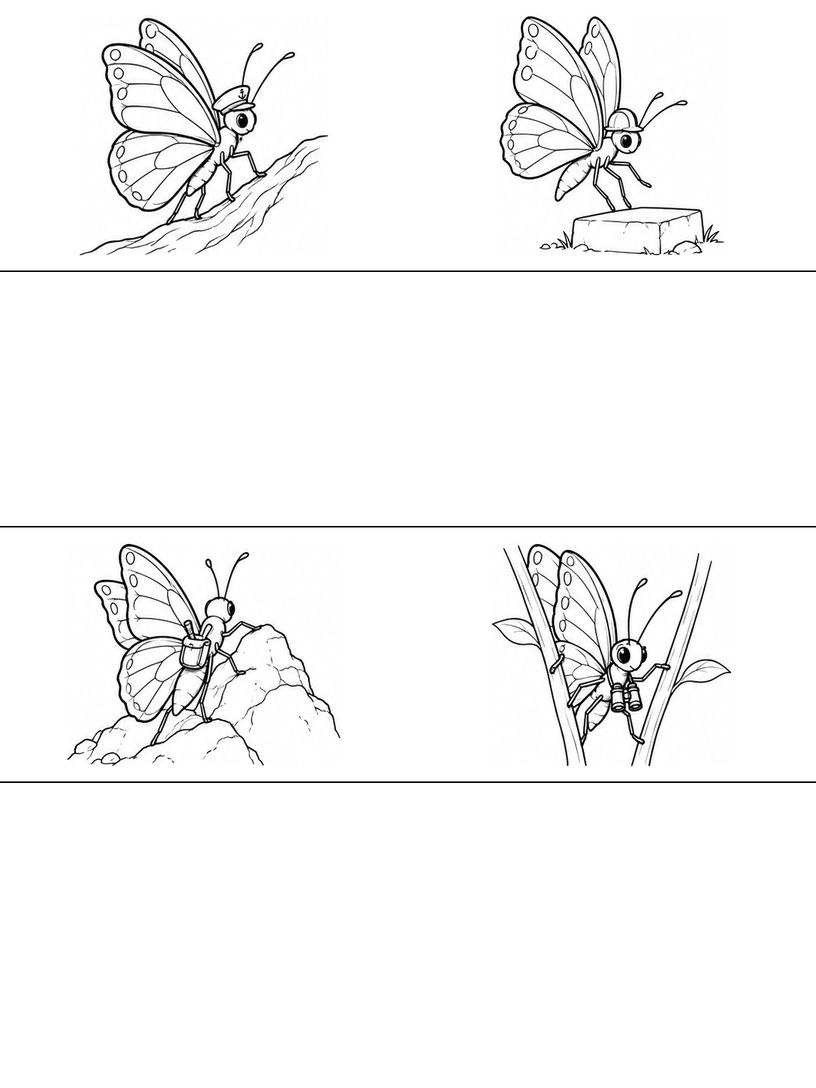
Page 4 has a star-chart holder, a goggled figure above rock, a character crossing a gap and a figure beside a wrench. Some near limbs look much larger than the farther ones. Follow the pictured silhouette without trying to turn these fantasy limbs into a real insect diagram.
Page 5 includes a circular opening, a rope ladder, a weather-board holder on a stump and a character partly hidden by a tree. The tree example is useful for asking which lines stop at the trunk. Your child can rehearse that overlap with a plain body shape and two trunk lines.
Sketch a butterfly character with clear support
Use the camera character on page 1 or the branch walker on page 2. Choose just one pose. A bigger drawing on spare paper can make the support and wing connection easier to see than copying every detail in the small reference.
- Mark the support and body direction. Draw a simple rock top or branch line, then place a short body shape above it. Tilt that body to match the reference before adding a head. Leave room behind it for the wings. A light direction line can be changed without redrawing the whole scene.
- Connect the visible contacts. Bring the supporting limb down to the rock or branch, then draw the reaching limb in its different direction. Keep the gaps between them open. Use the reference's simple cartoon joints; do not add extra limbs to fill an awkward space. The support should meet the character, not pass through its body.
- Layer the wings around the body. Draw the nearer wing outline first and fit the visible farther wing behind it. Stop a back edge where the front wing covers it. Add the head, antennae and one chosen prop last. Keep the vein pattern sparse until the body and support remain easy to read.
Check the contact point with a fingertip. If there is a gap between the foot and the branch, close just that gap. If all the wings blend into one shape, color the nearer one lightly and leave the farther one white. Those small changes are more useful than adding another object or filling every vein compartment.
A picture-making trip
Imagine a camera-carrying character searching for a flower while a friend waits beside a tree. Choose the first moment from the printed scenes. In the blank band, draw one flower or one tree edge as the destination. Decide whether a wing passes in front of that edge or slips behind it. Your child can tell the friend's reply aloud. What would the camera show if the character stood on the other side of the tree? One moved outline can tell the next part.
Make the activity your own
For a gentler activity, color the supporting rock one color and the character another, leaving the wing veins uncolored. For another drawing attempt, keep the same body and change only its tilt. You can also practice a single near wing in front of a far wing with no scene at all. It is fine to stop when one overlap makes sense, rather than complete all four references.
For a smaller contact problem, the Elementary butterfly prop activity concentrates on a watering-can handle, arm and open space between them. Once the body and support are clear, the Advanced butterfly turning study shifts attention to the different sizes and visible edges of near and far wings.
Printing and file notes
Select one of the five Intermediate A4 sheets in your PDF reader's page range. Start with 100% / Actual size, look for cut edges in the print preview, and try one page. Use Fit if your printer needs more margin. For paper size and print settings, read the printing guide.
Worksheet questions
What makes this an Intermediate set?
The illustrated tasks include body turns, support, reaching and parts hidden by other shapes. There are four references per page instead of the smaller eight-picture layouts. The label describes this drawing task; it does not give a tested age range or prove that the fantasy scenes are anatomically accurate.
Do I need to draw every wing vein and piece of equipment?
No. Begin with the body direction, one support and the large wing outlines. A camera, rope or notebook can be omitted while you practice those connections. More equipment or denser patterns do not automatically make the drawing clearer.
Does the file include all four difficulty levels?
No. It contains only the five Intermediate A4 pages shown here. Select one page for a first print, start with 100% / Actual size, and check for clipped edges. Use Fit when needed.
Use and sharing
You may print these pages for personal, family or classroom activities. Keep the website credit on the sheets. Share this article link with other adults instead of redistributing or selling the PDF. Read the terms of use for the permission and its limits.
Creation and editorial note
The activity guide and page layout were prepared and edited for Coloring Pages Story, with AI assistance. The line art is AI-assisted. The page previews and five-page PDF have been checked digitally. No classroom trial or physical print test has been performed.
Comments
Comments are closed